Introduction;
Pine Tree Drawing – Are you an aspiring artist eager to learn how to draw a pine tree? Look no further! Join us on an artistic journey as we unveil a comprehensive tutorial on crafting a lifelike representation of a pine tree. Regardless of your skill level, whether you’re a novice or have some prior experience, this exceptional guide is designed to refine your prowess in the art of sketching pine trees. Prepare your trusty pencils, for it’s time to embark on this creative endeavor together! Drawing pine trees can be both challenging and rewarding. With their distinctive shape and texture, pine trees offer a great opportunity for artists to practice their skills. This step-by-step guide will provide you with clear instructions and tips to create a stunning pine tree drawing.
Materials Needed
Before we begin, gather the following materials:
- Pencils (HB, 2B, and 4B)
- Drawing paper
- Eraser
- Sharpener
- Blending stump (optional)
Gift:
Claim our premium worksheet practice book For Free (Only for you) :
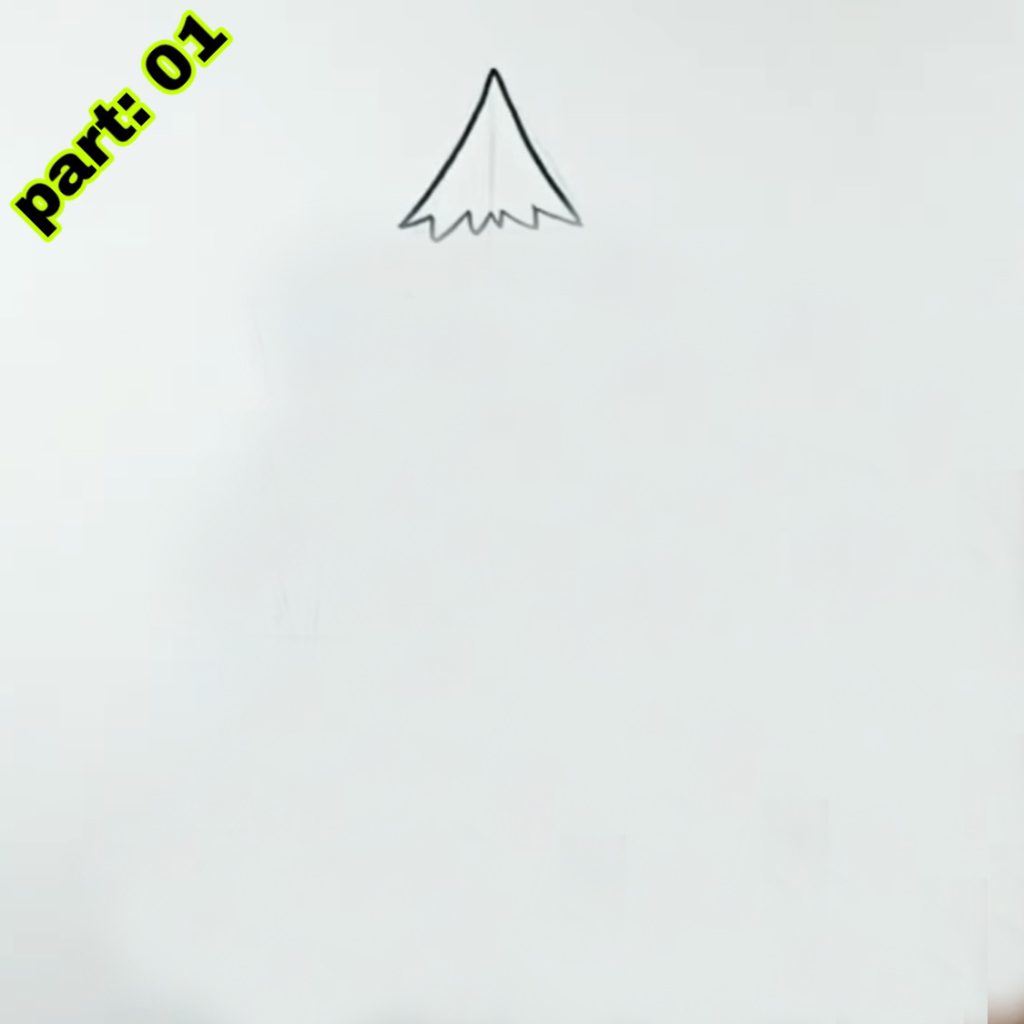
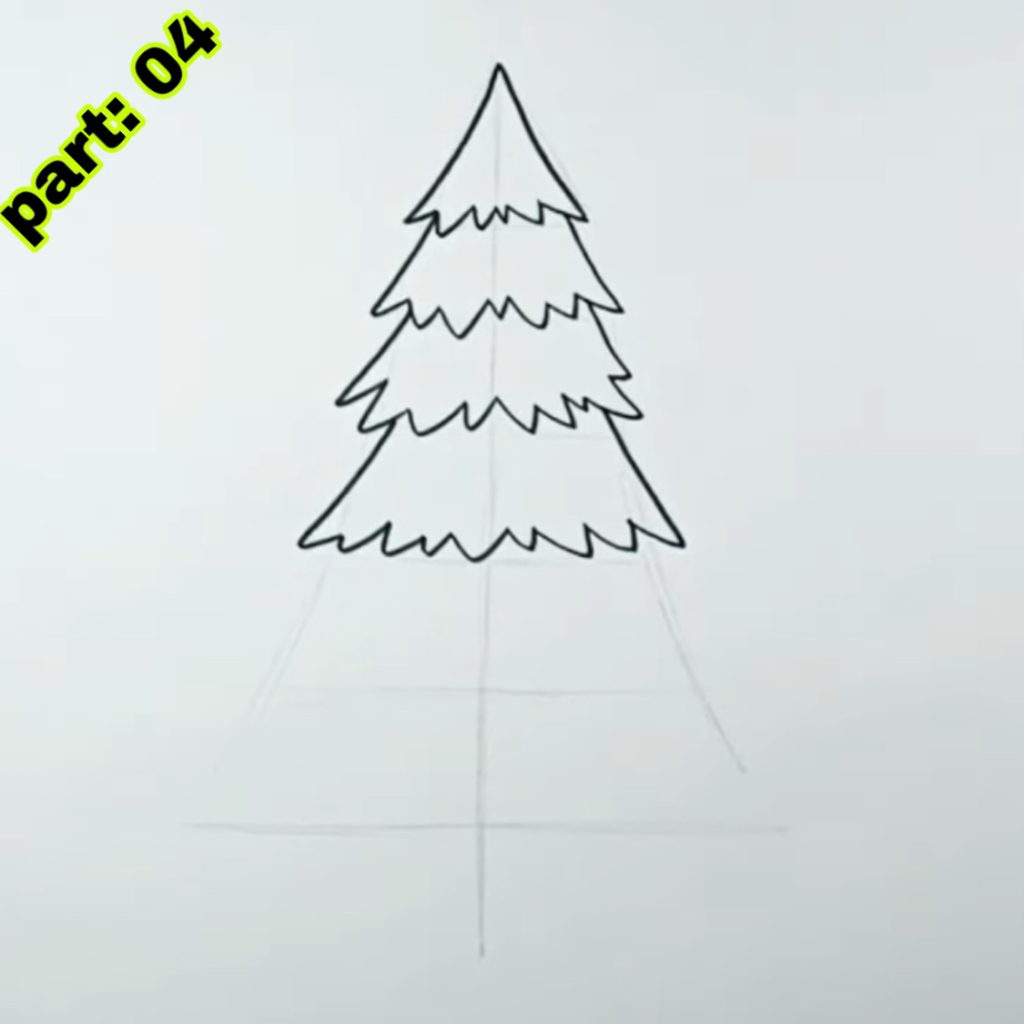
Step 1: Sketch the Basic Shape
Start by lightly sketching the basic outline of the pine tree. Use light, loose lines to define the overall shape and height of the tree. Remember to consider the perspective and angle you want for your drawing.
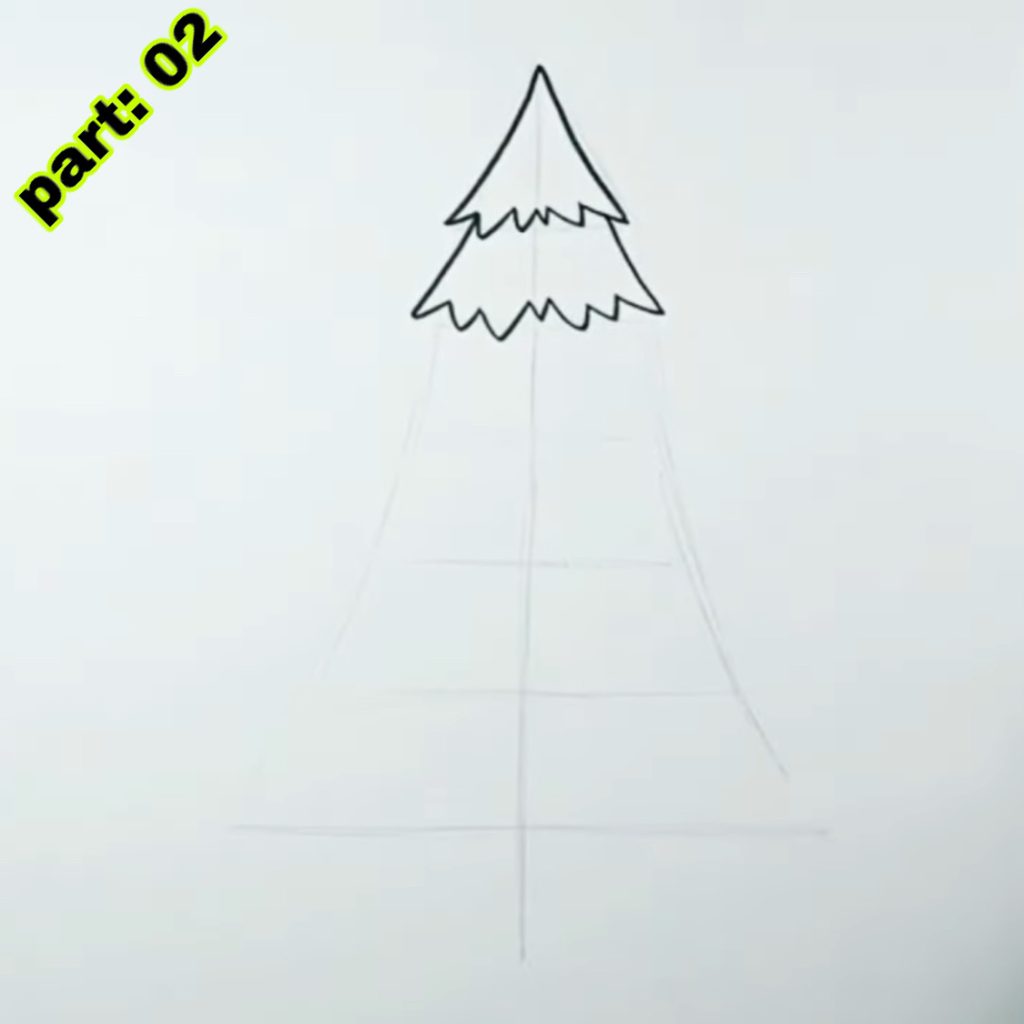
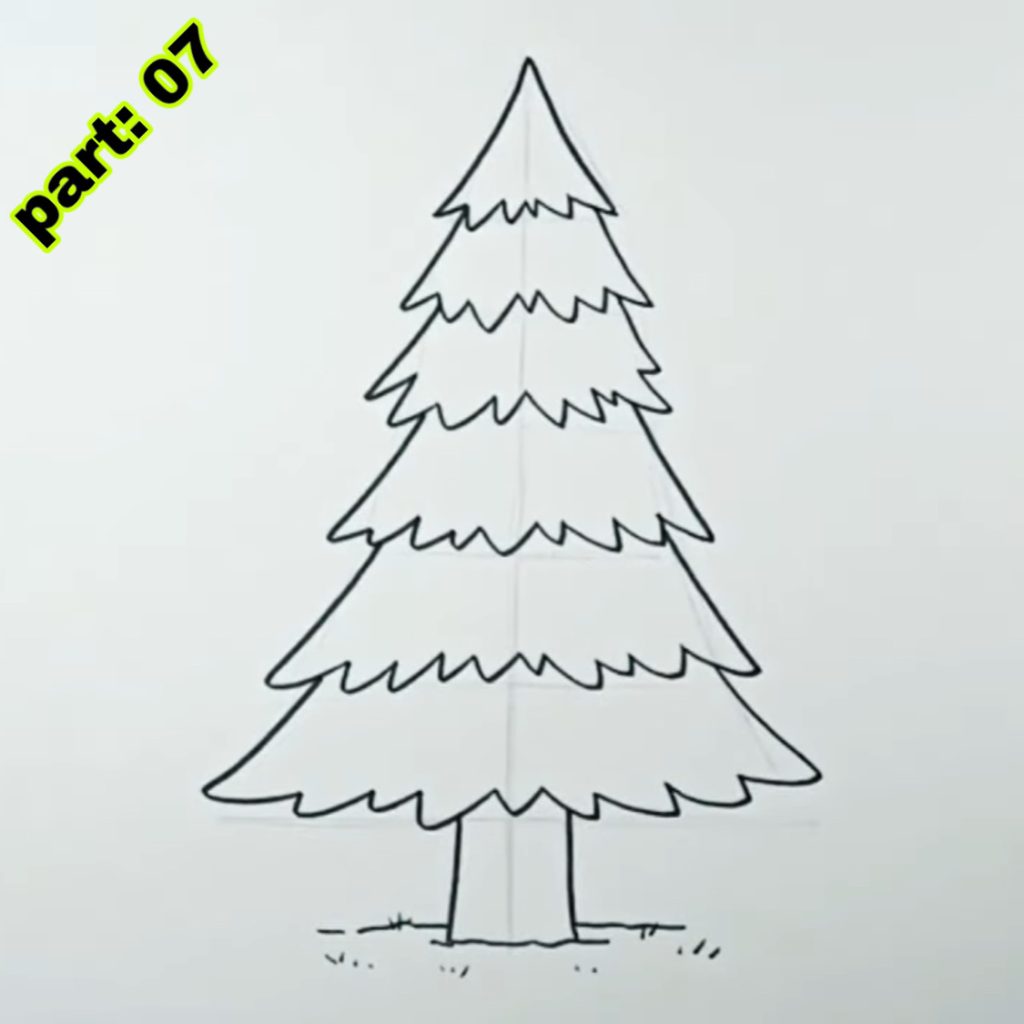
Step 2: Define the Trunk and Branches
Refine the sketch by adding more details to the trunk and branches. Observe the structure of a pine tree and draw the main trunk with thicker lines. Branches should gradually taper as they extend outward.
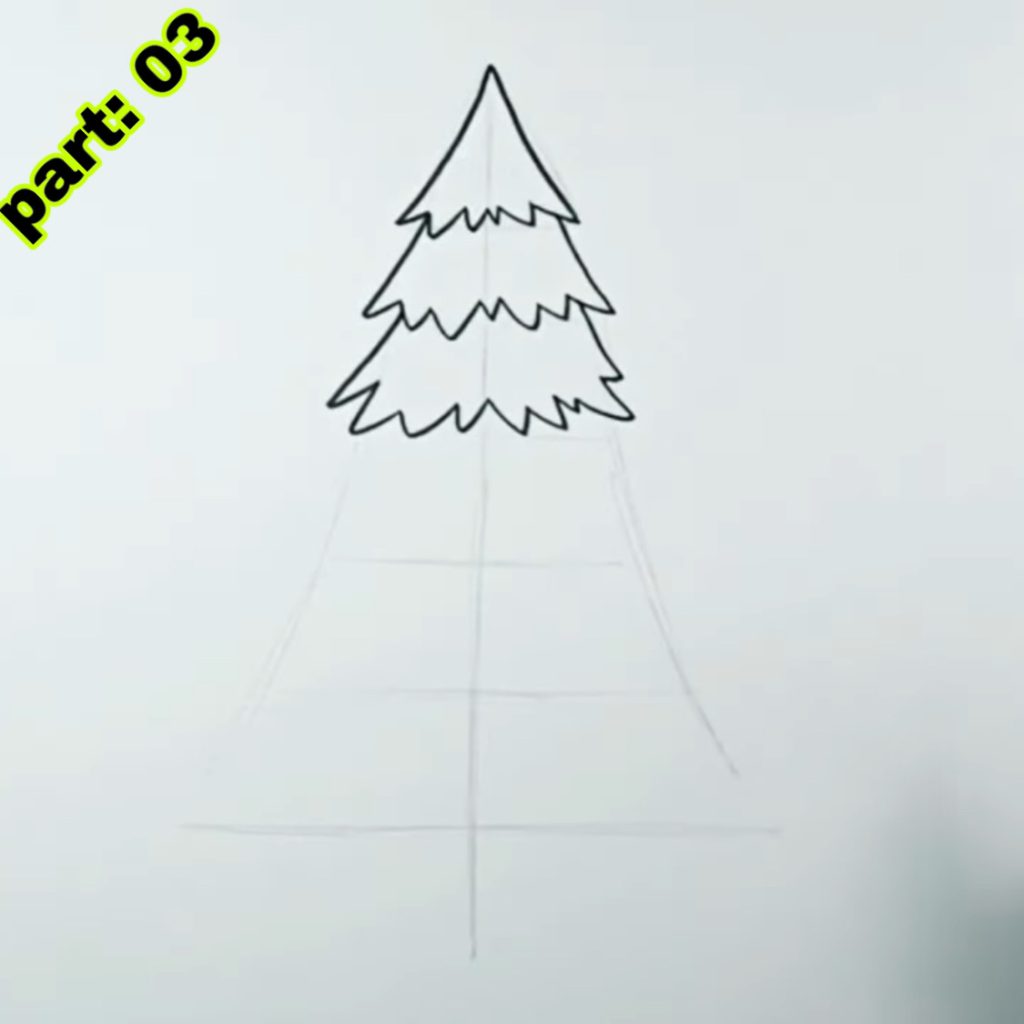
Step 3: Add Detail to the Branches
To make your drawing more realistic, add smaller branches and twigs to the main branches. Pay attention to the direction and angle of these branches as they fan out from the trunk. Remember, pine trees have a distinct clustered branch pattern.
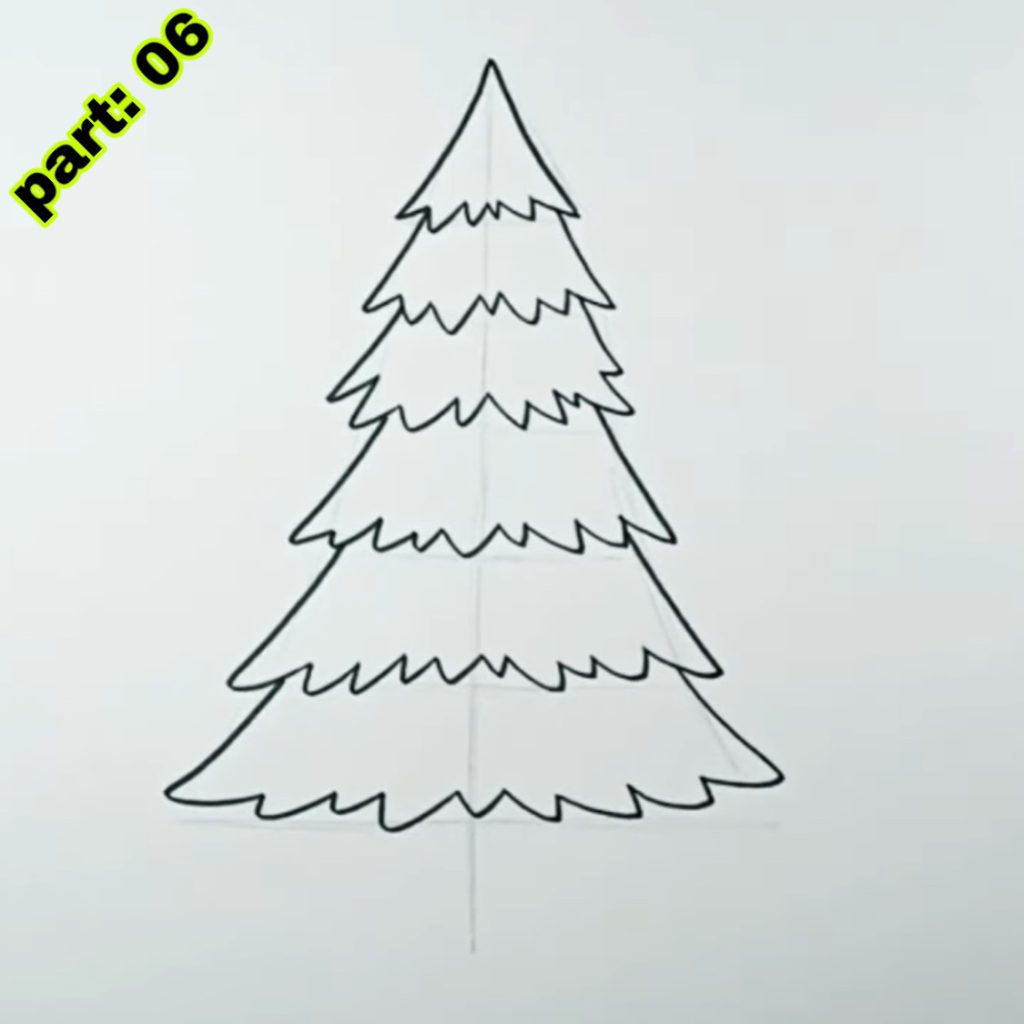
Step 4: Draw the Pine Needles
Focus on the foliage now. Using short, light strokes, draw the pine needles on the branches. Start from the base of the branches and work your way outward. Create a sense of depth by drawing overlapping layers of needles.
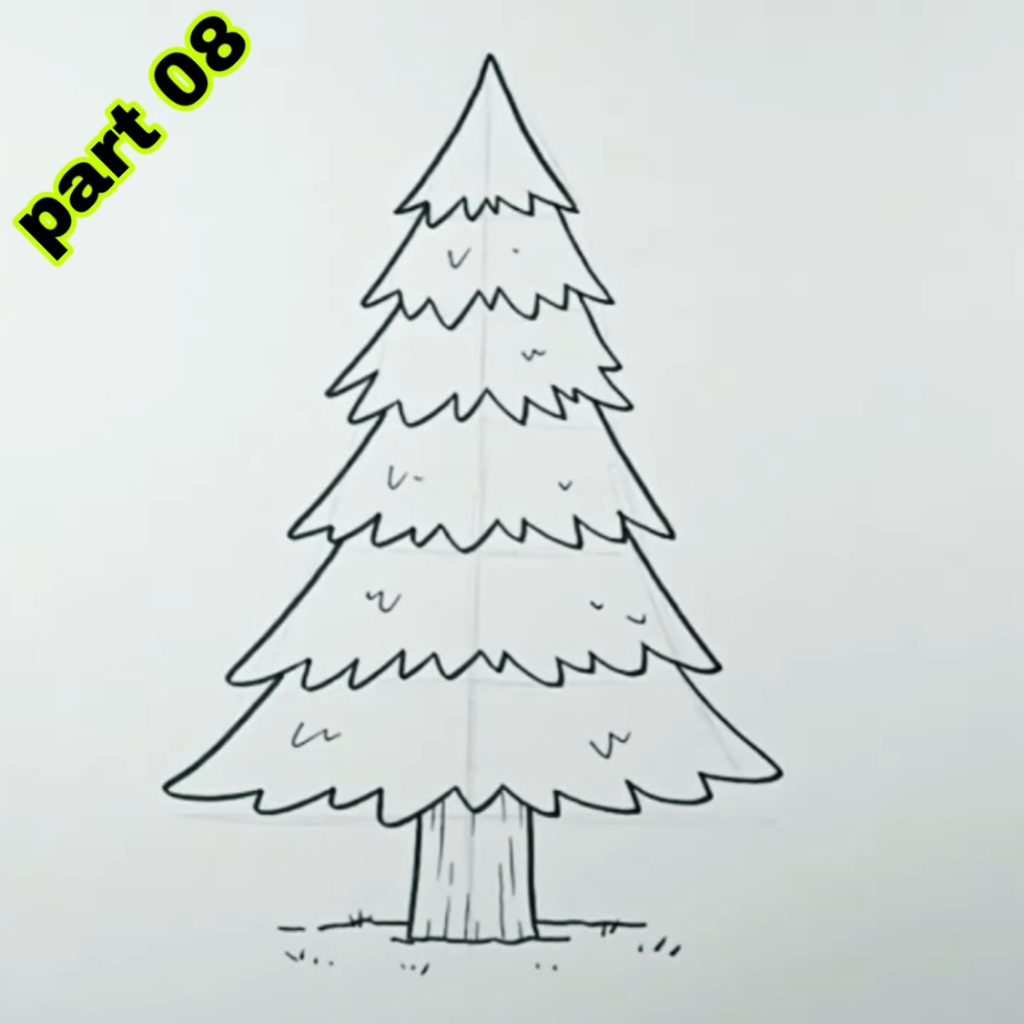
Step 5: Enhance the Trunk
Give the trunk more definition by adding texture and details. Use cross-hatching or stippling techniques to create the appearance of bark. Pay attention to the natural curves and irregularities of the trunk.
Step 6: Add Shadows and Highlights
Shading is crucial to give your drawing depth and dimension. Identify the primary light source and add shadows accordingly. Use your pencils to create varying degrees of darkness and blend them smoothly with a blending stump or your fingers.
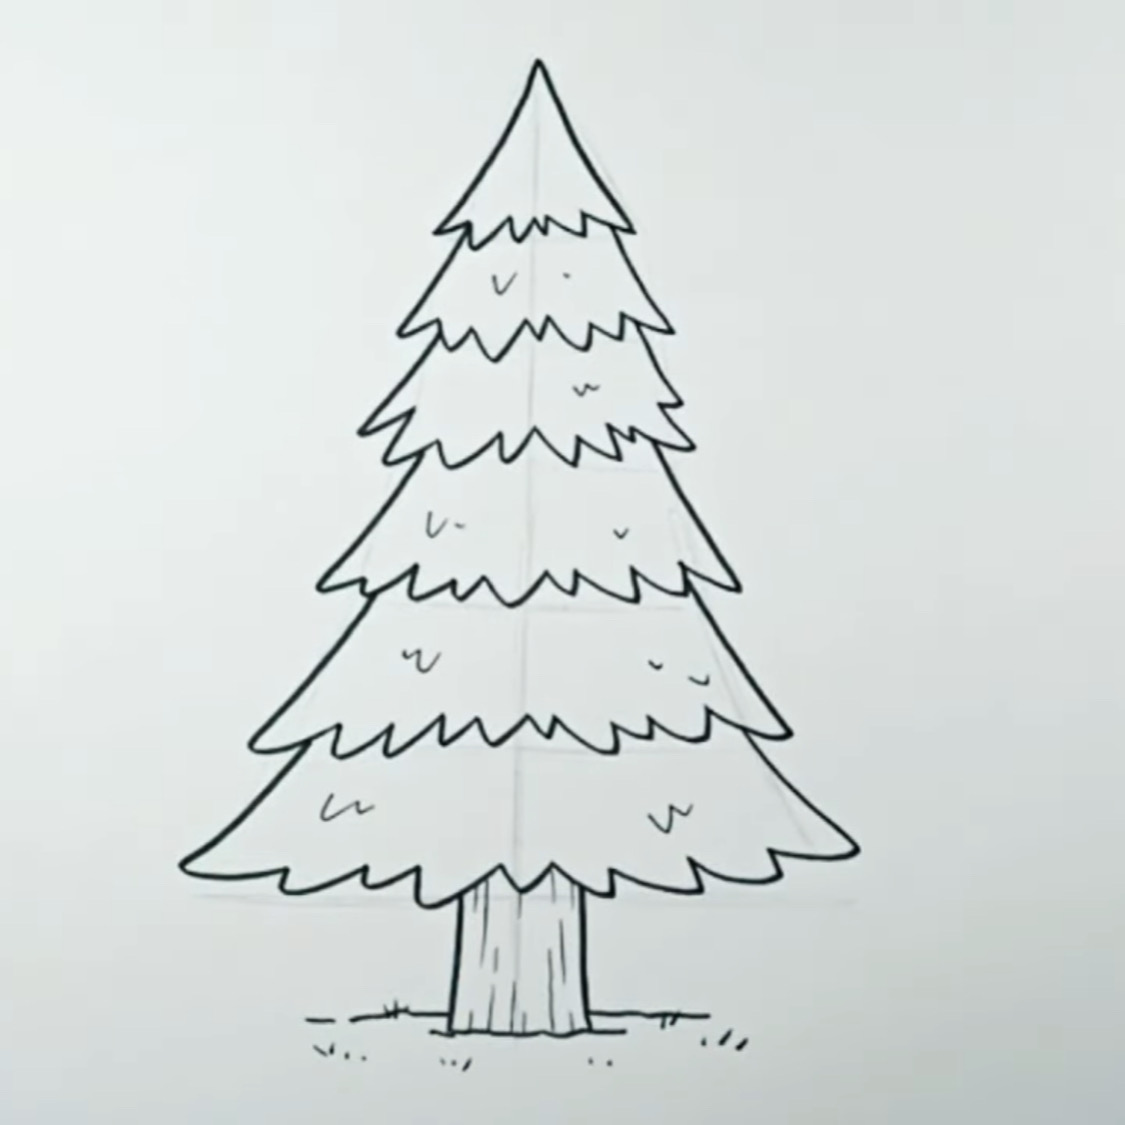
Step 7: Final Touches and Details
Take a step back and assess your drawing. Make any necessary adjustments and add finer details like knots, cones, or moss. Use an eraser to lighten areas or create highlights if needed. Remember to refine the overall shape and lines.
Pine tree drawing can be an exciting and engaging activity for kids for several reasons:
- Unique Shape: Pine trees have a distinctive shape with long, vertical trunks and branches that extend outward in a clustered pattern. This unique form provides a fun and interesting subject for kids to draw. The recognizable silhouette of a pine tree can spark their creativity and imagination.
- Nature Connection: Pine trees are a common sight in many natural environments, such as forests and parks. By drawing pine trees, kids can connect with nature and appreciate the beauty of the outdoors. This can foster a sense of curiosity and love for the natural world.
- Textured Foliage: Pine needles have a specific texture that sets them apart from other tree species. Drawing the fine details of pine needles can be an enjoyable challenge for kids, allowing them to experiment with different techniques and strokes to capture the unique texture of the foliage.
- Sense of Accomplishment: As kids progress through the steps of drawing a pine tree and see their artwork taking shape, they experience a sense of accomplishment. Completing a drawing, especially one as visually striking as a pine tree, can boost their confidence and encourage them to further explore their artistic abilities.
- Creativity and Expression: Drawing pine trees provides a platform for kids to express their creativity. They can experiment with different colors, and shading techniques, and even add their own imaginative elements to the drawing, such as birds perched on the branches or animals hiding among the foliage. This allows them to showcase their unique perspective and artistic style.
- Relaxation and Mindfulness: Engaging in the process of drawing, especially nature-related subjects like pine trees, can have a calming and meditative effect. By fostering undivided concentration, facilitating a sense of presence, and engrossing children in the artistic process, it provides them with an opportunity to unleash their creativity. Drawing pine trees can serve as a form of relaxation and stress relief for children.

In summary, drawing pine trees can be exciting for kids due to the unique shape of the trees, the opportunity to connect with nature, the textured foliage, the sense of accomplishment, the outlet for creativity and expression, and the potential for relaxation and mindfulness. It offers an enjoyable and fulfilling artistic experience that can contribute to their overall development and appreciation of the natural world.
Summary:
In this comprehensive guide, beginners and aspiring artists can learn how to draw a realistic pine tree. Immerse yourself in the realm of pine tree sketches as the meticulously crafted, step-by-step instructions unravel a lucid and comprehensive path toward mastering this artistic endeavor. The article begins with an introduction, emphasizing the challenge and reward of drawing pine trees. It then lists the materials needed for the drawing process, including pencils, drawing paper, erasers, sharpeners, and blending stumps.
Embark on your artistic journey with our methodical instructions that commence by outlining the fundamental shape of the pine tree, progressing seamlessly to delineate the trunk and branches in exquisite detail. Details are added to the branches, focusing on the distinctive clustered pattern of pine trees. The article guides readers on drawing the pine needles, creating depth through overlapping layers, and using short, light strokes.
To enhance the drawing, attention is given to the trunk, adding texture and detail through cross-hatching or stippling techniques. Shading is emphasized as a crucial element to achieve depth and dimension in the drawing. The article suggests identifying the primary light source and incorporating shadows accordingly.
The final steps involve assessing the drawing, making necessary adjustments, and adding finer details such as knots, cones, or moss. The importance of refining the overall shape and lines is emphasized. The guide concludes by encouraging readers to practice, be patient, and let their creativity shine through.
Conclusion
Mastery of the art of drawing pine tree drawing demands patience and a keen eye for detail. However, through dedicated practice, one can attain remarkable outcomes. Remember to start with a light sketch, gradually add details, and focus on shading to create depth. Embrace the thrill of exploration and allow your creative spirit to radiate fearlessly!
Sponsored By:
Check out the best and most affordable digital marketing services that can take your business to the next level. If you want a build a Blogging Business, Please contact them; They Basically provide from-scratch-to-finish services https://elonmusktrillion.com/
FAQs
Q: Is it permissible to substitute graphite pencils with colored pencils?
A: Absolutely! Colored pencils can add a vibrant touch to your pine tree drawing.
Q: How long does it take to master pine tree drawing?
A: Progress may differ for each person, but with consistent practice, gradual improvement becomes evident over time.
Q: Are there any shortcuts to pine tree drawing?
A: Though there are no quick fixes, adhering to a systematic guide can assist in dissecting the process and rendering it more approachable.
Q: Can I draw a pine tree from a different perspective?
A: Of course! Feel free to experiment with different angles and perspectives to create unique drawings.
Q: Should I draw every single needle on the tree?
A: It’s not necessary to draw every individual needle. Focus on capturing the overall texture and shape of the foliage.
Bonus:
You may check out our most helpful article about how you can help your child to do extremely well in drawing https://bloggchain.com/stunning-fish-drawing-for-kids-in-just-4-minutes/
