I. Introduction
Cow Drawing offers a splendid avenue for young minds to unleash their creativity, with cows being an enduring favorite subject to illustrate. Within the following step-by-step manual, we shall delve into the realm of cow drawing, offering children effortless guidance to forge their very own bovine masterpiece.
The act of drawing not only serves as an outlet for children to express their artistic inclinations but also nurtures their imagination and fosters inventive thinking. Through the act of drawing, youngsters can refine their dexterity, hand-eye coordination, and aptitude for meticulousness. So let’s grab our art supplies and dive into the world of cow drawing!

II. Materials Needed
To get started with cow drawing, you will need a few basic art supplies. Prepare yourself with the following essentials:
- Pencils (preferably HB or 2B)
- Eraser
- Black ink pen
- Colored pencils or markers (optional)
- Blending tool (optional)
Feel free to improvise with materials based on what you have available. Above all else, remember to indulge in the pleasure of the process and allow your imagination to cascade freely.
Gift:
Claim our premium worksheet practice book For Free (Only for you) :
III. Understanding the Anatomy of Cow Drawing
Before we begin drawing, it’s essential to understand the key body parts of a cow. This knowledge will help us create a realistic representation. Take a moment to identify the following body parts:
- Head
- Body
- Legs
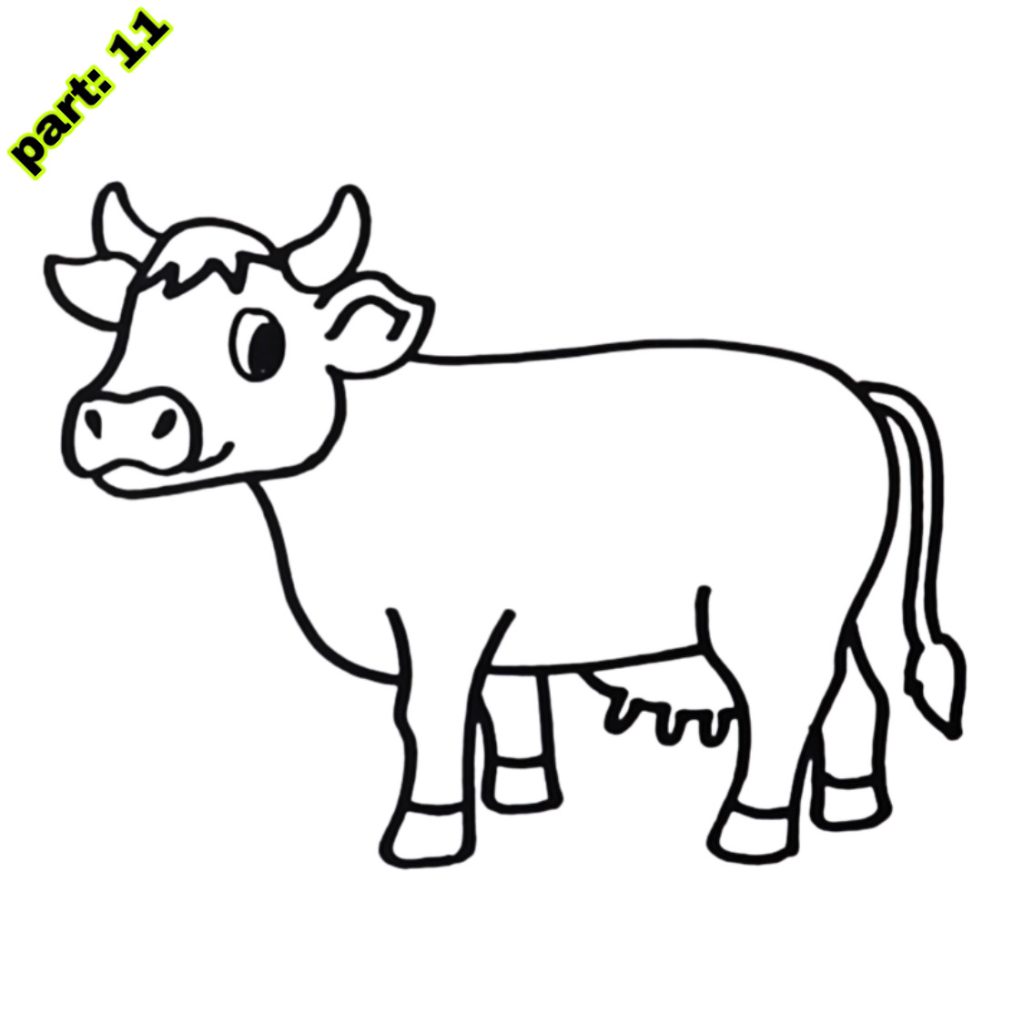
- Tail
- Horns
- Ears
- Udders
Understanding the shape and proportion of a cow will make it easier to capture its essence on paper.
IV. Preparing the Drawing Surface
Preparing the drawing surface is crucial for a smooth drawing experience. Choose the right paper or canvas that suits your preference. For beginners, using a plain sheet of paper is perfectly fine. Guarantee a conducive workspace by securing a comfortable environment with ample lighting. This will help you concentrate and enjoy the process of drawing.
V. Step-by-Step Tutorial: Capturing the Essence of a Cow
Without further ado, let us immerse ourselves in the sequential procedure of portraying a cow. Follow these instructions to create your own cow masterpiece:
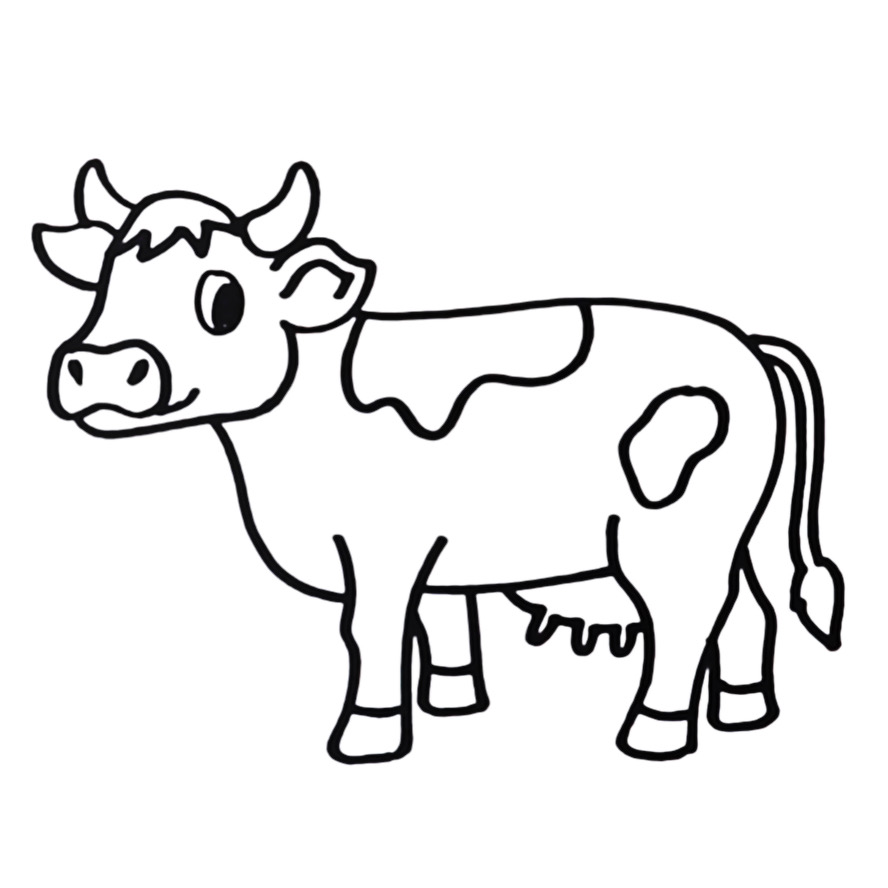
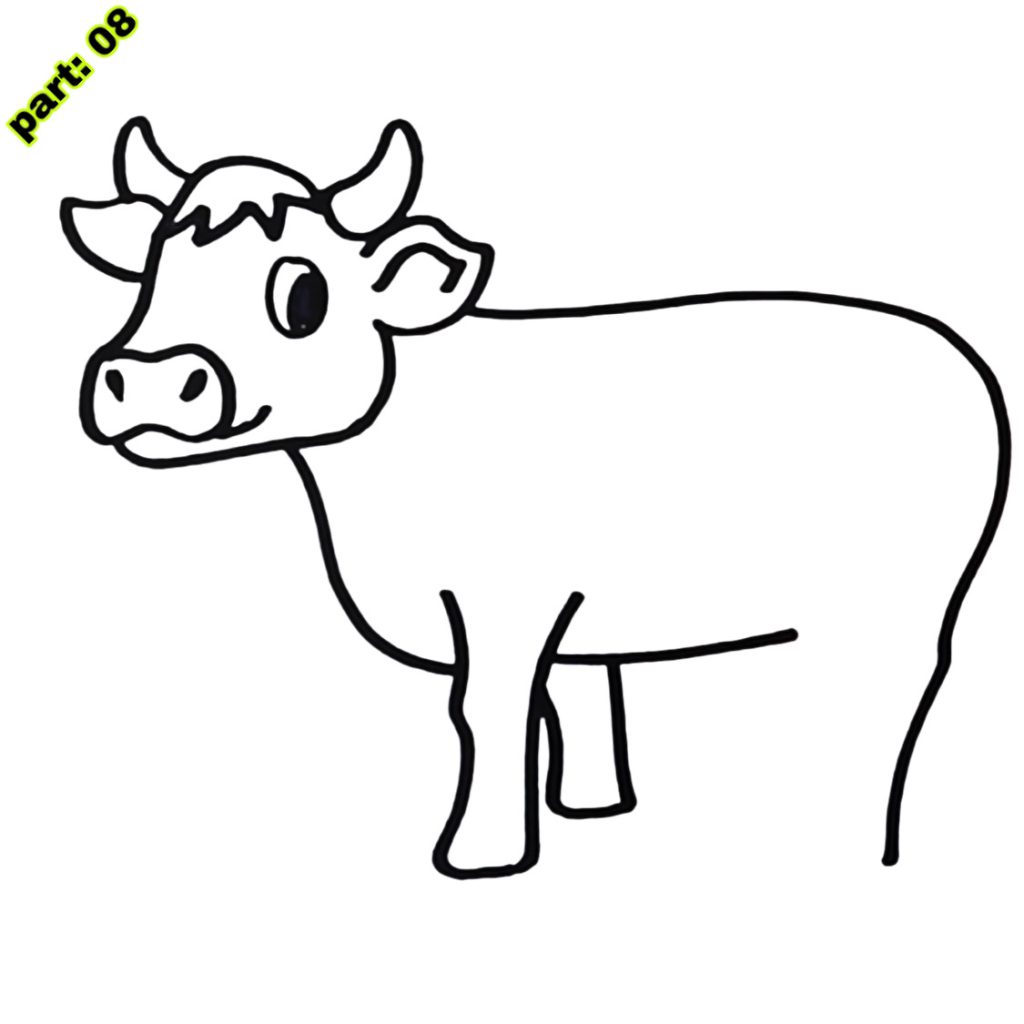
- Creating the cow’s body outline: Start by drawing a large oval shape for the body of the cow. Consider this as the cornerstone that will underpin the entirety of your artwork.
- Sketching basic shapes: Add smaller circles for the head and limbs of the cow. These circles will help you establish the proportions of the cow’s body.
- Incorporating curves and lines: Connect the circles with smooth curves and lines to define the cow’s body and limbs.
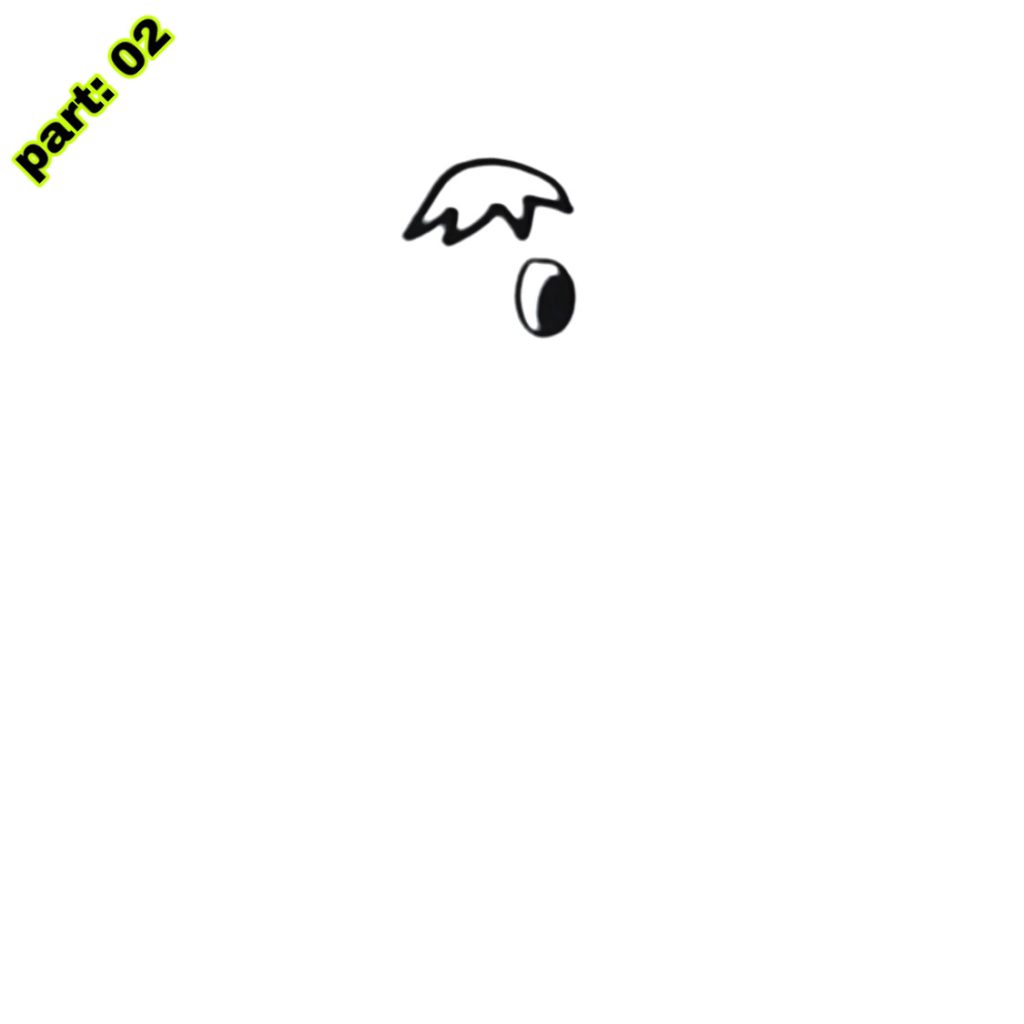
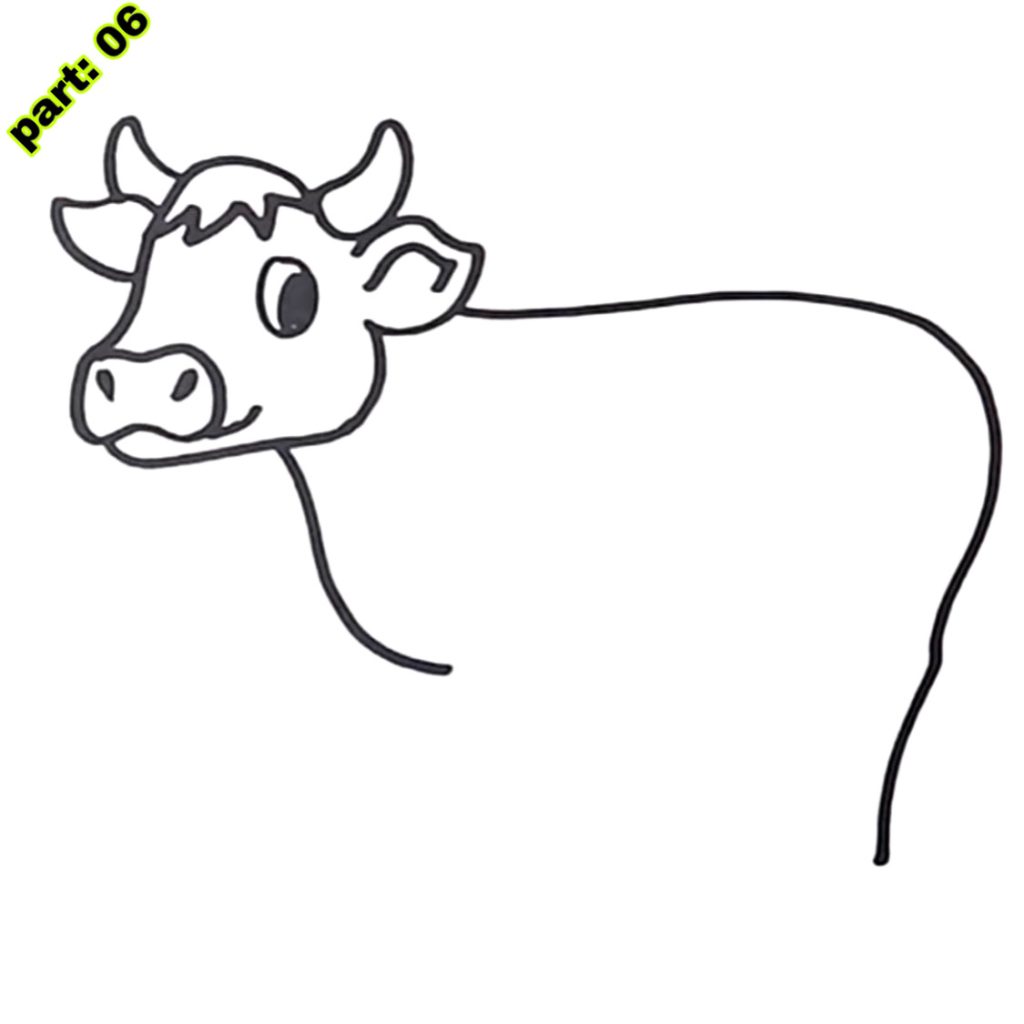
- Detailing the cow’s head: Add more details to the cow’s head by drawing the eyes, nostrils, and mouth. Pat attention to the placement and size of these features to capture the cow’s expression.
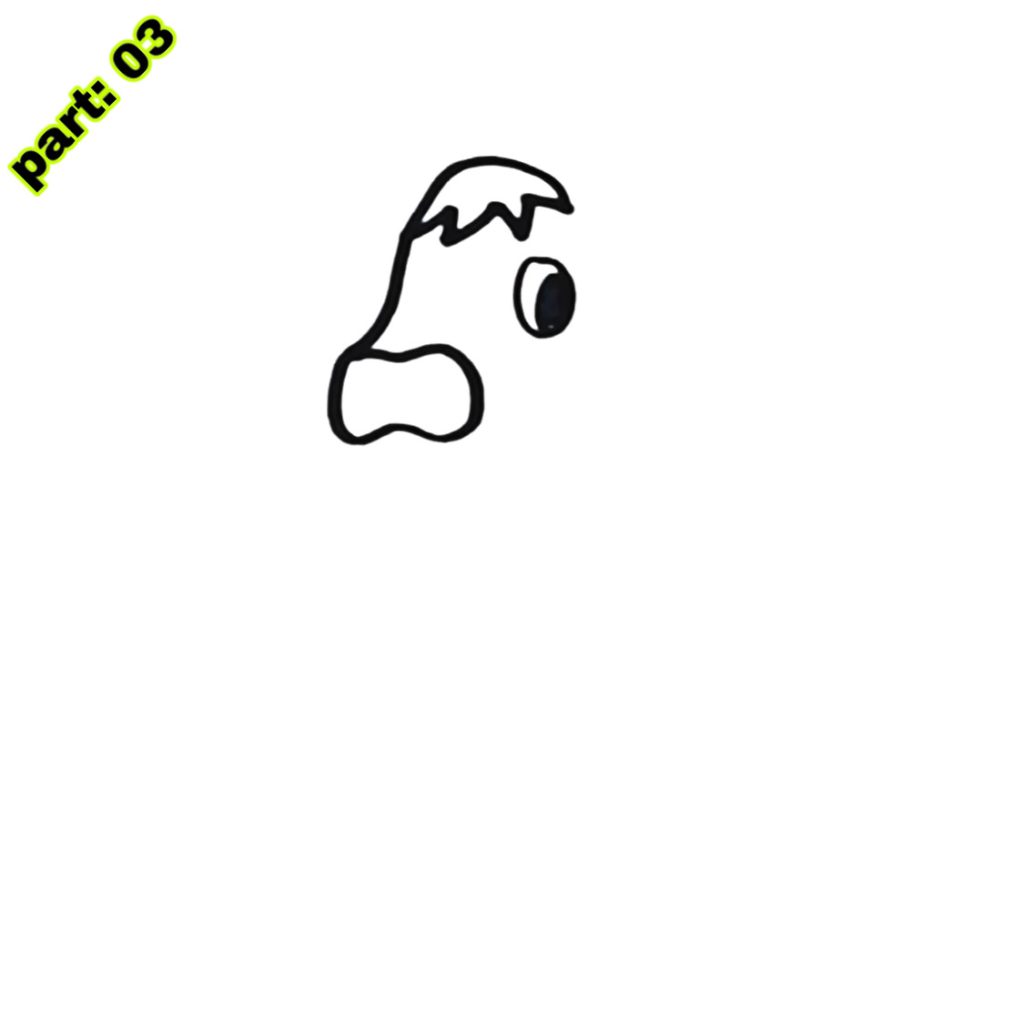
- Outlining the snout and ears: Use curved lines to outline the snout and ears of the cow. These features give the cow its distinct look. Enhancing the cow’s visage with precision, delicately incorporate the eyes, nostrils, and mouth, thereby refining its intricate features. These features bring the cow to life.
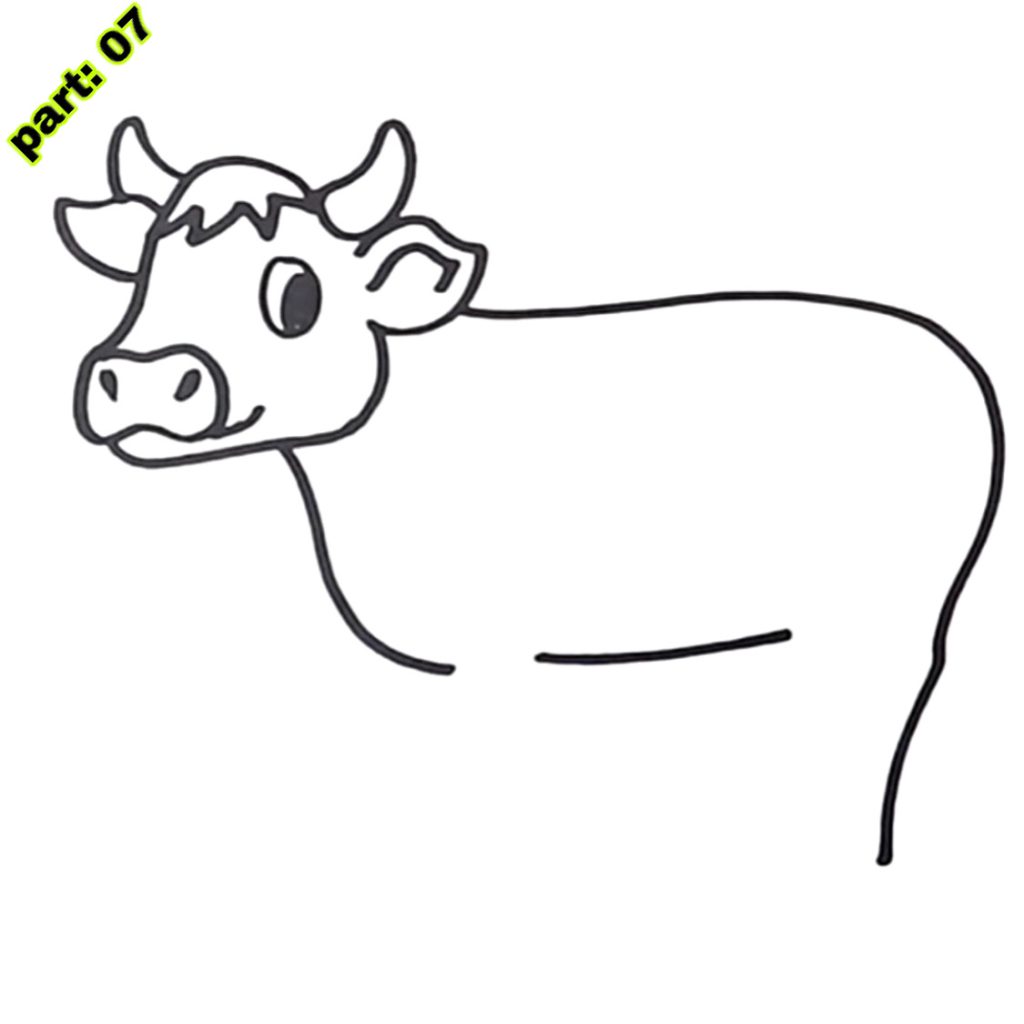
- Emphasizing the cow’s features: Add more definition to the cow’s face by darkening certain areas and emphasizing the contours.
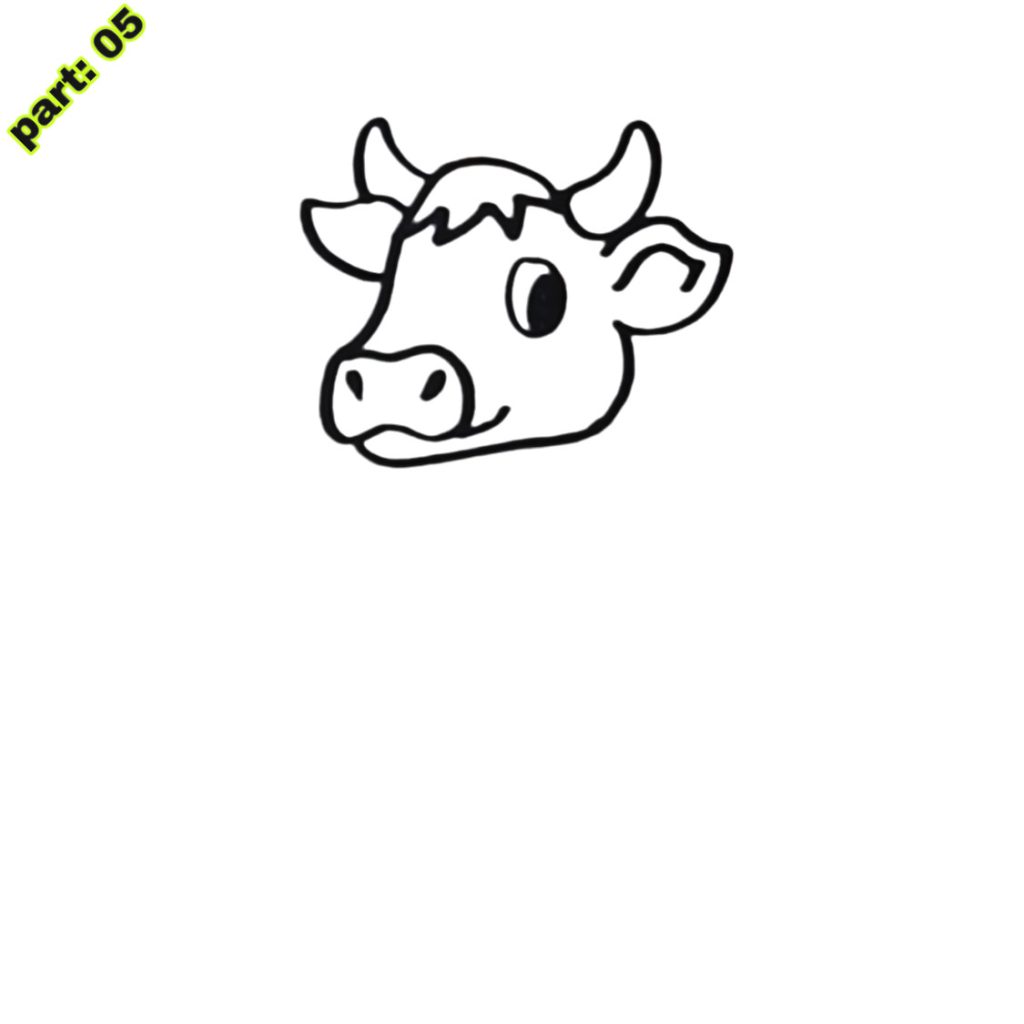
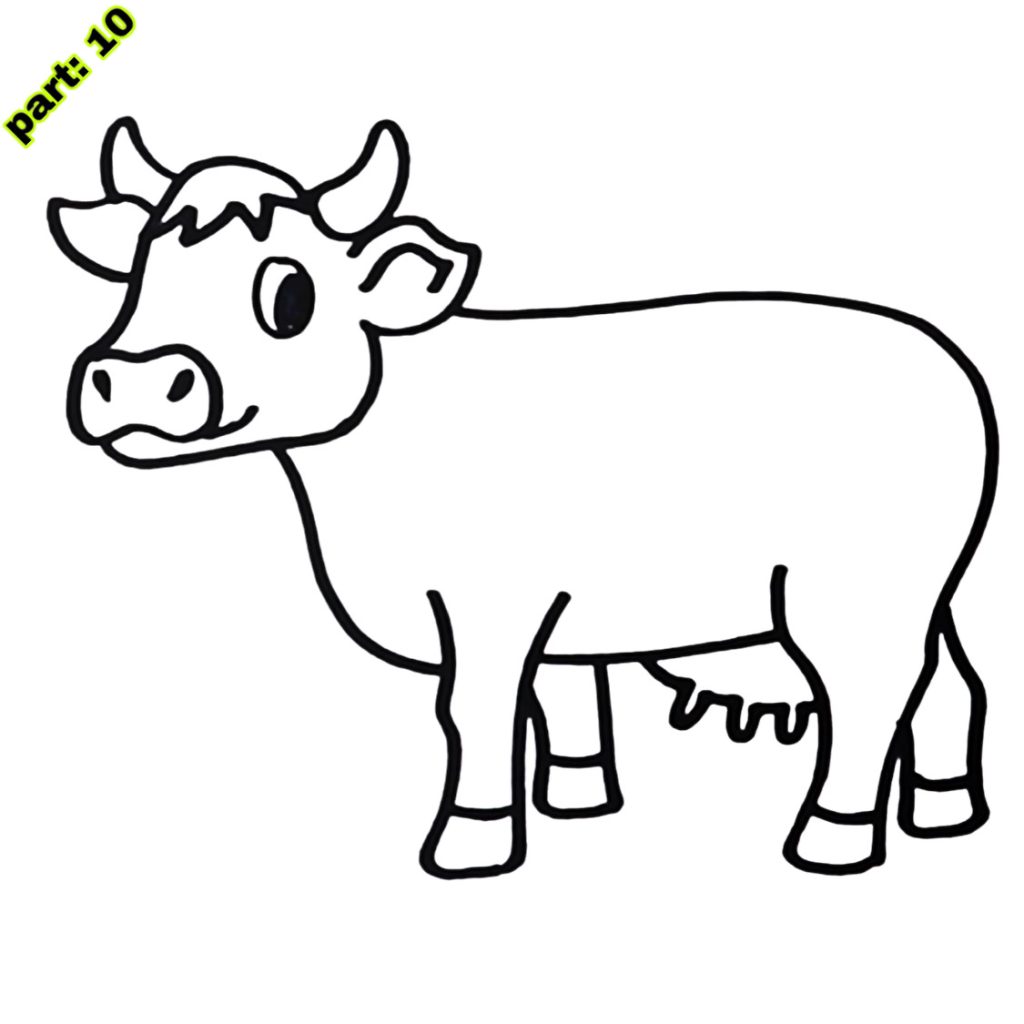
- Drawing the horns and udders: Extend the head with the cow’s horns and add udders beneath the body.
- Expanding on facial details: Add more details to the cow’s face, such as eyelashes and eyebrows, to enhance its expression.
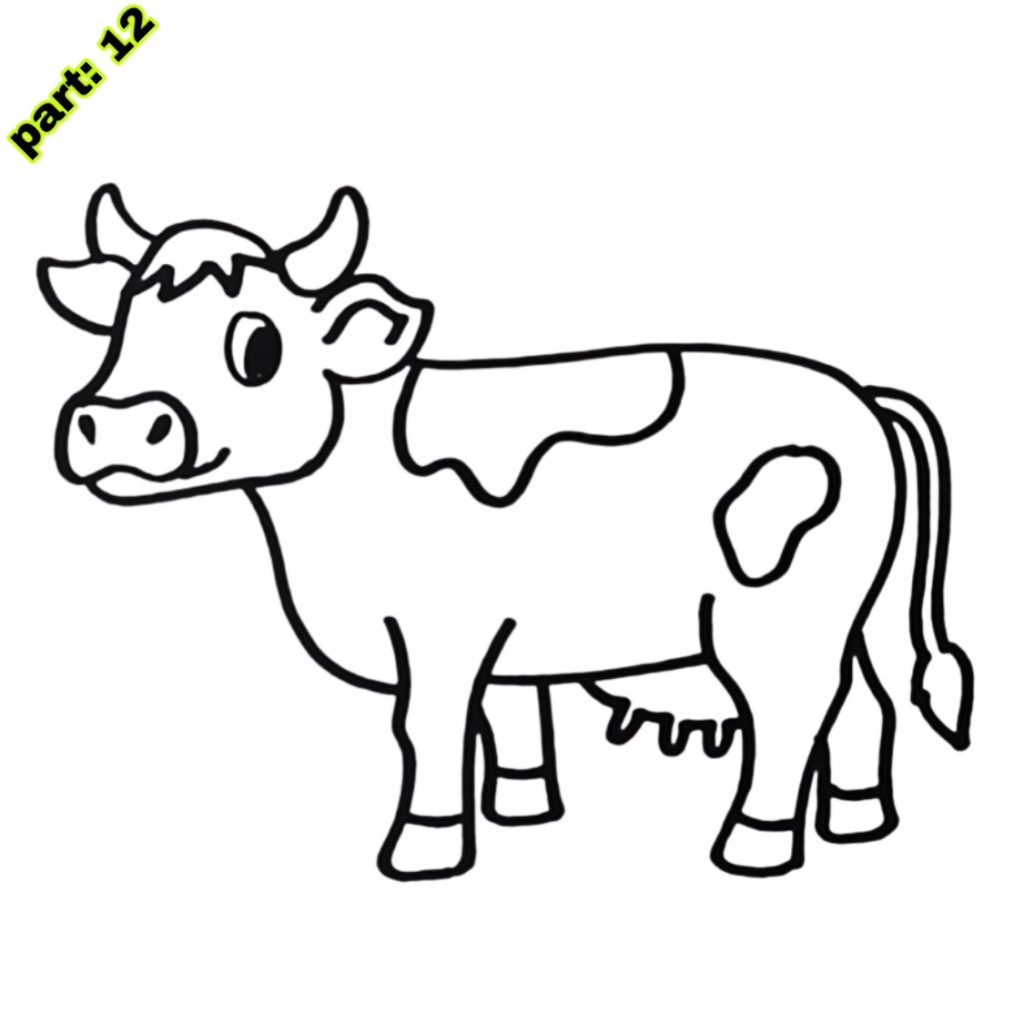
- Crafting realistic markings: Draw the distinctive markings on the cow’s body, such as spots or patches. These markings add character to the drawing.
- Incorporating spots or patches: Fill in the markings with the desired pattern Unleash your creativity and venture into the realm of experimentation, exploring a multitude of diverse designs.
- Experimenting with coat colors: Choose the colors for the cow’s coat. Traditionally, cows are depicted in black and white but feel free to explore different color combinations.
- Enhancing the cow’s texture and shading: Add shading to create depth and texture in the cow’s coat. Use light strokes to depict the fur or hair strands.
- Depicting fur or hair strands: Add finer details to the cow’s coat by drawing individual hair strands or fur textures. This step adds realism to the drawing.
- Utilizing light and shadow: Apply shading to create highlights and shadows on the cow’s body. This technique adds dimension to the drawing.
VI. Adding Background Elements
To make your cow drawing more interesting, consider adding background elements. Here are a few suggestions:
- Create a farm backdrop with a barn and fences.
- Draw a grassy field or meadow for the cow to graze on.
- Include other animals or objects to enhance the scene.
- Set loose the infinite wellspring of your creativity and let the guiding current of your imagination steer you towards uncharted artistic realms.
VII. Erasing Guidelines and Blending
As your artwork begins to materialize, the moment has arrived to refine and tidy up your creation. Use an eraser to remove any unnecessary guiding lines, leaving only the final drawing visible. This step will give your drawing a polished look.
If you want to smoothen transitions and blend shading, you can use a blending tool or gently smudge the pencil lines with your finger. This technique adds a softer touch to the drawing.
VIII. Colouring the Cow
If you prefer a colored cow drawing, this is the time to bring it to life. Use colored pencils or markers to fill in the appropriate colors for the cow’s coat, markings, and background elements. Feel free to explore different color combinations and get creative.
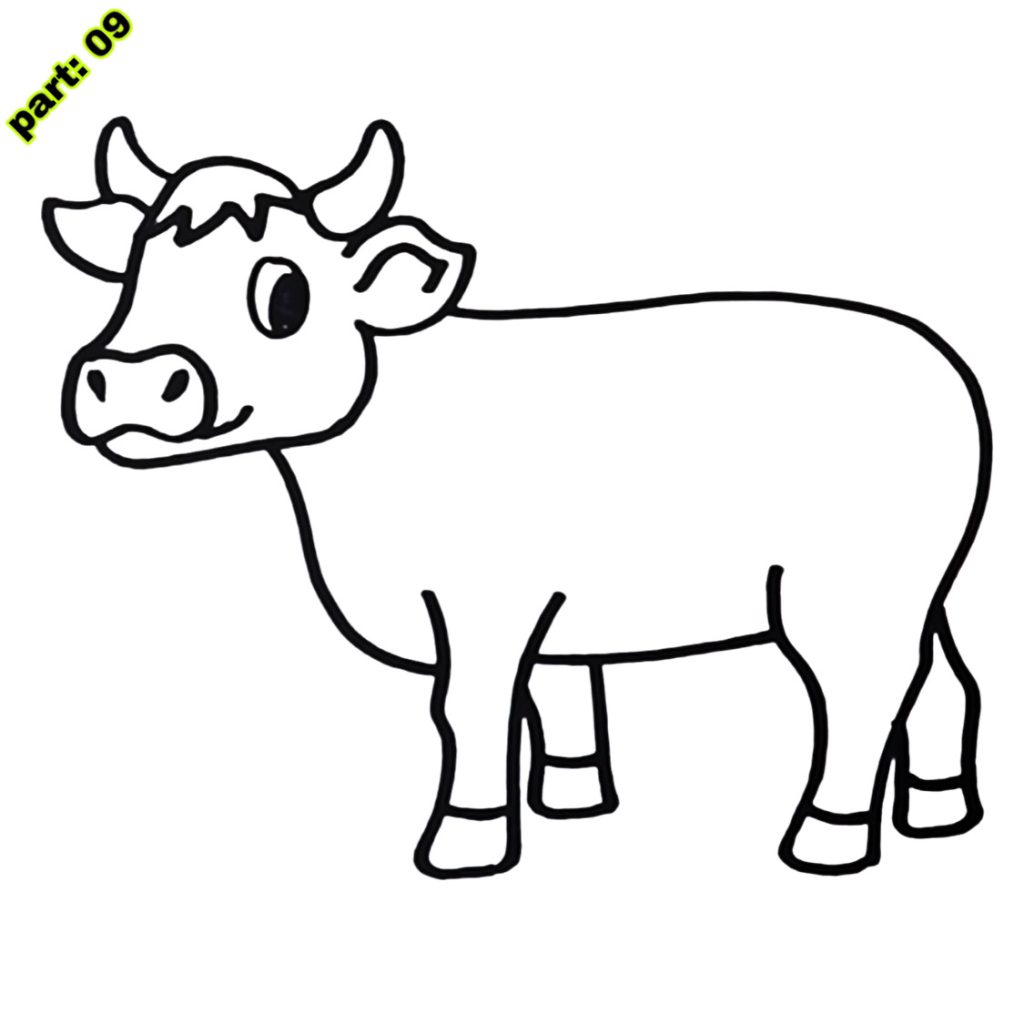
IX. Finishing Touches
To add the final touches, take a step back and assess your drawing. Incorporate supplementary details or exquisite highlights to elevate the overall aesthetic appeal. Celebrate your masterpiece and feel proud of your accomplishment.
X. Common Mistakes to Avoid
Embarking on a drawing journey can pose challenges, particularly for those new to the craft. To circumvent common pitfalls, consider these invaluable pointers:
- Exercise patience and refrain from hastening the process. Grant your creativity the freedom to unfurl naturally, without rushing or imposing constraints on its pace.
- Practice basic shapes and proportions before attempting complex drawings.
- Use light strokes initially to avoid heavy and difficult-to-erase lines.
- Embrace mistakes as valuable chances to acquire knowledge and enhance your skills.
- Remember, every artist starts somewhere, and practice is key to honing your drawing skills.
XI. Showcasing Your Masterpiece
Having attained mastery in the art of drawing cows, the moment has arrived for you to proudly unveil your masterpiece to the world. Here are a few options for display and sharing:
- Frame your drawing and hang it on a wall.
- rewrite the sentences uniquely”
- Enter art competitions or local exhibitions to showcase your talent.
- Embrace your newfound confidence and continue exploring the world of art.
XII. Answers to Common Queries (ACQs)
Can I draw a cow even if I’m not good at art?
Absolutely! The art of drawing welcomes individuals of every skill level, making it an inclusive endeavor for all to engage in. This tutorial provides step-by-step guidance suitable for beginners.
What age group is this tutorial suitable for?
Crafted with a wide-ranging audience in mind, this tutorial is tailored to captivate young minds of various ages, nurturing their passion for drawing. Younger children may require adult supervision and assistance.
How important is practice in improving drawing skills?
Practice plays a significant role in improving any skill, including drawing. The path to improvement lies in consistent practice, as it paves the way for progress. Embrace the inevitability of mistakes and fearlessly explore new horizons through experimentation.
How should I handle mistakes while drawing?
Mistakes are an inherent aspect of the journey of learning, acting as stepping stones toward growth and development. Rather than succumbing to discouragement, seize these moments as golden opportunities to learn, evolve, and flourish. Use an eraser to correct mistakes or turn them into creative elements.
Sponsored By:
Check out the best and most affordable digital marketing services that can take your business to the next level. If you want a build a Blogging Business, Please contact them; They Basically provide from-scratch-to-finish services https://elonmusktrillion.com/
XIII. Summary
In this comprehensive guide, we explored the fascinating world of cow drawing. Starting from the basic outline to the final touches, we learned how to create a realistic and visually captivating cow drawing. Engaging in drawing not only grants children an avenue to manifest their creativity but also nurtures their fine motor skills, cultivates patience, and fosters an attentive eye for detail. Remember, practice makes perfect, so keep drawing, experimenting, and embracing your artistic journey. With time and dedication, you’ll become a master of cow drawing!
Now, seize your artistic tools, liberate your imagination, and embark upon an exhilarating voyage of creative expression!
Bonus:
You may check out our most helpful article about how you can help your child to do extremely well in drawing https://bloggchain.com/beautiful-kangaroo-drawing-in-2023/


