Introduction
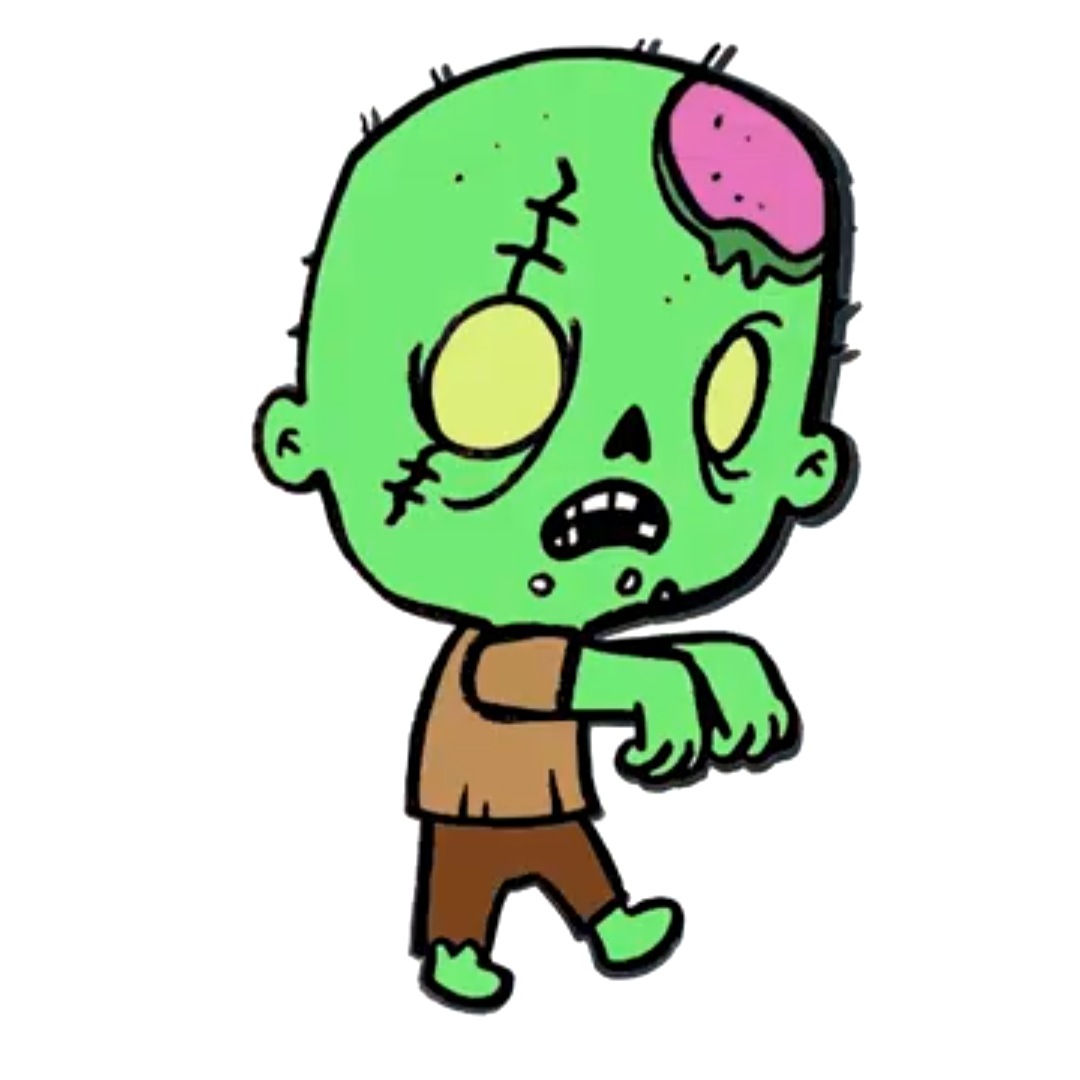
Zombie drawing is a fun and creative exercise that enables youngsters to utilize their creativity and artistic talents to create creepy and terrifying figures. Drawing zombies may be a terrific method for youngsters to develop their imagination and express themselves through art. It also teaches children about diverse forms, proportions, and shading methods. Whether it’s Halloween or simply a typical day, zombie art can be enjoyable and interesting for kids of all ages.
Materials Needed for Zombie Drawing
You will need a few basic things to start with zombie drawings. Here’s a list of things you’ll need:
- 1. Paper: You may use any paper, but it’s ideal to use a thicker form like drawing paper or cardstock since it will stand up better to erasing and coloring.
- 2. Pencils: You’ll need a few different pencils with varied lead hardness, such as HB, 2B, and 4B. These will help you generate hues and textures in your zombie drawing.
- 3. Eraser: A decent-quality eraser is vital for fixing errors and modifying your artwork.
- 4. Sharpener: Make sure you have a sharpener accessible to keep your pencils sharp and ready for sketching.
- 5. Coloring supplies (optional): If you wish to add color to your zombie drawing, use-colored pencils, markers, or crayons.
Gift:
Claim our premium worksheet practice book For Free (Only for you) :
Step-by-Step Guide to Drawing a Zombie
Now that you have all your resources available, let’s dig into the step-by-step process of creating a simple zombie. Follow these steps, and you’ll have your zombie in only a few minutes!
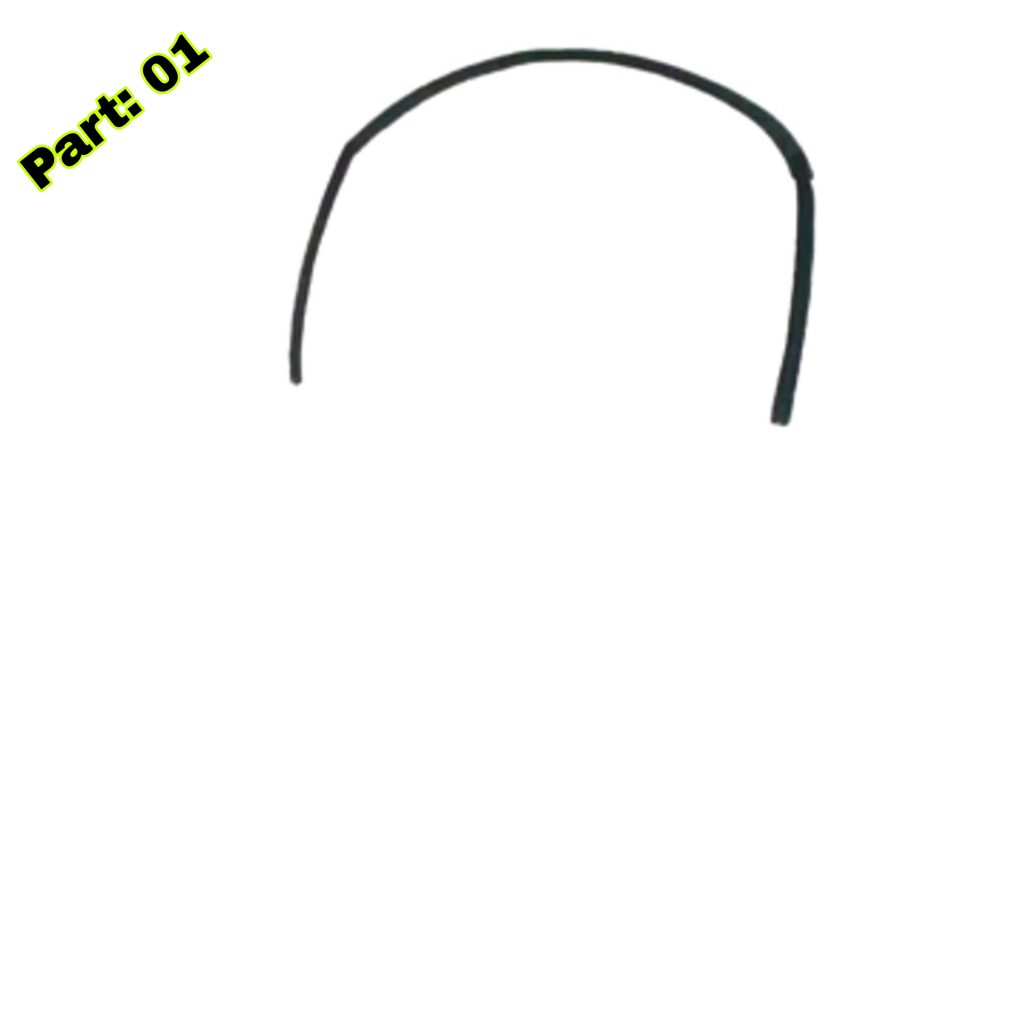
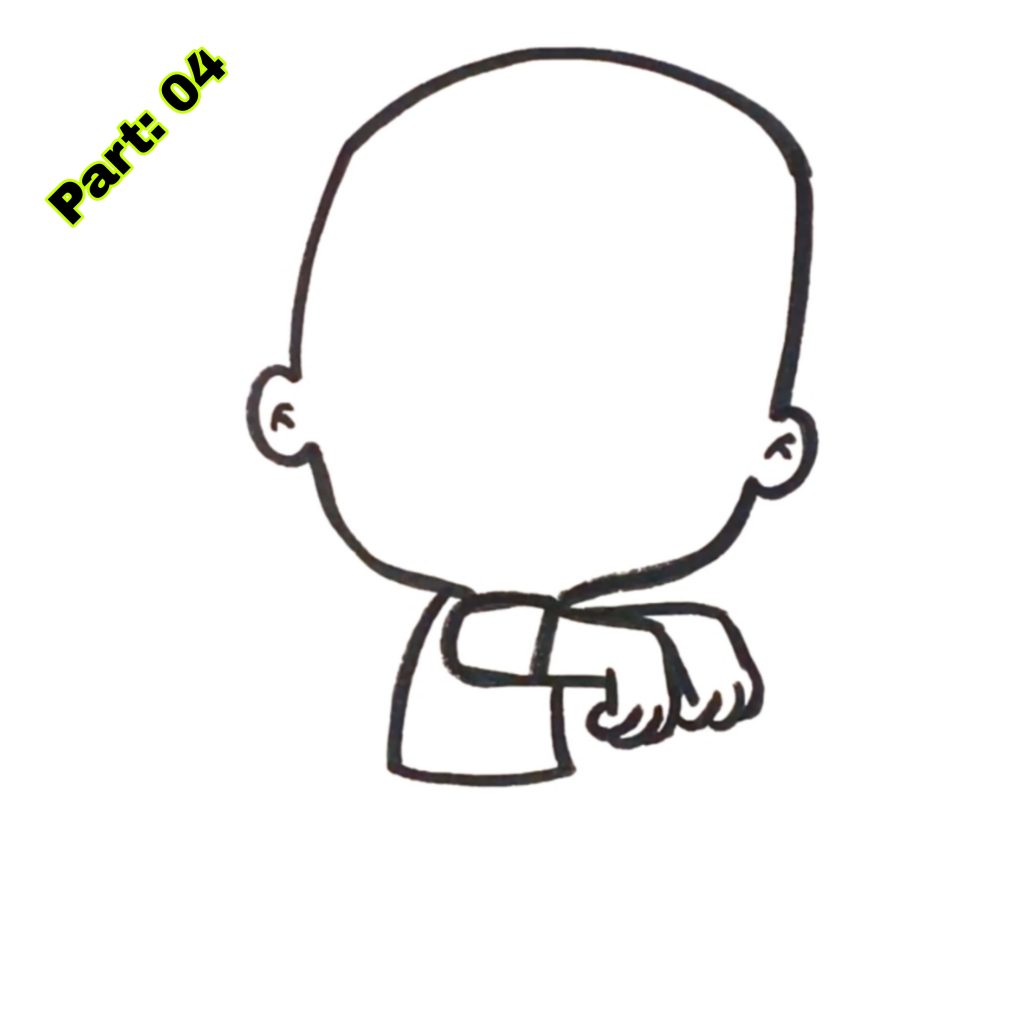
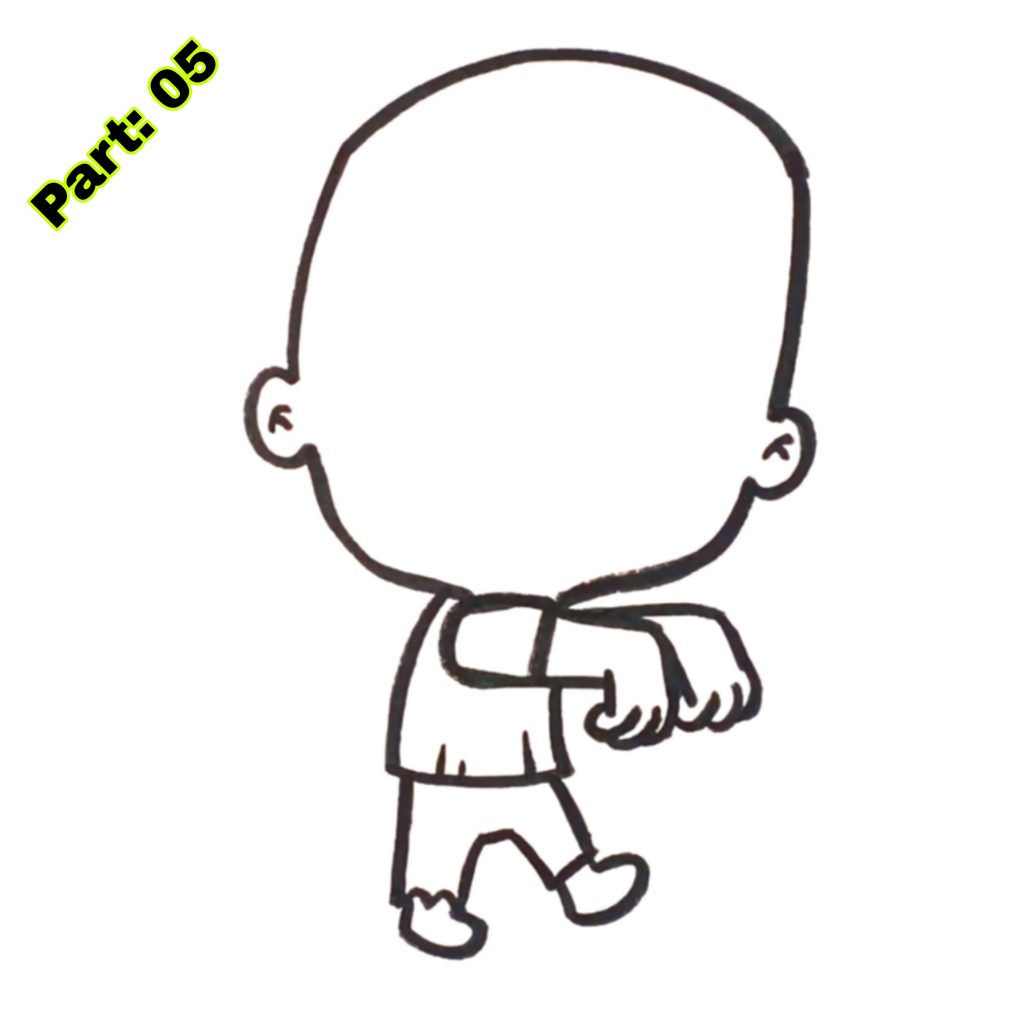
- Step 1: Start by sketching a circle for the head. This will be the basis of your zombie’s body.
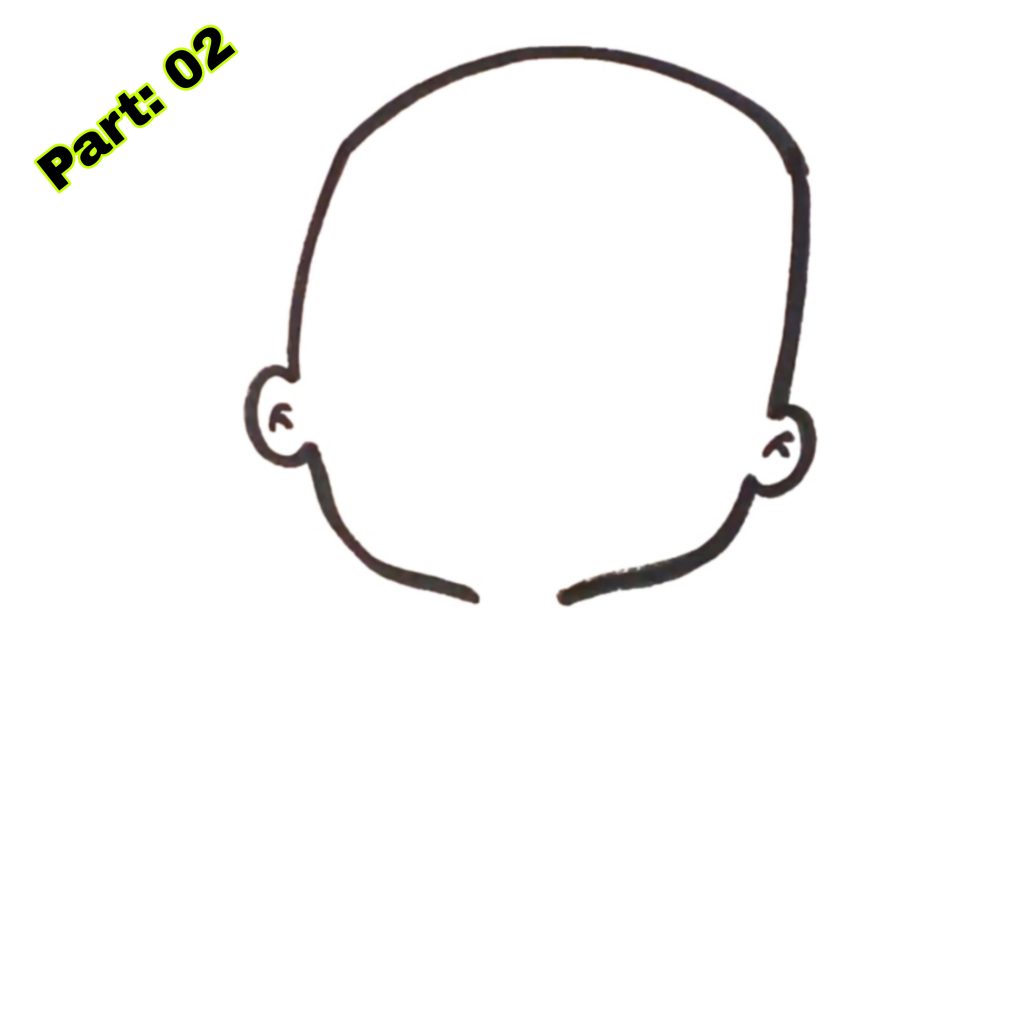
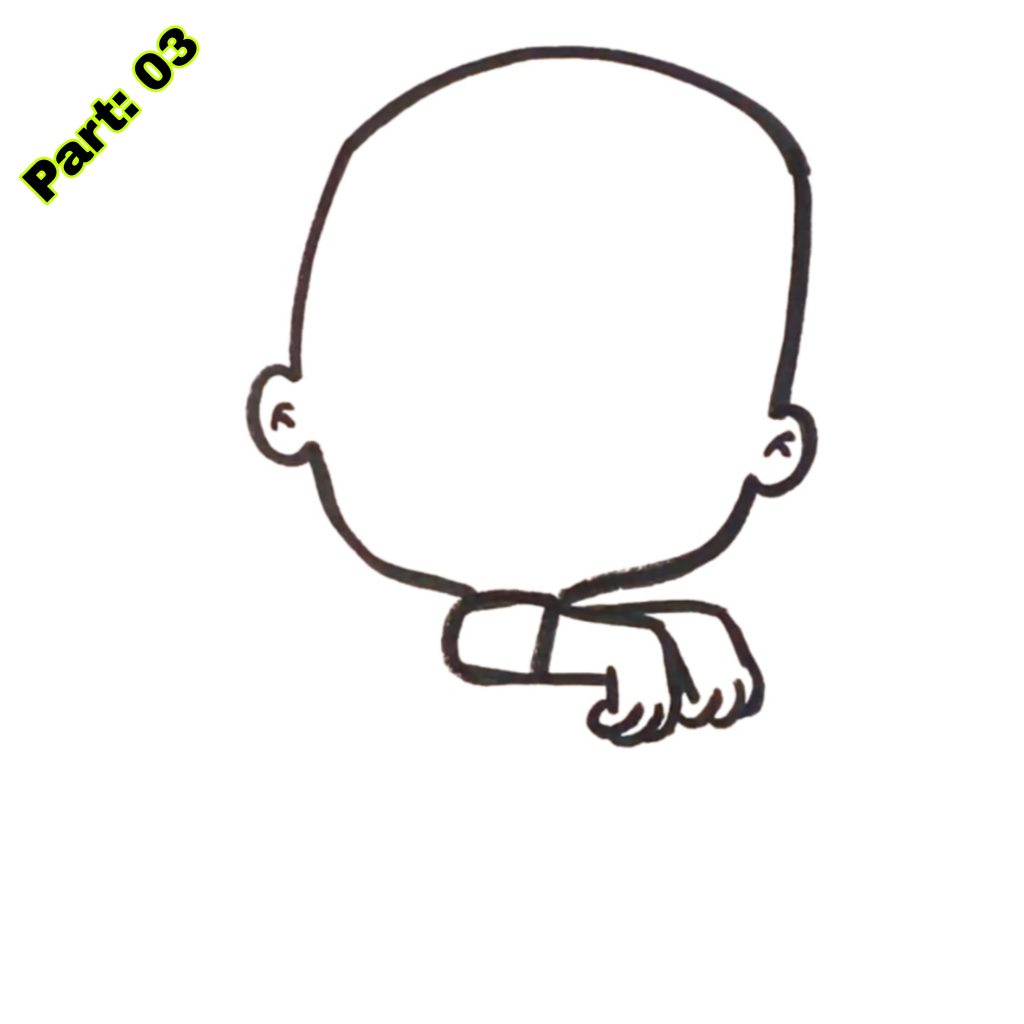
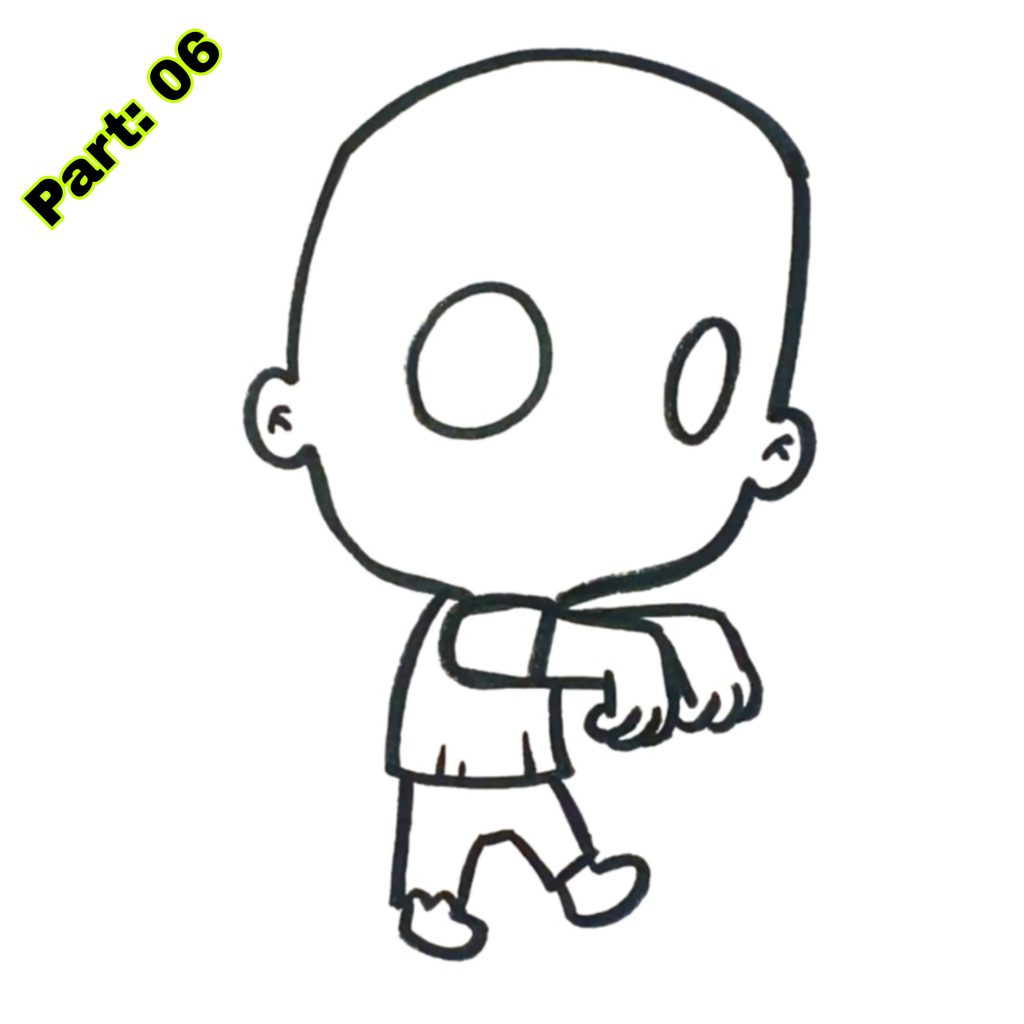
- Step 2: Add two lines within the circle to establish parameters for the eyes. These lines will help you align the eyes appropriately.
- Step 3: Draw two oval shapes for the eyes, using the principles you previously made. You may make the eyes as wide or as little as you desire, depending on how terrifying you want your zombie to seem.
- Step 4: Add a little circle inside each eye to indicate the pupils. This will give your zombie a more realistic and frightening appearance.
- Step 5: Draw a curved line below the eyes to make the nose. You may make the nose as wide or little as you desire, but remember that zombies normally have a more exaggerated and deformed look.
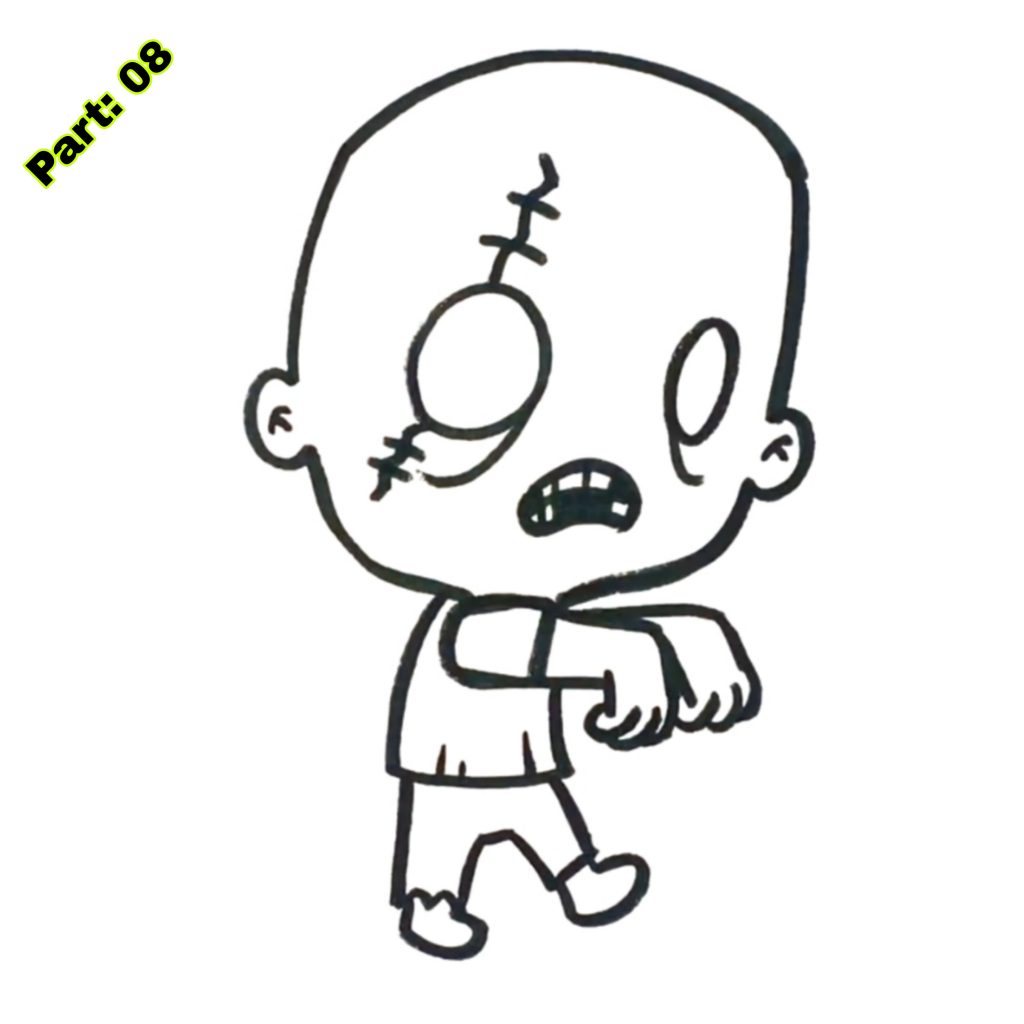
- Step 6: Now, it’s time to draw the mouth. Start by drawing a curved line below the nose, then add two lines on either side to make the lips. You may make the mouth as large or as small as you desire, depending on the look you want your zombie to have.
- Step 7: Add some teeth to your zombie’s mouth. Zombies are notorious for their rotting and rotted teeth, so feel free to be creative with the forms and sizes of the teeth.
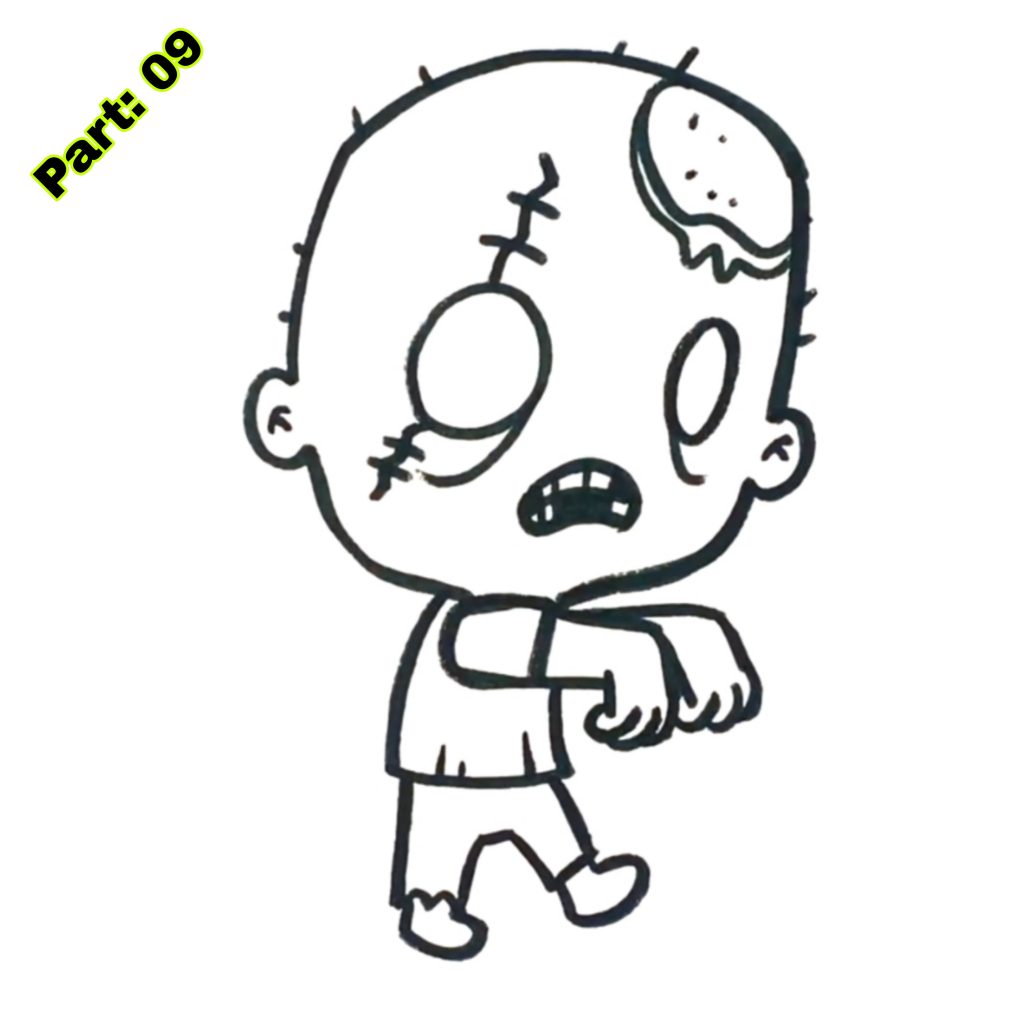
- Step 8: Draw the zombie’s hair. Zombies generally have untidy and disheveled hair so you may draw it in any way. Add strands of hair sticking out in various directions to make it appear more natural.
- Step 9: Now, it’s time to add some details to your zombie’s face. Draw some wrinkles and lines on the forehead and around the eyes and lips to give your zombie a more old and rotting look.
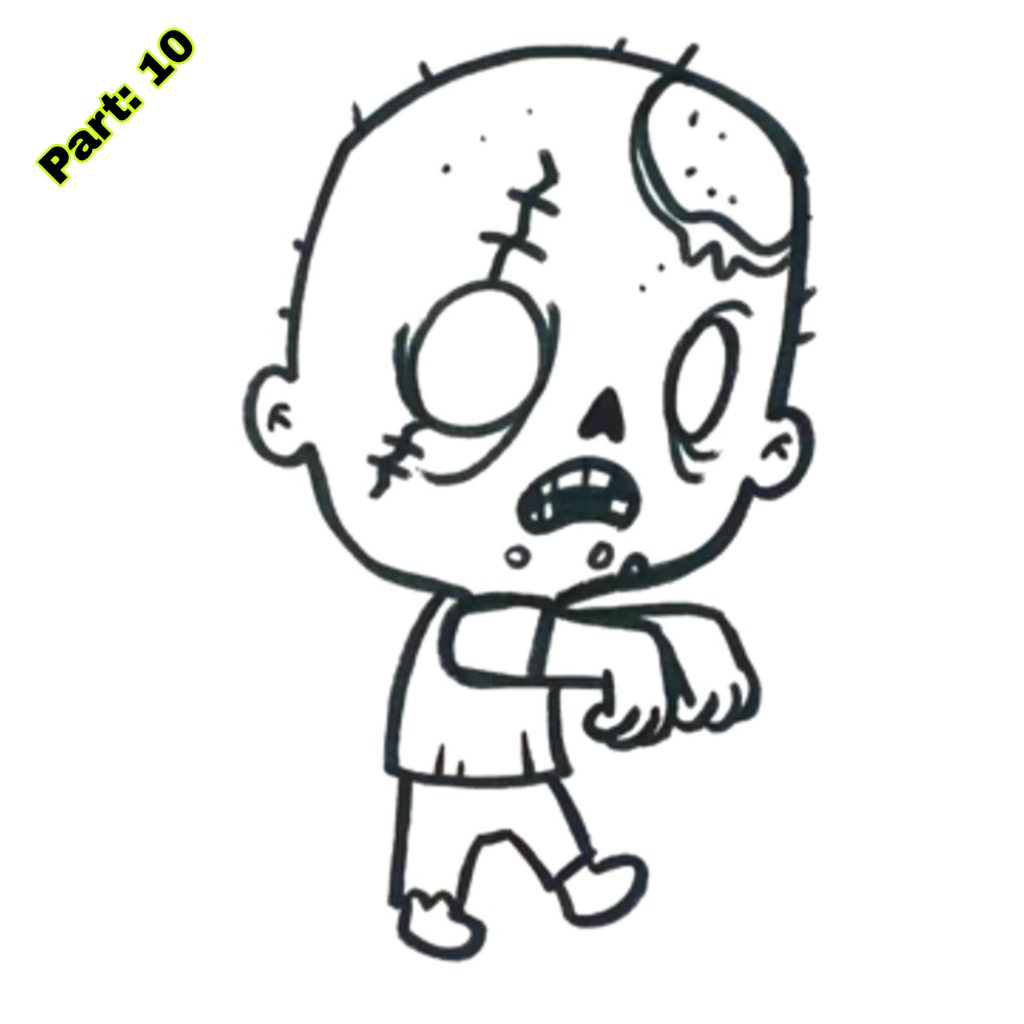
- Step 10: Add some shading to your zombie design to make it appear more three-dimensional. Use your pencils to create darker areas where shadows naturally fall, such as beneath the eyes, nose, and chin.
Tips for Making Your Zombie Drawing Look Scary
If you want to take your zombie drawing to the next level and make it appear more scarier, here are a few suggestions to bear in mind:
- 1. Use deeper hues: Adding darker shades and shadows to your zombie’s face will give it a more evil and eerie aspect. To produce darker regions, use a softer pencil, such as a 4B or 6B.
- 2. Add texture: Zombies are frequently shown as decaying and rotting creatures; thus, adding texture to your artwork might make it appear more genuine. Use short, rapid strokes with your pencil to produce a rough and uneven surface on the skin.
- 3. Experiment with various expressions: Zombies may have several phrases, from furious and frightening to sorrowful and melancholy. Try experimenting with various face expressions to give your zombie drawing a distinct and horrifying appearance.
Adding Details to Your Zombie Drawing
You may add details to make your zombie drawing more fascinating and distinctive. Here are a few suggestions:
- 1. Scars and wounds: Zombies are commonly shown as having scars and wounds on their bodies. You may add scars or open wounds to your zombie’s face or torso to make it seem more horrible.
- 2. Accessories: Give your zombie some accessories, such as ripped clothes, chains, or perhaps a weapon. These elements may give depth and individuality to your picture.
- 3. Backdrop: Add a backdrop to your zombie artwork to establish the setting. You may create a gloomy cemetery, a haunted mansion, or any other eerie environment that matches the concept of your zombie.
Coloring Your Zombie Drawing
If you want to add color to your zombie artwork, here are a few guidelines to help you pick the proper colors and color your image effectively:
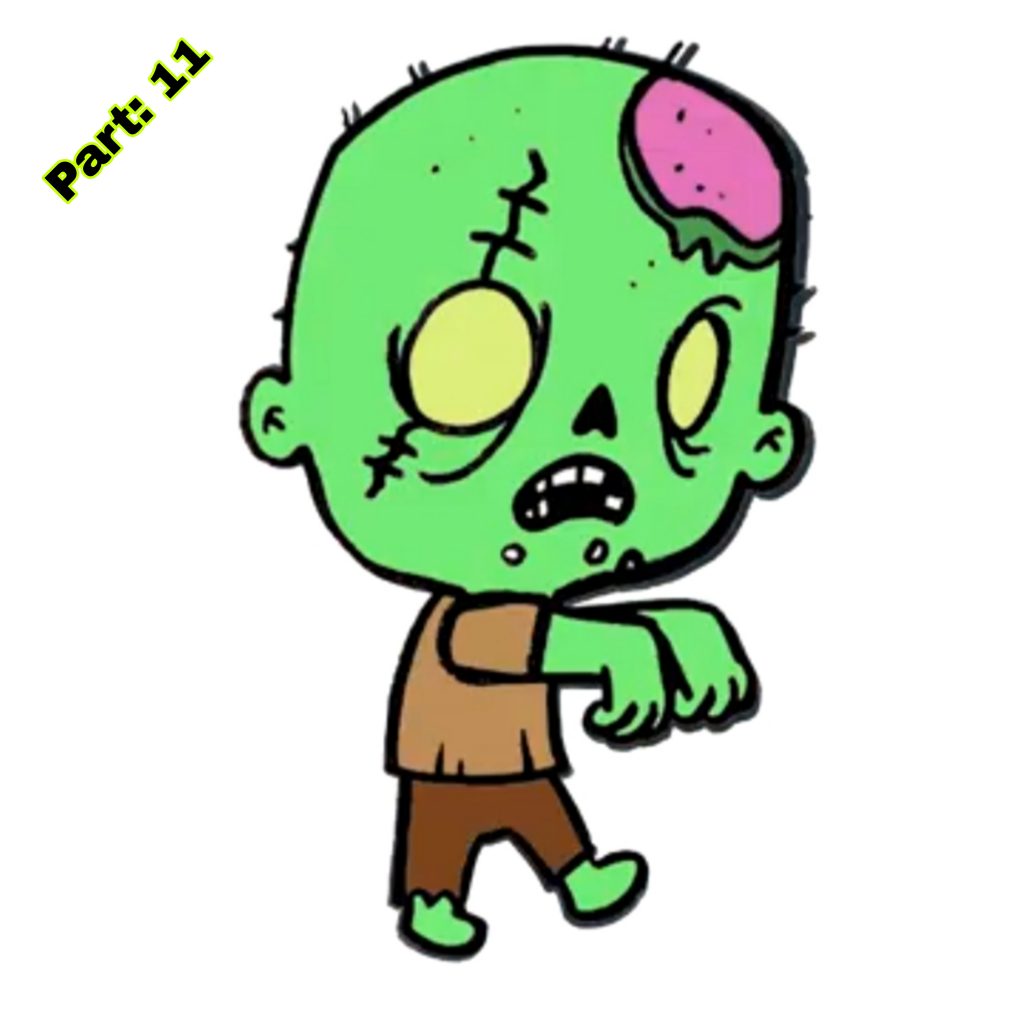
- 1. Choose muted colors: Zombies are frequently shown as pale and lifeless animals, thus it’s recommended to use subdued colors like grays, browns, and greens for their skin tone. Avoid choosing bright or colorful colors, since these might make your zombie appear less menacing.
- 2. Provide shading with color: Use shades of the same hue to provide depth and complexity to your zombie’s skin. Start with a lighter shade as the foundation color, then progressively apply darker tones to create shadows and highlights.
- 3. Experiment with other coloring methods: You may use additional coloring techniques, such as cross-hatching or stippling, to give texture and depth to your zombie picture. Play around with several styles and find which one works best for you.

Common Mistakes to Avoid When Drawing a Zombie
When sketching a zombie, students typically make a few basic blunders. Here are some recommendations on how to prevent them:
- 1. dimensions: Pay attention to the dimensions of your zombie’s face and torso. Zombies are generally shown as having exaggerated features, so be sure to make the eyes, nose, and mouth bigger than you would in a conventional human drawing.
- 2. Symmetry: Zombies are not renowned for flawless symmetry, so don’t stress too much about making your drawing absolutely symmetrical. Embrace the faults and asymmetries to give your zombie a more authentic and eerie appearance.
- 3. Overdoing the details: While adding details is crucial, be cautious not to overdo them. Too many details might make your painting seem crowded and sloppy. Focus on adding enough points to make your zombie seem terrifying and realistic.
Fun Zombie Drawing Ideas for Kids
Once you’ve mastered the basic zombie sketch, you may have fun playing with numerous variants and themes.
- 1. Zombie animals: Draw a zombie version of your favorite animal, such as a zombie cat or dog. Use the same skills you learned for sketching a basic zombie, but add additional animal elements to make it more intriguing.
- 2. Zombie superheroes: Combine your passion for zombies and superheroes by creating a zombie rendition of your favorite superhero. Imagine what your favorite superhero would look like if they were converted into a zombie and let your imagination go wild.
- 3. Zombie self-portrait: Draw a zombie representation of yourself or someone you know. Use a mirror or a picture as a reference and attempt to capture the person’s appearance while adding the zombie traits.
Benefits of Drawing Zombies for Kids
Drawing zombies may provide various advantages for youngsters, both artistically and developmentally. Here are a few of the help:
- 1. Creativity: Drawing zombies helps youngsters to expand their creativity and create distinct and creative figures. It helps kids to think outside the box and generate fresh ideas.
- 2. Fine motor skills: Drawing demands exact hand-eye coordination and control, which helps enhance fine motor abilities in youngsters. By practicing sketching zombies, youngsters may learn greater control over their hand motions and enhance their agility.
- 3. Problem-solving skills: Drawing zombies includes making judgments regarding dimensions, shading, and details. This helps youngsters develop problem-solving abilities as they find out how to make their pictures seem realistic and threatening.
- 4. Self-expression: Drawing zombies may be a form of self-expression for youngsters. It helps individuals to express their thoughts, feelings, and ideas via art, which can be a soothing and powerful experience.
Conclusion
In conclusion, zombie sketching is a fascinating and engaging hobby that helps students to develop their imagination, enhance their creative abilities, and have fun. Kids may produce unique and terrifying zombie drawings by following the step-by-step tutorial and applying the advice and recommendations discussed in this article. So take your pencils, paper, and erasers, and let your imagination run wild as you bring your zombies to life on the page!
Sponsored by
Check out the best and most affordable digital marketing services that can take your business to the next level. If you want a build a Blogging Business, Please contact them; They Basically provide from-scratch-to-finish services https://elonmusktrillion.com/
FAQ
Q: What is the article “Zombie Drawing for Kids in Just 3 Minutes” about?
A: The article gives step-by-step guidance on how youngsters can draw a zombie figure fast and effortlessly, requiring only 3 minutes to finish the picture.
Q: What age group is this article targeted?
A: The essay is particularly made for kids, making it perfect for youngsters of different ages interested in sketching zombies or other terrifying figures.
Q: Do I need any previous drawing expertise to follow the directions in the article?
A: The article is targeted for novices and assumes no previous drawing skill. The directions are basic, making them accessible for students of all ability levels.
Q: What materials are necessary to finish the zombie drawing?
A: The article will likely list the materials required for the drawing. It can need simple art equipment like pencils, erasers, paper, and colored markers or crayons.
Q: Is the article complemented with visual aids or illustrations?
A: The article should provide visual aids such as photographs or diagrams at each stage, enabling youngsters to follow along and reproduce the zombie artwork properly and rapidly.
Bonus:
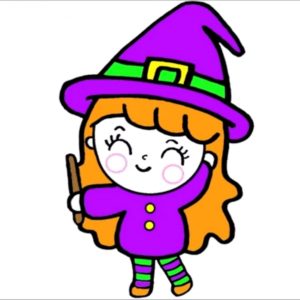
You may check out our most helpful article about how you can help your child to do extremely well in drawing https://bloggchain.com/stunning-witch-drawing-for-kids-in-2-minutes/
