Introduction
Ear Drawing Easy – is a vital talent for youngsters to learn as it helps to boost their creativity, imagination, and fine motor abilities. It helps individuals to express themselves and explain their thoughts graphically. While drawing diverse objects and themes, youngsters need to learn how to sketch different body parts appropriately. One such bodily part is the ear. Learning to draw ears can be a fun and gratifying experience for youngsters, as it adds depth and realism to their artwork.
Summary
Drawing ears helps students enhance their general drawing ability and gives them with a greater grasp of human anatomy. Kids may strengthen their observation abilities and attention to detail by learning to draw ears. They may learn about the diverse forms, curves, and textures of an ear. This information may then be extended to sketching other body parts and objects, helping students to produce more realistic and detailed artwork.
Materials Required for Ear Drawing Easy
To start sketching ears, youngsters will need a few simple materials. These include:
- 1. Pencil: A pencil is the most versatile tool for drawing. It enables youngsters to generate bright and dark lines and make repairs effortlessly.
- 2. Eraser: An eraser is necessary for eliminating any errors or undesirable lines when sketching.
- 3. Paper: Kids may use any sort of paper, such as sketch paper or plain printer paper.
- 4. Reference picture: It might be beneficial for youngsters to have a reference picture of an ear when learning to draw. This might be a picture or a sketch of an ear.
Gift:
Claim our premium worksheet practice book For Free (Only for you):
Step-by-Step Guide to Drawing an Ear
Drawing an ear may appear tough at first, but with repetition and following step-by-step instructions, youngsters can simply learn how to draw one. Here is a full instruction on how to draw an ear:
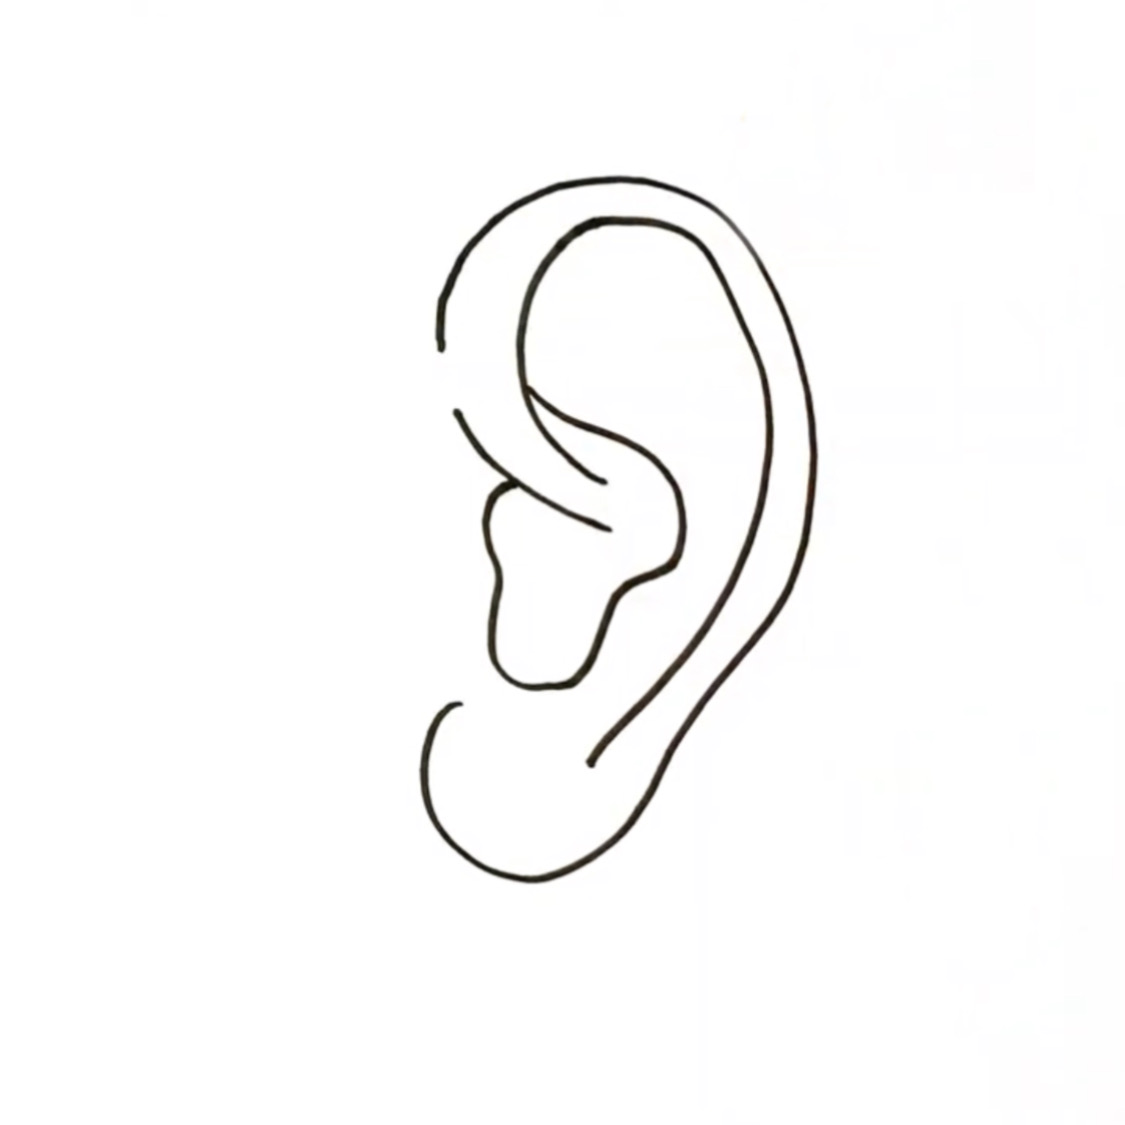
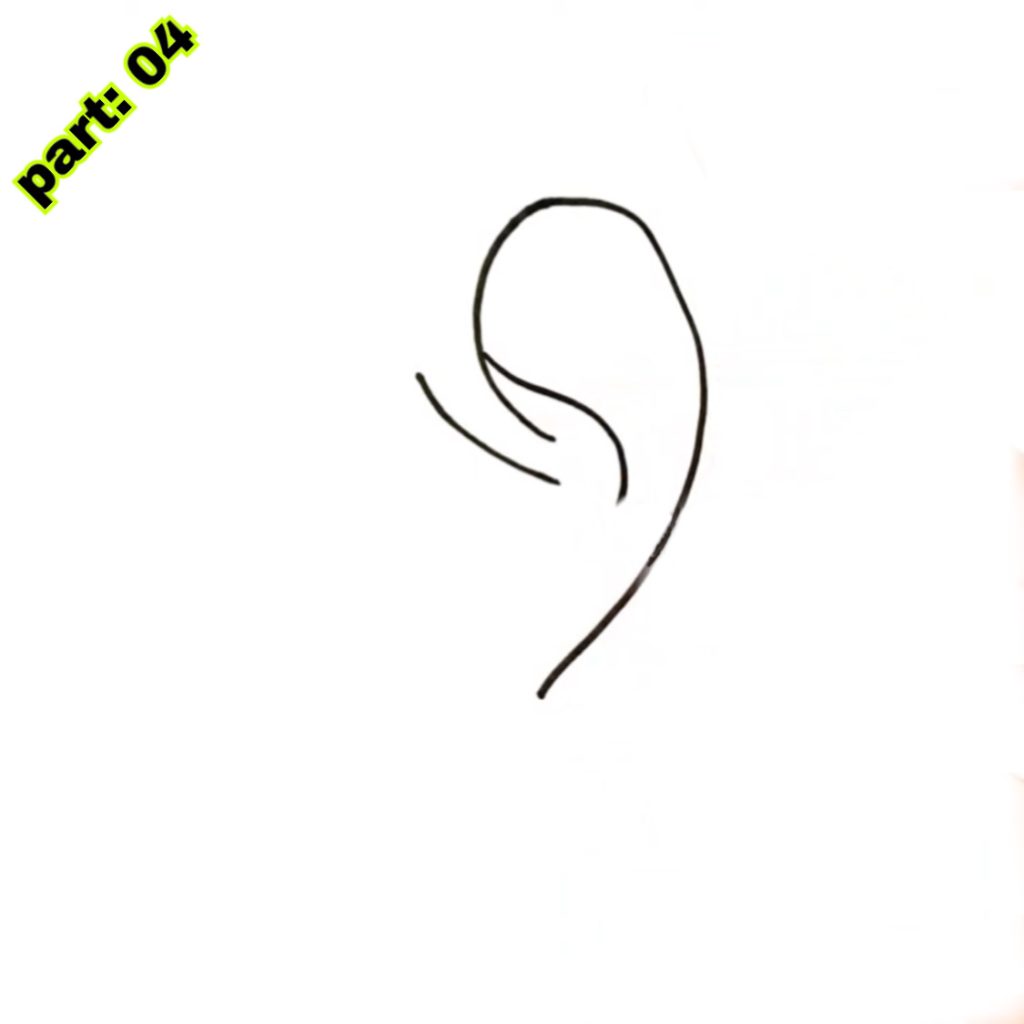
- Step 1: Start by sketching a curved line matching a question mark’s form. This will be the contour of the ear.
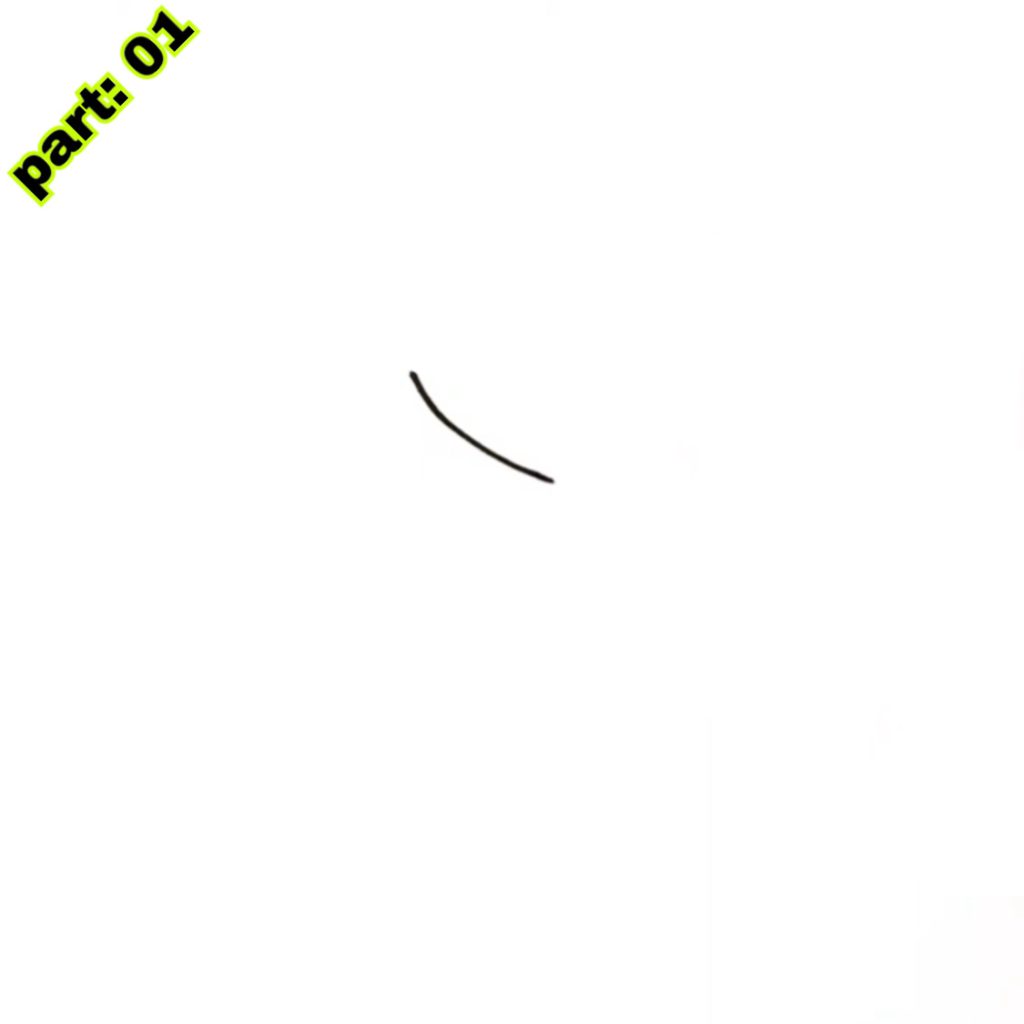
- Step 2: Inside the outline, create a tiny curved line that matches the curvature of the outside line. This will be the inside curvature of the ear.
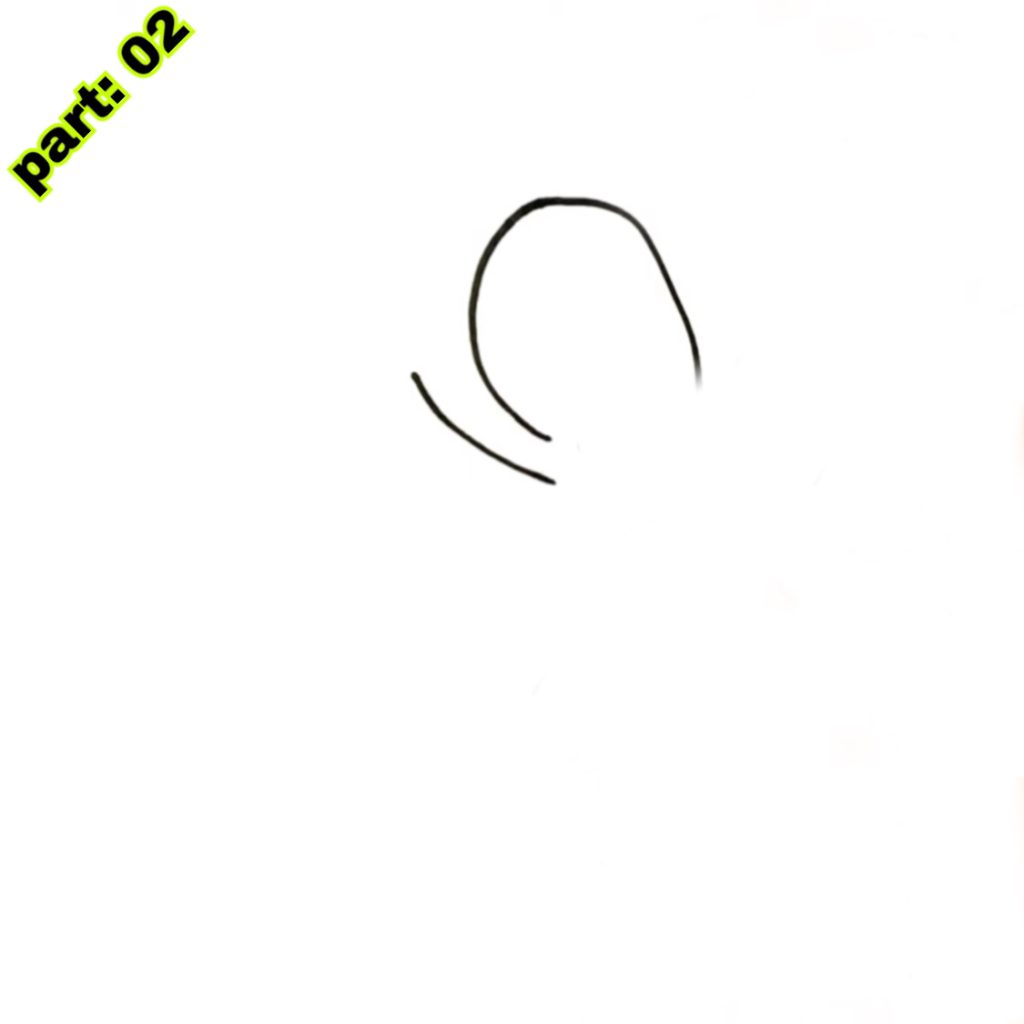
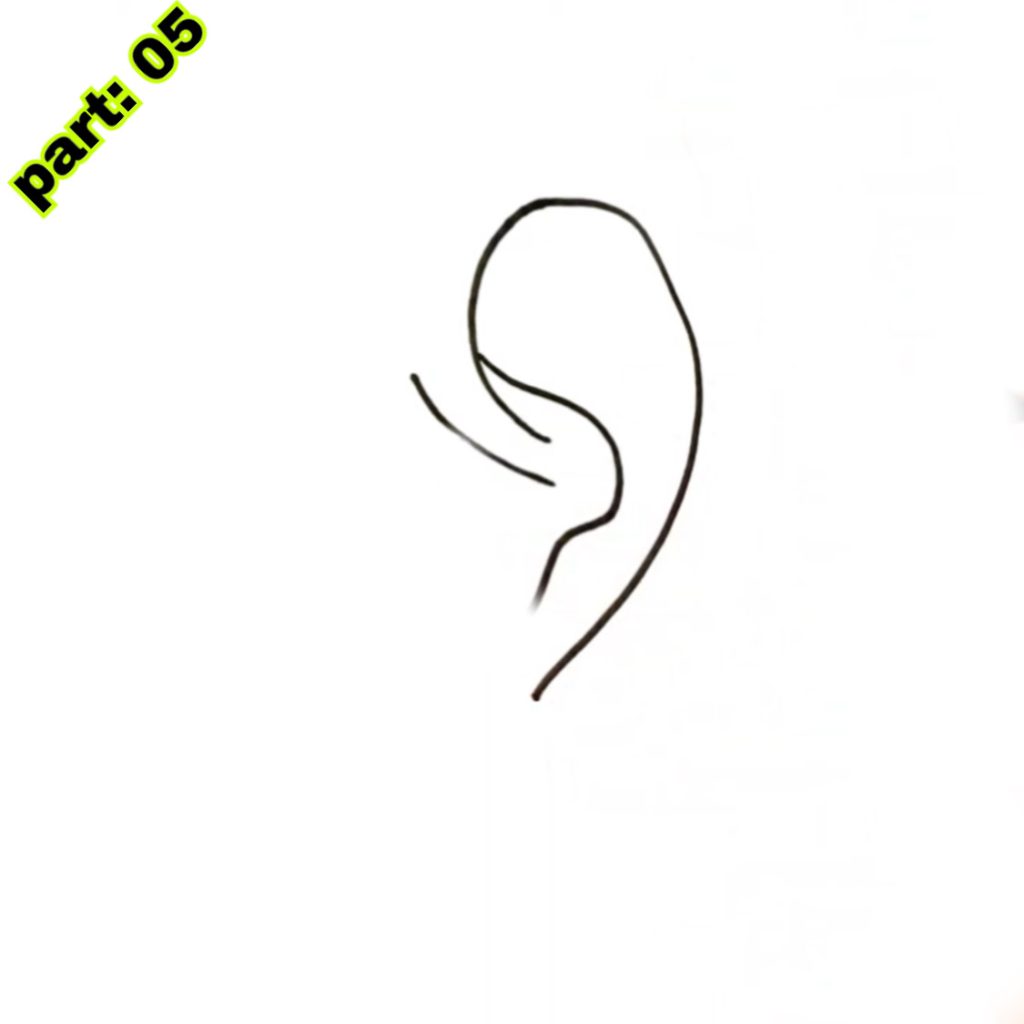
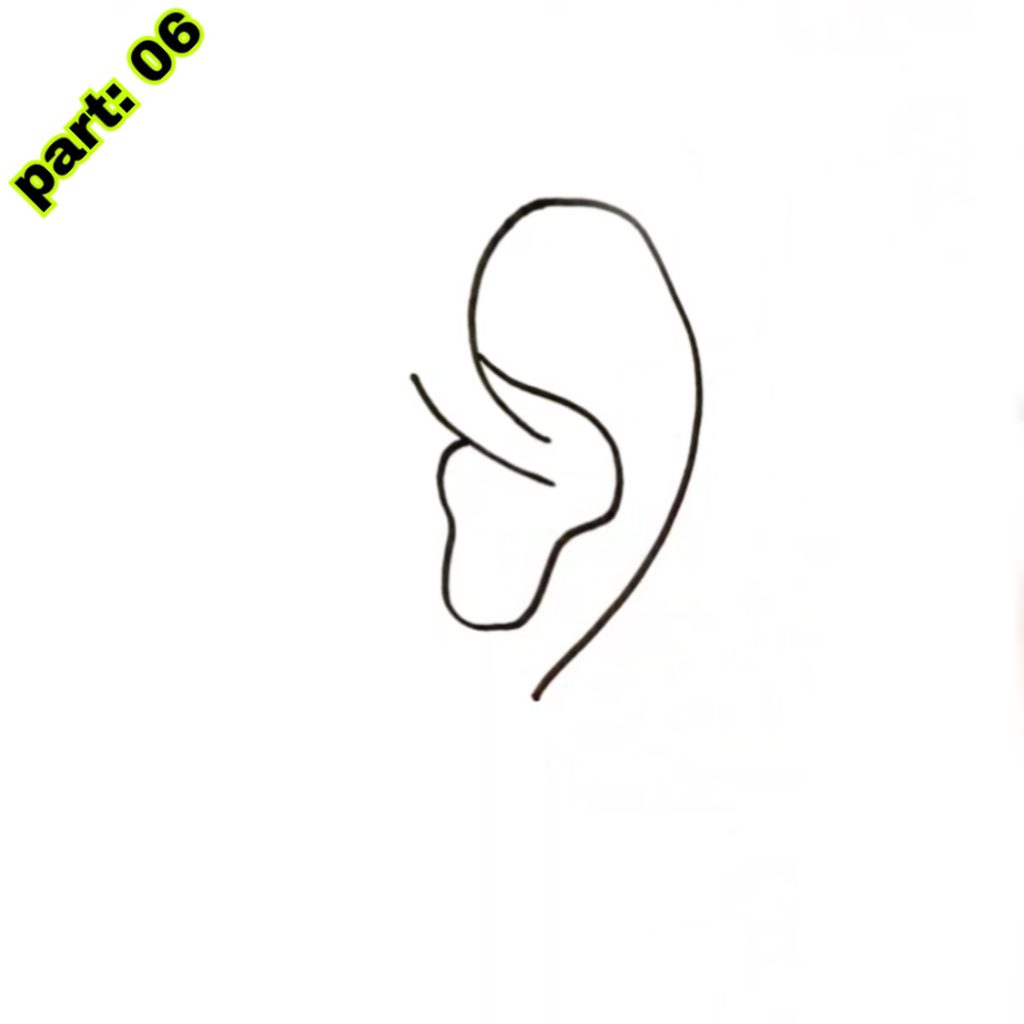
- Step 3: Add extra features to the ear by sketching little curves and lines inside the inner curve. These lines indicate the folds and wrinkles of the ear.
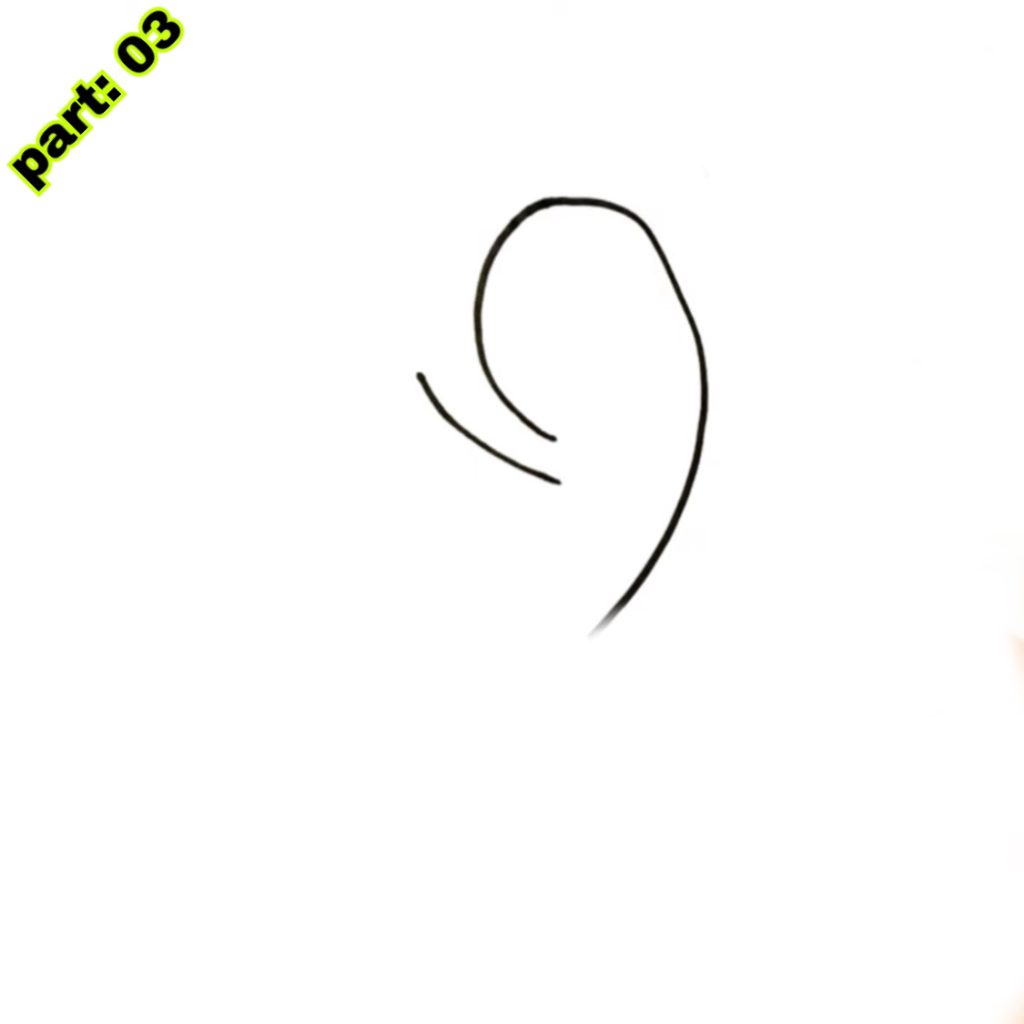
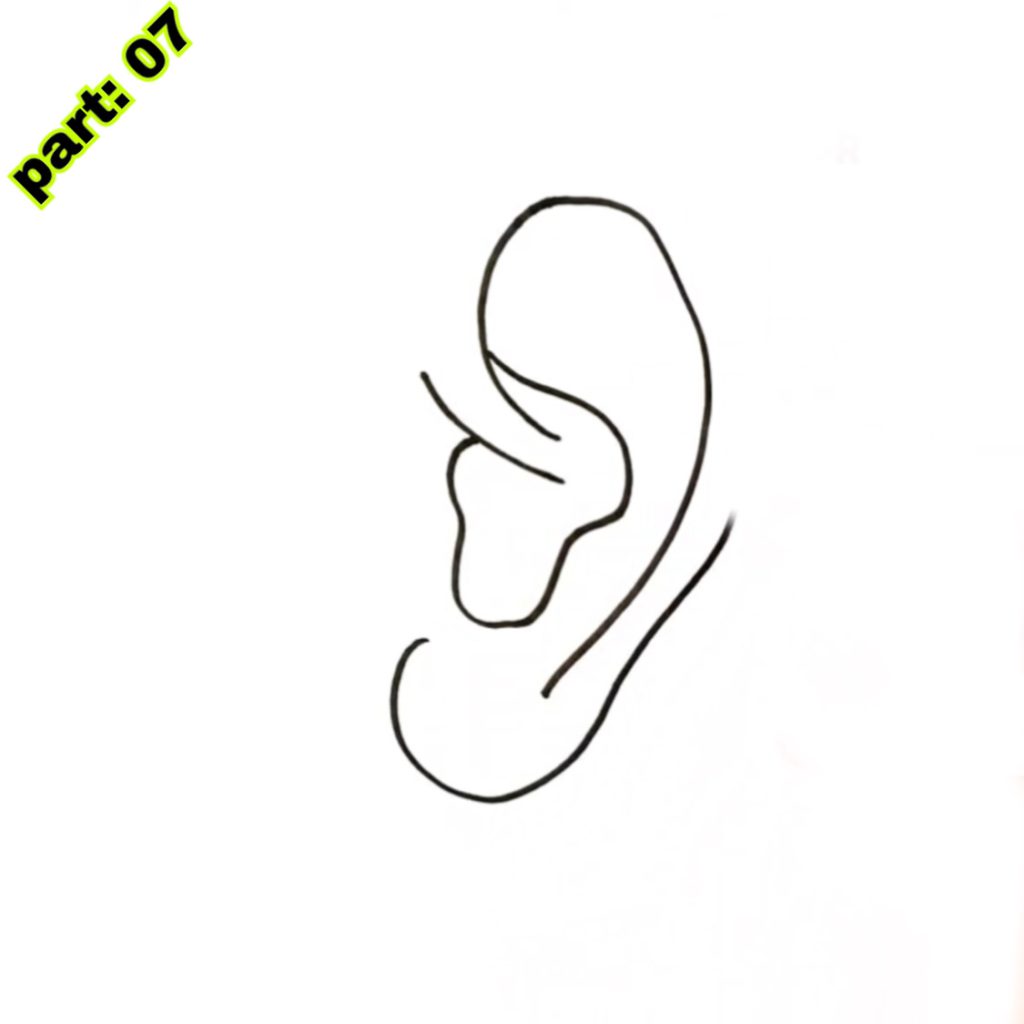
- Step 4: Shade the inside section of the ear softly to provide depth and character. Use a pencil to produce light strokes and gradually build up the shading.
- Step 5: Add additional shading and features to the folds and wrinkles of the ear to make it seem more lifelike. Pay attention to the reference picture to precisely represent the shadows and highlights.
Tips for Making Ear Drawing Easy for Kids
Drawing ears may be simpler for youngsters by following a few suggestions and approaches. Here are some ideas to help youngsters draw ears more easily:
- 1. Split it Down: Instead of sketching the full ear separately, split it down into smaller portions. Start by sketching the basic form and then add features progressively.
- 2. Use simple Shapes: Draw simple shapes, such as circles or ovals, to outline the ear. This will help students comprehend the general anatomy and dimensions of the ear.
- 3. Practice Observation: Encourage students to attentively inspect actual ears or reference photos. Pay attention to the many forms, curves, and textures of an ear.
- 4. Start with Light Lines: When creating the basic outline, use light lines to readily repair any errors. Once pleased with the form, darken the lines.
- 5. Use Guidelines: Draw guidelines to aid with placement and proportions. These may be basic lines or shapes that function as a reference for sketching various components of the ear.
Common Mistakes to Avoid While Drawing Ears
While learning to draw ears, students may make several frequent blunders. Here are a few problems to avoid and ideas on how to rectify them:
- 1. Misplaced Features: One typical error is putting the ear features in the incorrect location, such as the earlobe or inner curve. Encourage students to inspect the reference picture closely and compare it to their artwork to ensure appropriate placement.
- 2. Overcomplicating Details: Kids may attempt to include too many details too quickly, resulting in a cluttered or confused drawing. Remind them to start with simple shapes and progressively add features.
- 3. Uneven Shading: Shading is a vital component of painting ears, but attaining consistent and even shading may be tough. Encourage students to practice shading methods and to pay attention to the light source and shadows.
- 4. Lack of Depth: Ears have a three-dimensional form, and it is crucial to portray this in the design. Remind youngsters to use shade and highlights to create depth and make the ear seem more natural.
How to Add Detail to Your Ear Drawing Easy
Adding detail to an ear sketch may make it seem more natural and lifelike. Here are several approaches to add detail to ear drawings:
- 1. Texture: Ears have a distinctive texture with little bumps and ridges. Use little, light strokes or dots to produce this texture in the drawing.
- 2. Shadows and Highlights: Pay attention to the reference picture or actual ears to detect regions of shade and highlights. Use shading methods to create these regions, giving depth and complexity to the design.
- 3. Folds and Creases: Ears feature folds and creases that give them their characteristic form. Observe these folds attentively and apply light lines or shading to express them in the artwork.
- 4. Hair or jewellery: If the reference picture or intended sketch contains hair or jewelry, add these features carefully. Use light lines or shading to give the look of hair or the form of earrings.
Using Colors to Enhance Your Ear Drawing Easy
While painting ears, youngsters may also use colors to improve their artwork. Here are some suggestions for utilizing colors effectively:
- 1. Skin Tones: Ears are generally a different color than the rest of the face, so picking the proper skin tone for the ear is vital. Observe the reference picture or actual ears to select the proper color and use colored pencils or markers to add this color to the artwork.
- 2. Shading and Blending: Use multiple colors of the selected skin tone to provide shading and depth to the ear. Experiment with blending methods to produce a seamless transition between various colours.
- 3. Highlights: Use a white colored pencil or marker to add highlights to the ear. This may be done by leaving tiny portions of the paper blank or adding white lines or dots to produce a glossy or reflecting look.
- 4. Backdrop: Consider adding a backdrop to the design to help the ear stand out. Depending on the intended impact, this might be a basic color or a more complex scene.
Fun Ear Drawing Activities for Kids
To make ear painting more pleasant and engaging for youngsters, they might attempt numerous creative activities. Here are some ideas:
- 1. Ear Collage: Cut out various shapes and textures from magazines or colored paper to make a collage of ears. Kids may arrange and glue these pieces onto a bigger sheet of paper to create a unique artwork.
- 2. Ear Puppet: Use colored paper, markers, and other craft supplies to build a puppet in the form of an ear. Kids may then use their puppets to narrate tales or conduct a puppet performance.
- 3. Ear Still Life: Set up a still-life arrangement using things resembling ears, such as seashells or leaves. Kids may then sketch or paint these items, concentrating on the intricacies and textures.
- 4. Ear Sculpture: Use clay or playdough to construct a three-dimensional ear. Kids may experiment with various shapes and textures to create a realistic or abstract image of an ear.

Benefits of Learning Ear Drawing Easy
Learning to draw ears has various advantages for youngsters. Here are some of the primary benefits:
- 1. Improved examination Skills: Drawing ears takes close examination of forms, curves, and textures. This helps youngsters improve their observation abilities and attention to detail, which may be transferred to other parts of their life.
- 2. Enhanced Fine Motor Skills: Drawing ears needs precise hand motions and precision. This helps youngsters develop their fine motor abilities, which are vital for writing, typing, and playing musical instruments.
- 3. Increased Creativity and Imagination: Drawing ears helps youngsters to exhibit their creativity and imagination. They may experiment with numerous styles, colors, and methods to produce distinct and creative artwork.
- 4. Confidence Building: As students practice and develop their sketching talents, they acquire confidence in their abilities. This confidence may extend to other aspects of their life, helping them approach new obstacles with a positive mentality.
Conclusion
Ear Drawing Easy may appear overwhelming at first, but youngsters may quickly learn how to draw them with practice and patience. By following step-by-step instructions, utilizing the correct tools, and including engaging activities, youngsters may strengthen their sketching abilities and boost their creativity. Drawing ears enhances their general drawing talents and offers students a greater grasp of human anatomy. So urge your youngsters to take out a pencil and draw ears now!
Sponsored By
Check out the best and most affordable digital marketing services that can take your business to the next level. If you want to build a Blogging Business, Please contact them; They Basically provide from-scratch-to-finish services https://elonmusktrillion.com/
FAQ
Q1: Is this ear sketching instruction good for beginners?
A1: Yes, certainly! This guide is developed with kids in mind and gives step-by-step directions that are simple to follow, making it excellent for beginners.
Q2: What supplies are required for the ear drawing easy activity?
A2: All you need is a sheet of paper and sketching equipment like pencils, colored pencils, or crayons. Gather these basic supplies, and you’re ready to start.
Q3: How does the instruction guarantee the ear drawing easy is done in 5 minutes?
A3: The lesson lays down the drawing process into basic and straightforward phases, emphasizing on key aspects. Following the directions, youngsters can produce a recognized ear image in about 5 minutes.
Q4: Are there any particular age suggestions for this tutorial (Ear Drawing Easy)?
A4: This lesson is meant to be kid-friendly, so it’s suited for a broad variety of ages, often from roughly 5 to 12. Younger kids may require more coaching, while older ones might be able to finish the drawing more independently.
Q5: Can I modify the ear drawing easy with other colors and styles?
A5: Absolutely! Once you’ve mastered the basic ear drawing, you may get creative and add distinctive accents. Experiment with colors, shading, and details to make the ear drawing your masterpiece.
Bonus:
You may check out our most helpful article about how you can help your child to do extremely well in drawing https://bloggchain.com/exciting-easter-egg-drawing-for-kids/


