Introduction
Bowl Drawing for kids is a fun and creative exercise that may help youngsters improve their artistic abilities and creativity. Encouraging creativity in children is crucial as it helps them to express themselves, think outside the box, and problem-solve. Drawing a bowl is a terrific method to introduce youngsters to the realm of painting and let them develop their creative ability.

Materials required for bowl drawing
To start sketching a bowl, you will need a few items. These include:
- 1. Paper: Choose a durable paper that can bear varied sketching styles. A notebook or drawing paper works great.
- 2. Pencil: A pencil is needed for drawing and outlining the bowl. Make sure you have a sharp pencil for exact lines.
- 3. Eraser: An eraser is helpful for fixing errors or making modifications to the artwork.
- 4. Ruler: A ruler may be used to make straight lines and guarantee precision in the design.
Gift
Claim our premium worksheet practice book For Free (Only for you):
A step-by-step method on sketching a bowl
Now that you have all the supplies available let’s dig into the step-by-step instruction on how to draw a bowl:
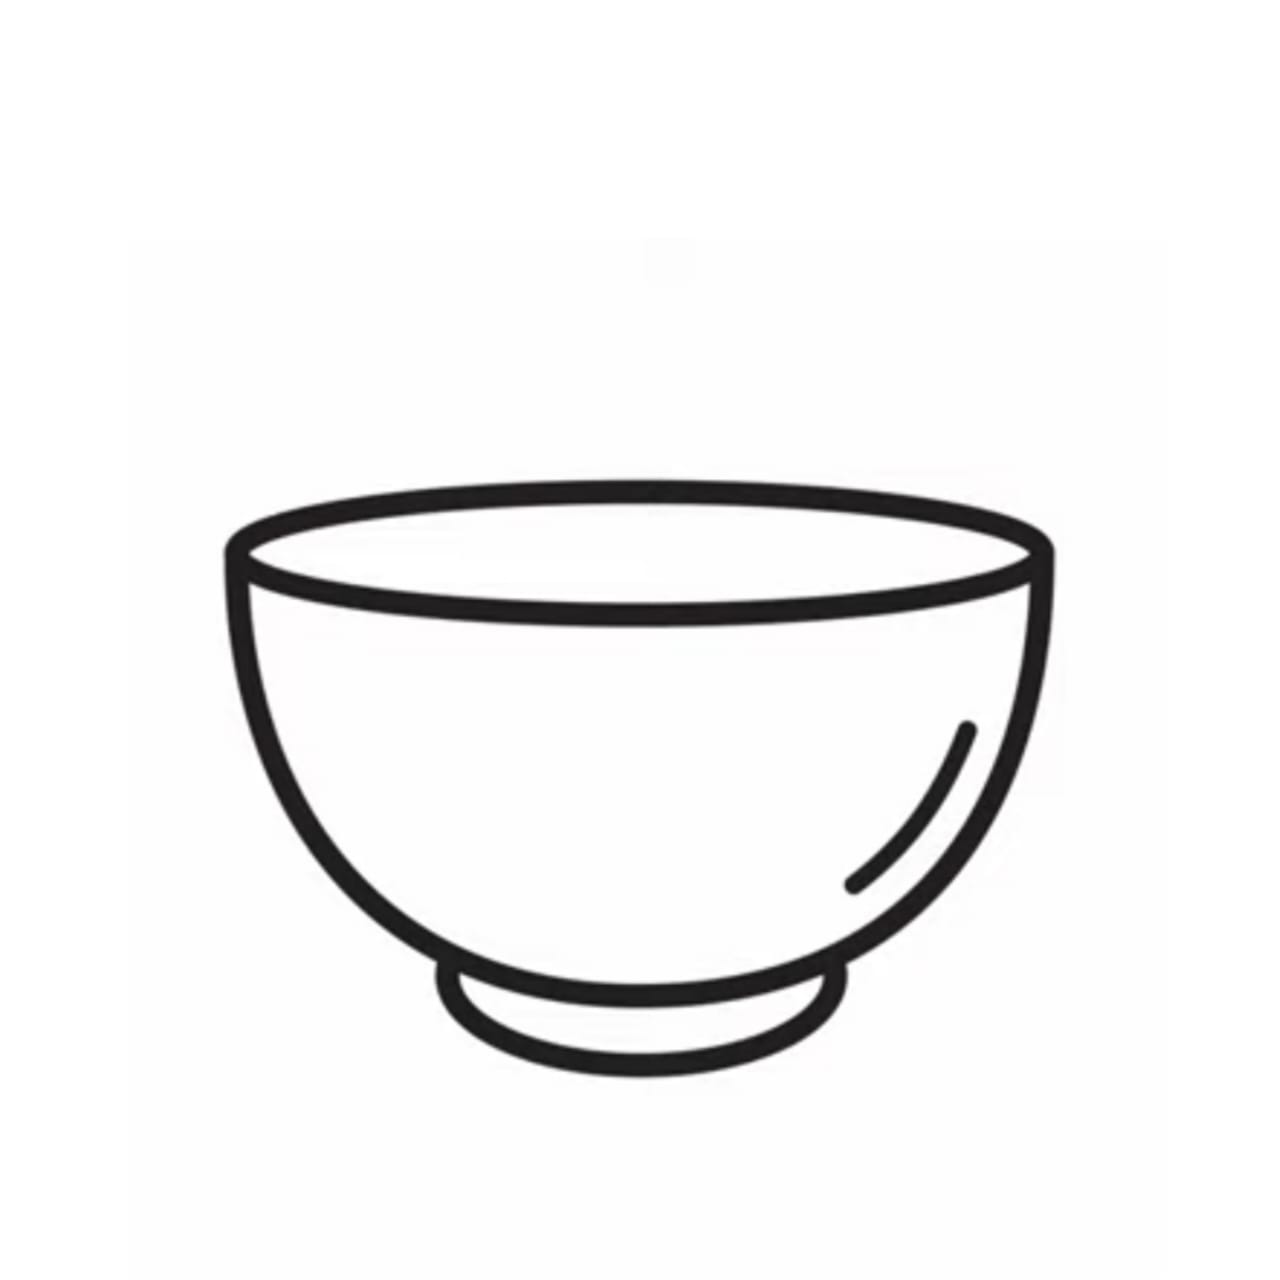
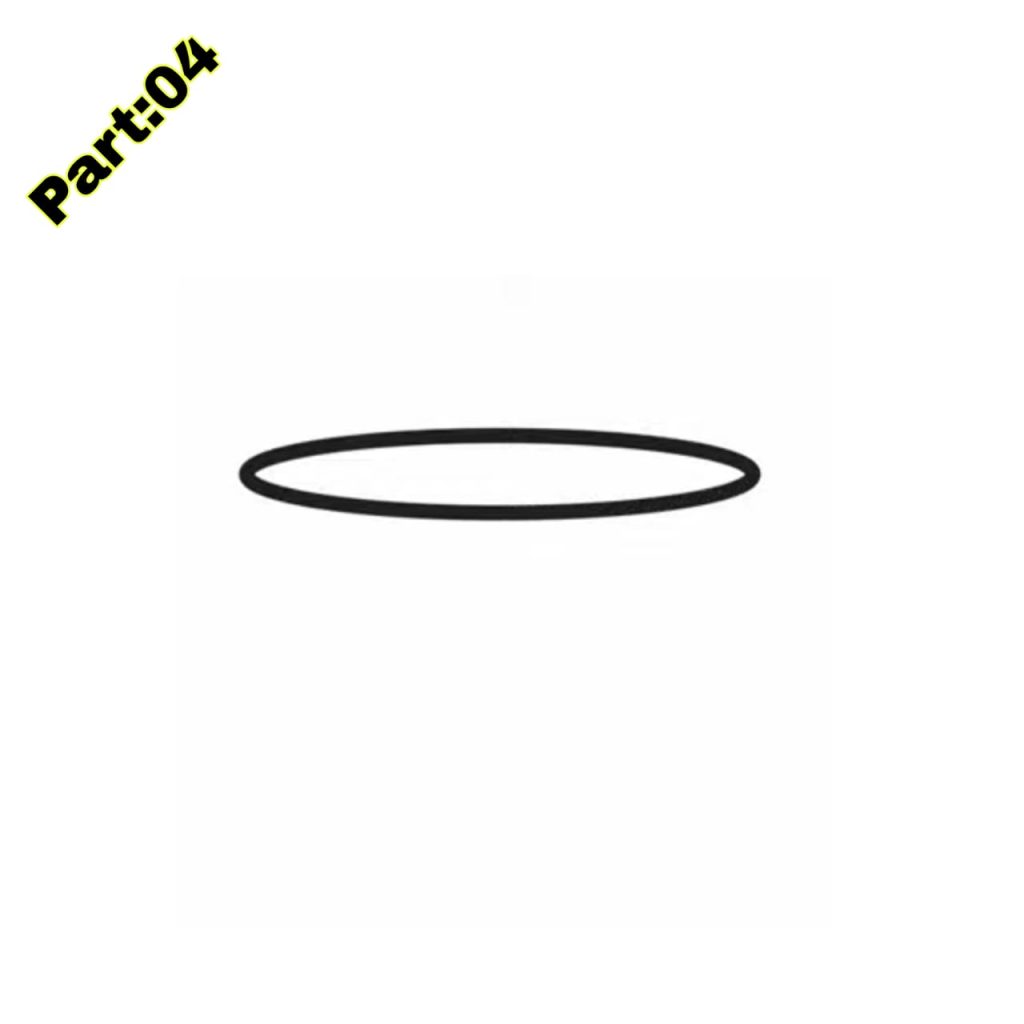
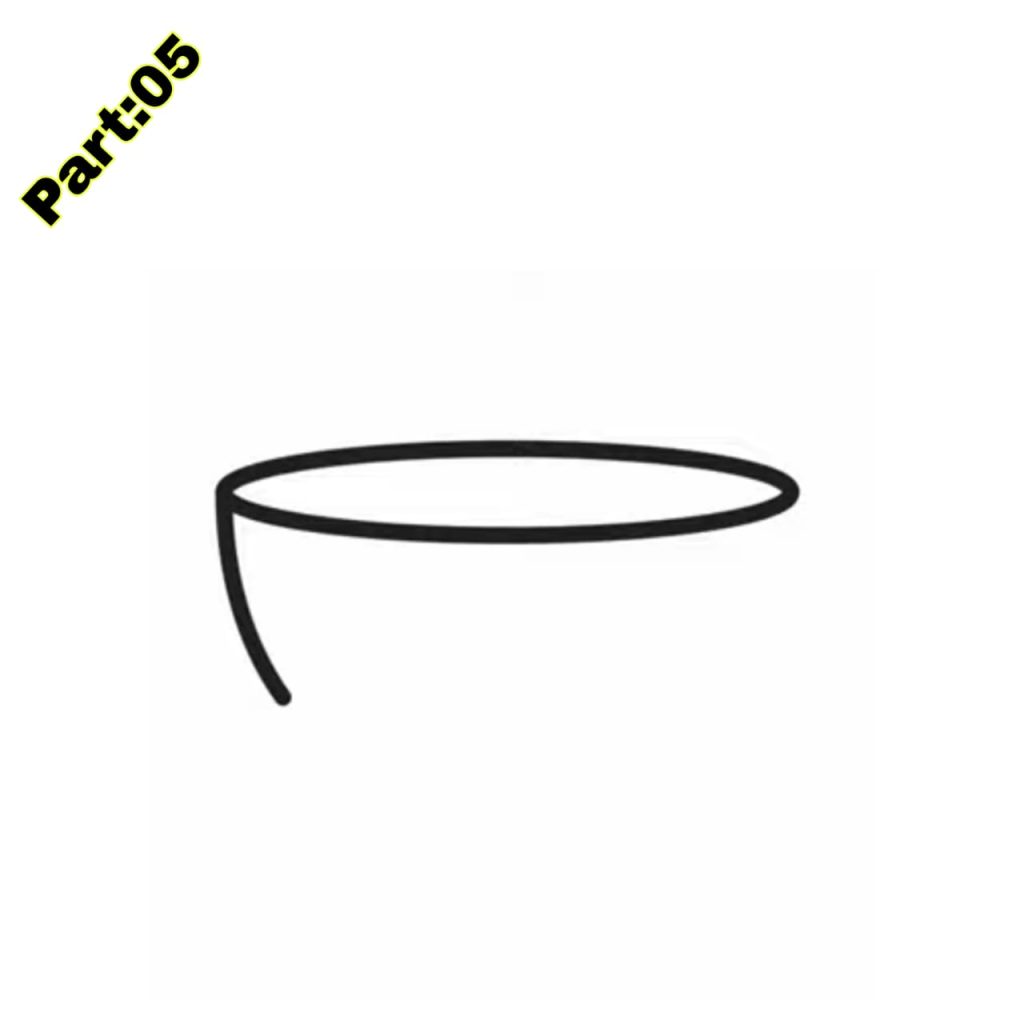
- 1. Start by sketching an oval shape in the middle of the page. This will be the contour of the bowl.
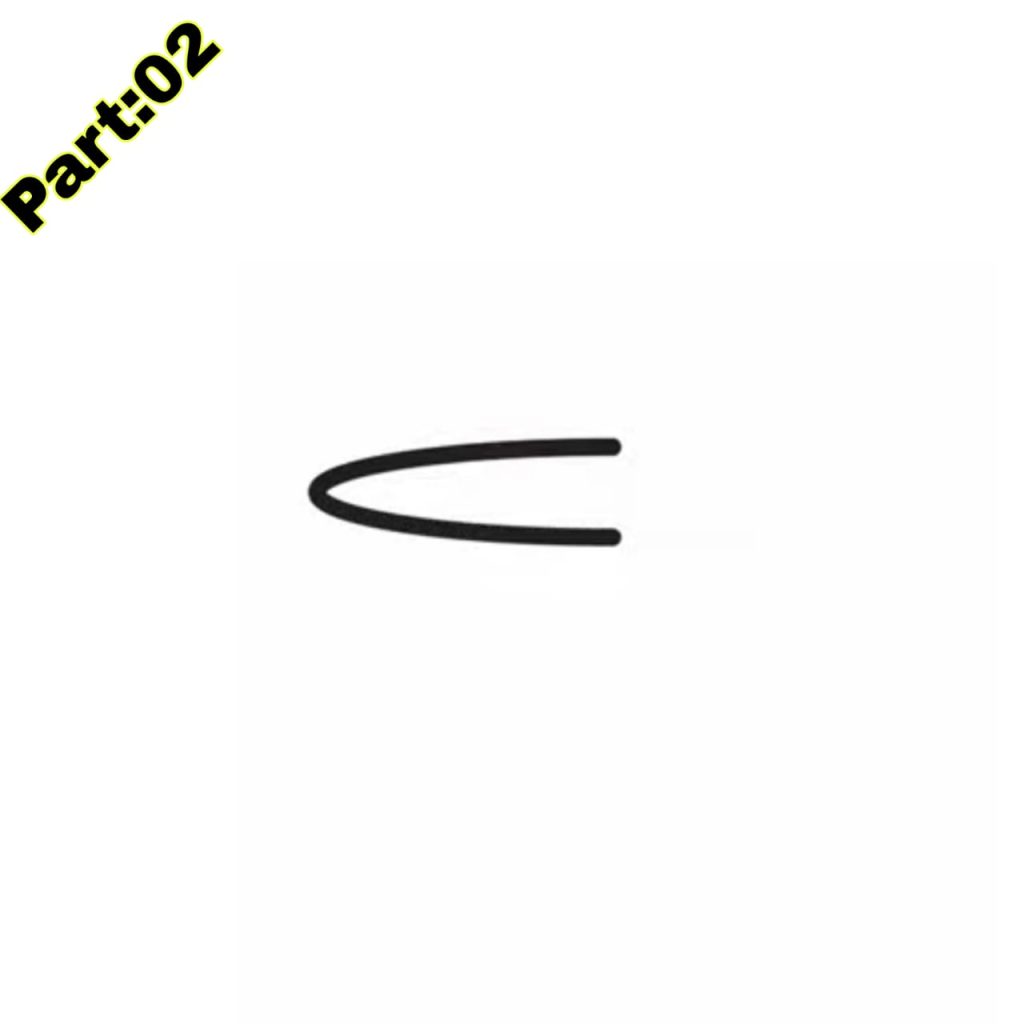
- 2. Next, draw a curved line at the bottom of the oval to make the base of the bowl.
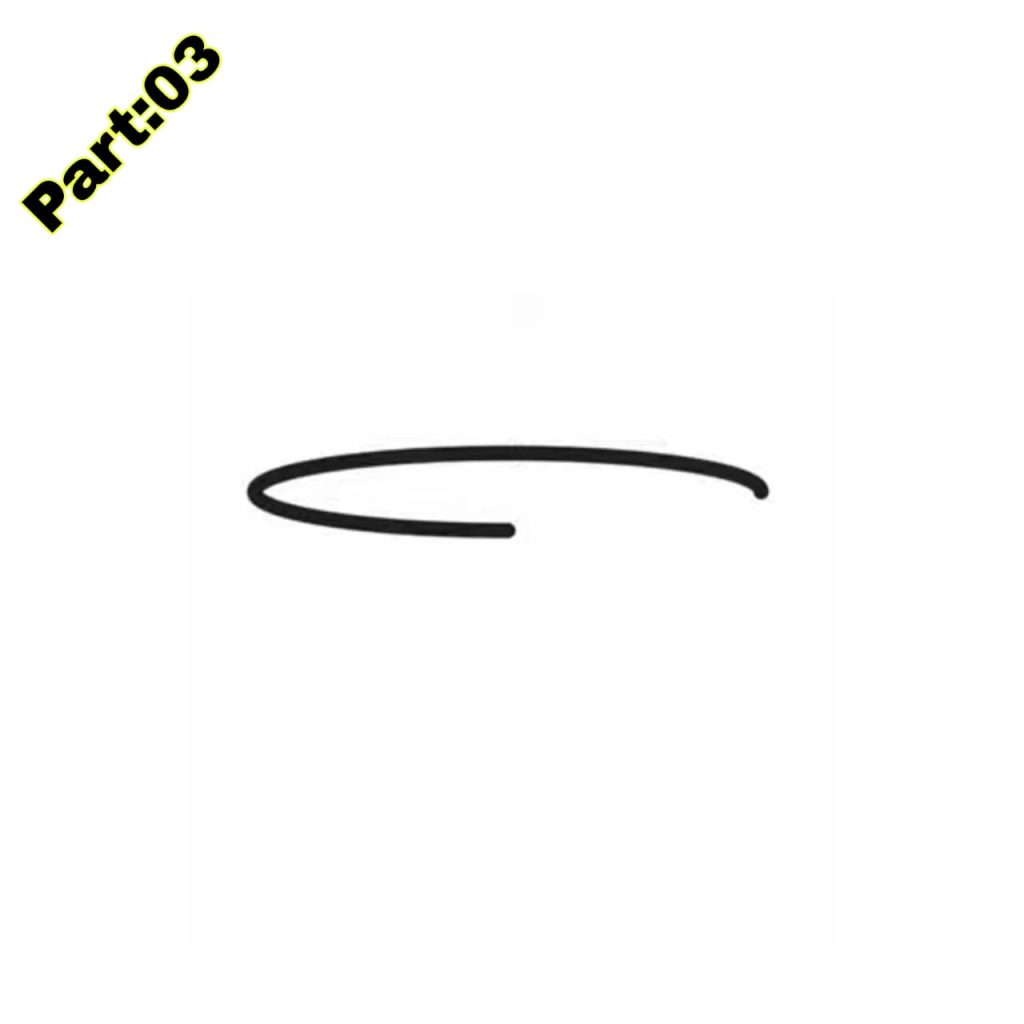
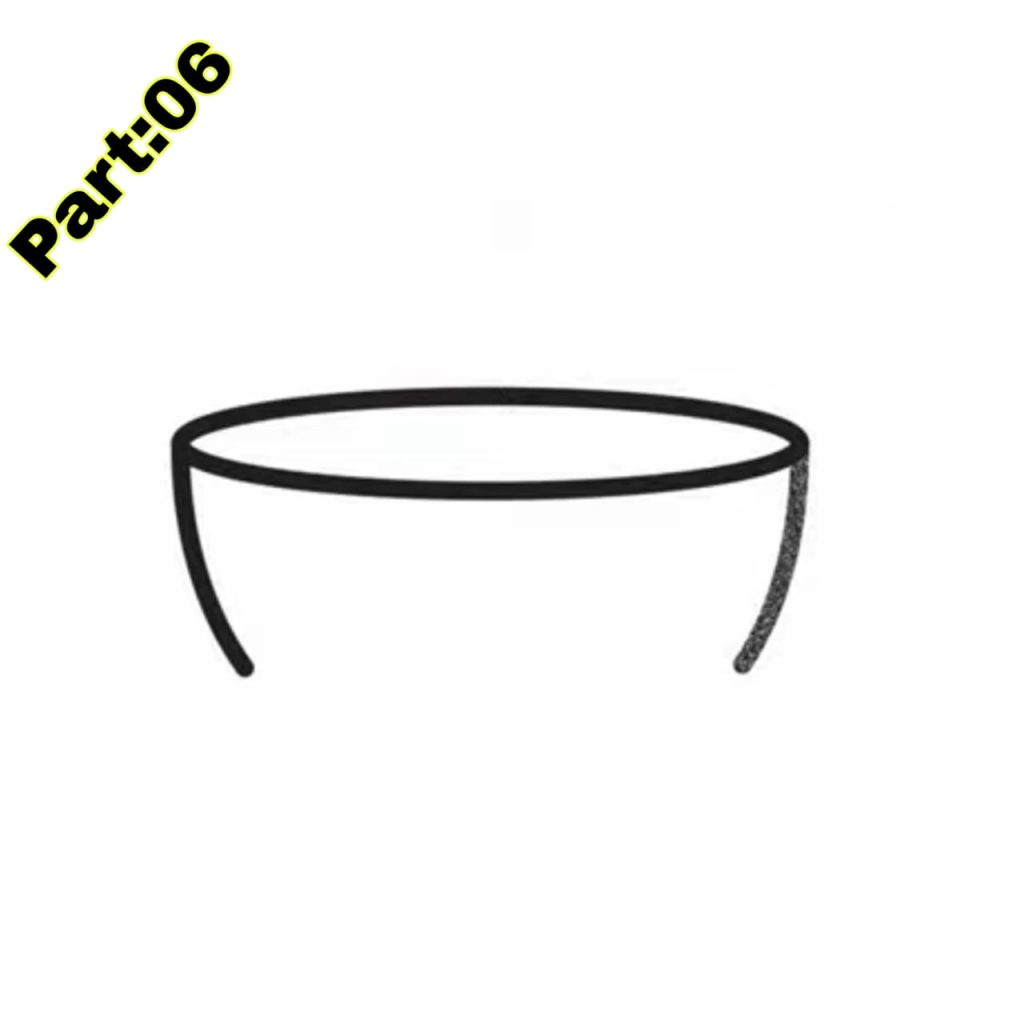
- 3. Add two curved lines on each oval side, connecting them to the base. These lines will construct the sides of the bowl.
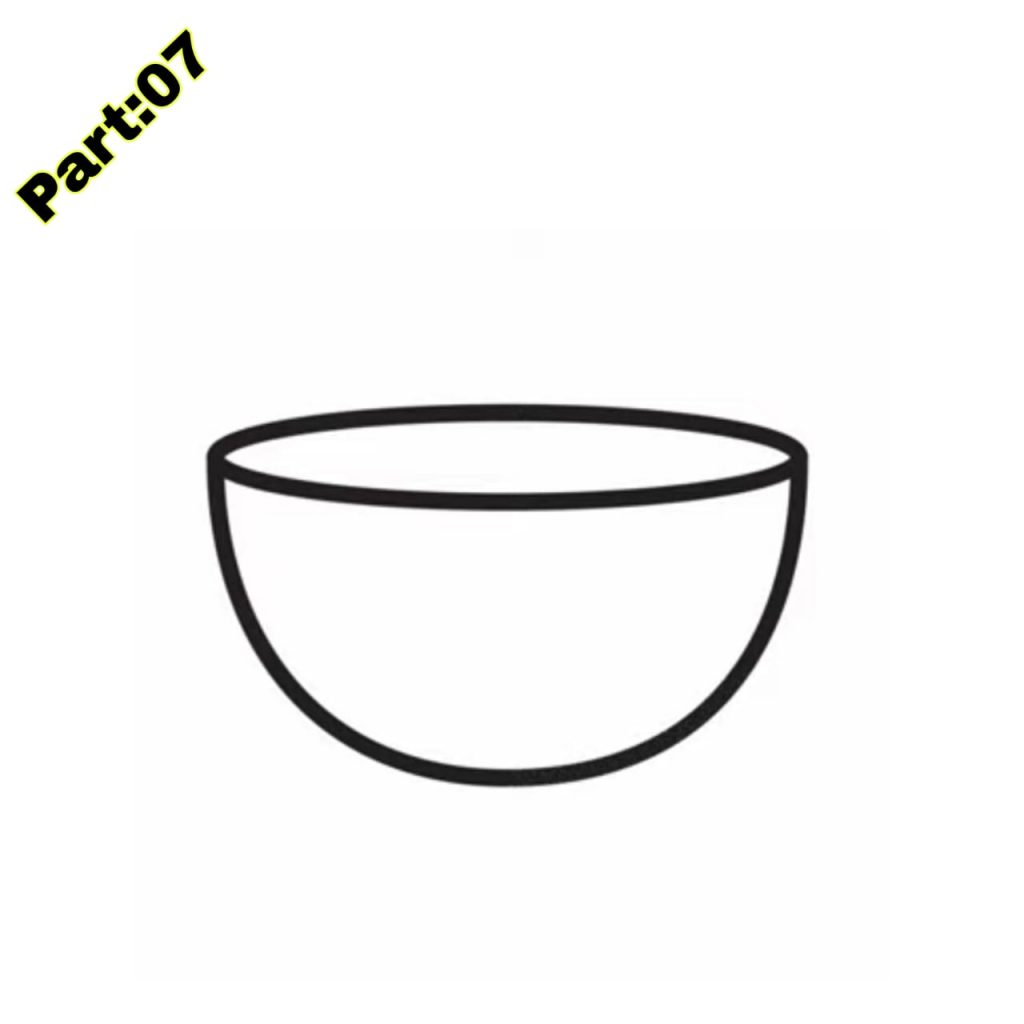
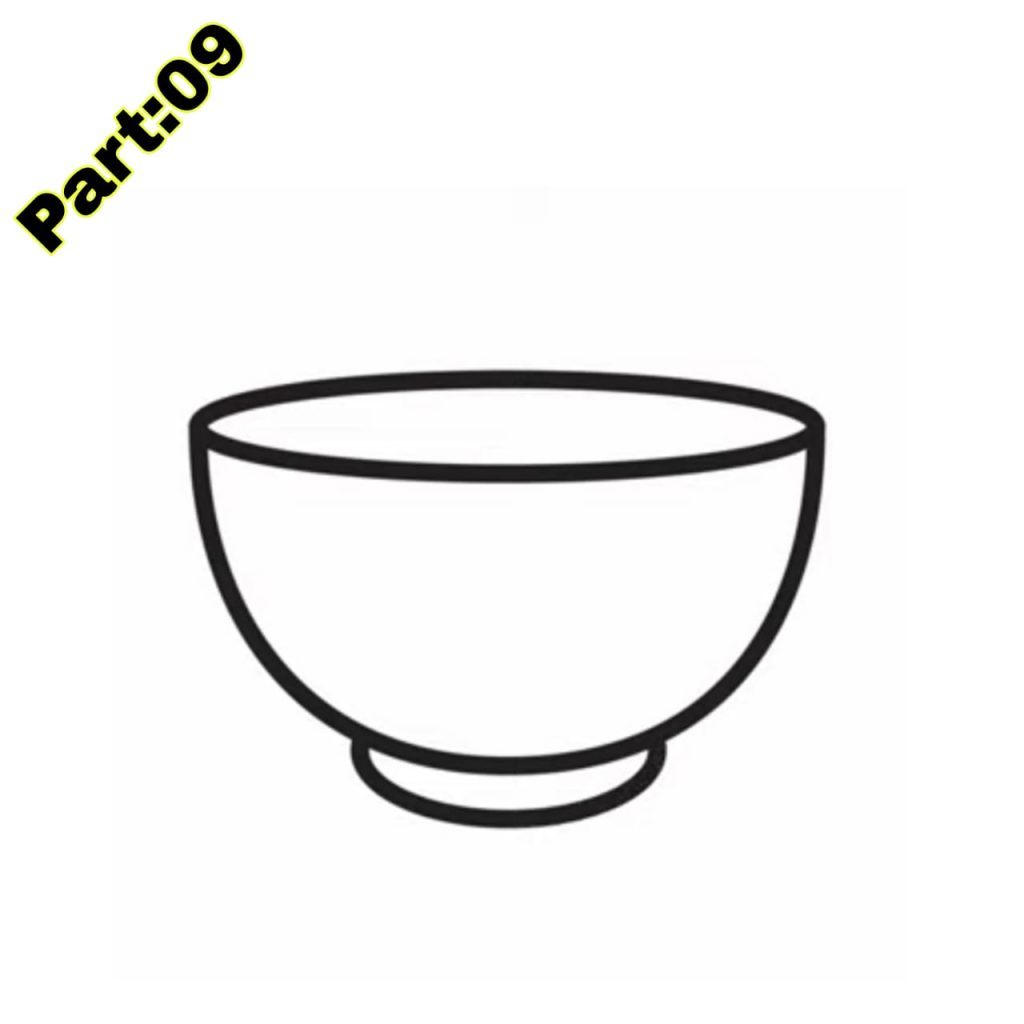
- 4. add another curving line within the oval parallel to the outer tube to give the bowl depth. This will produce the thickness of the bowl.
- 5. Erase any extraneous lines and improve the form of the bowl.
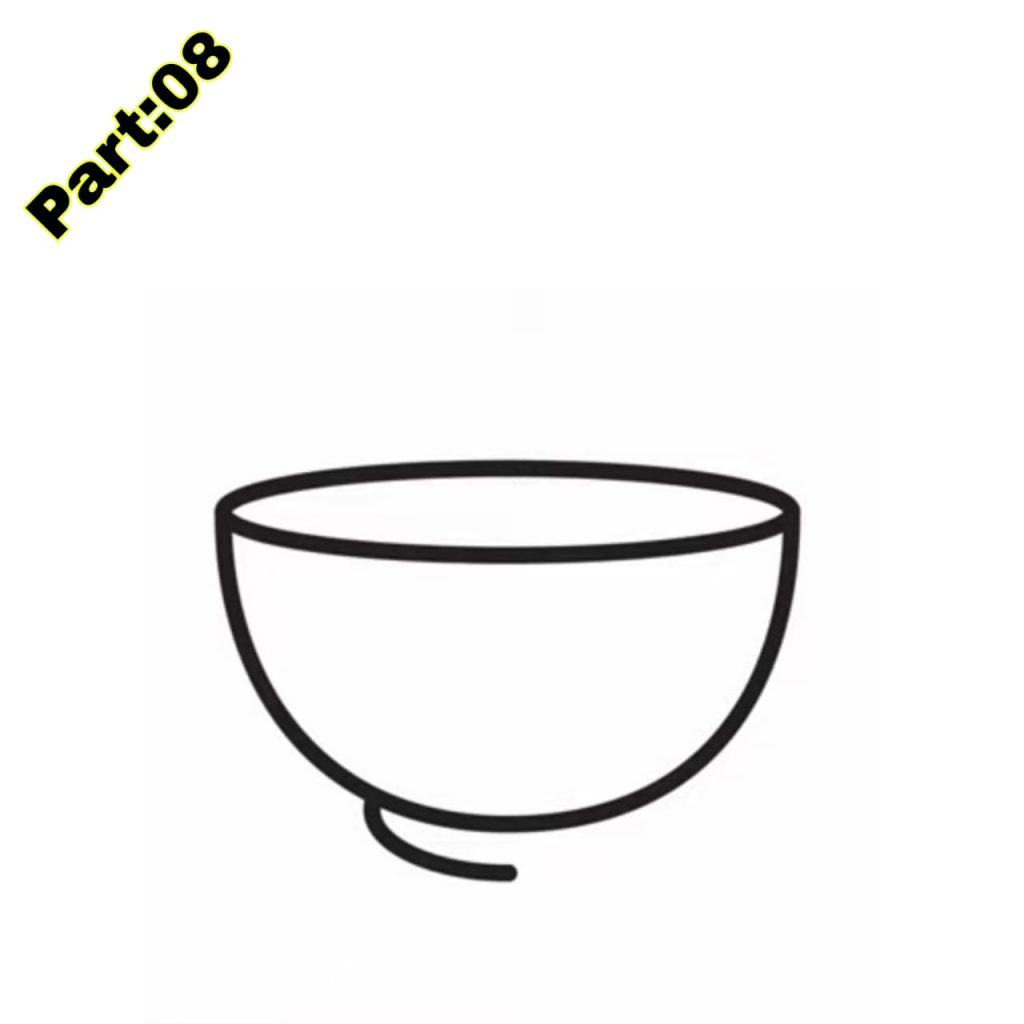
- 6. Add embellishments such as a rim or ornamental patterns to make the bowl more intriguing.
Tips for making your bowl drawing appear realistic
To make your bowl drawing seem more realistic, here are some tips:
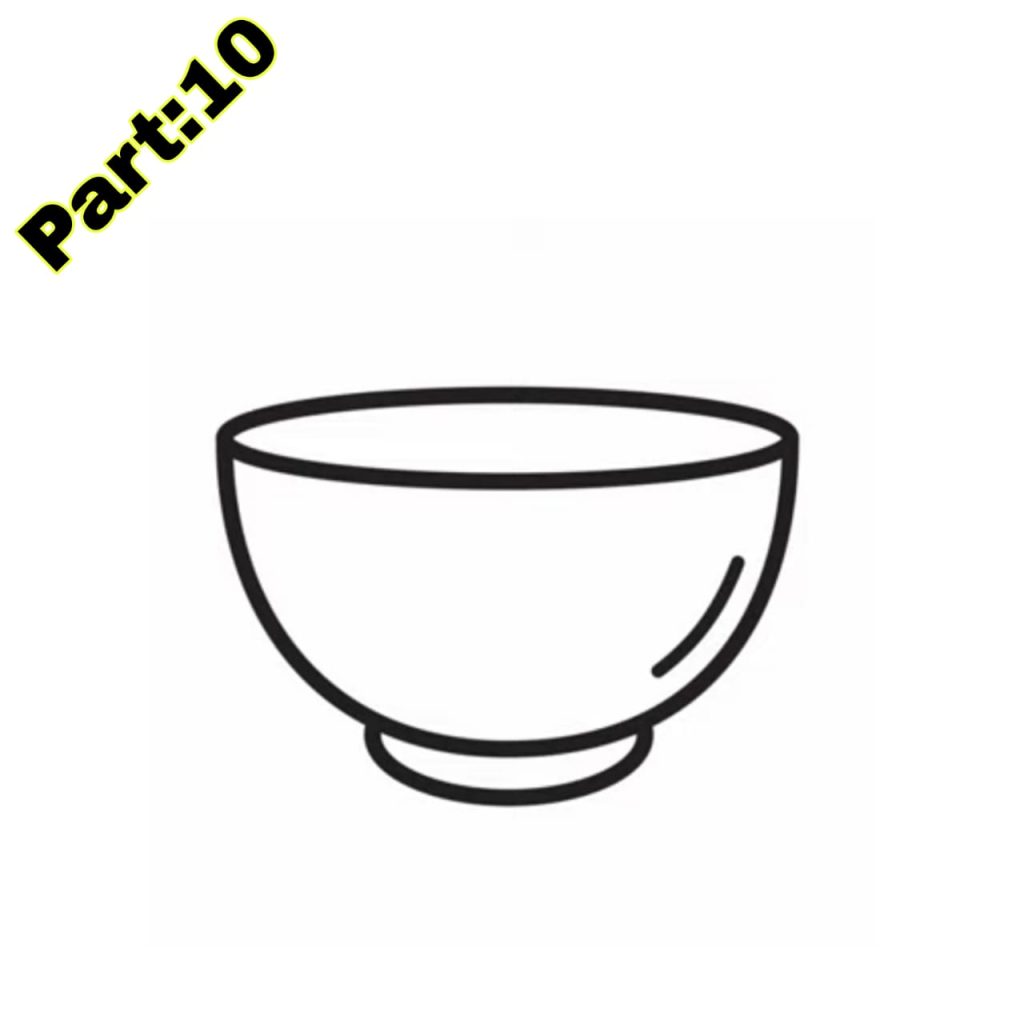
- 1. Use shading techniques: Shading helps add depth and dimension in the drawing. Start by finding the light source and shade the regions in shadow.
- 2. Add highlights: Use an eraser to generate highlights on the bowl where the light strikes it. This will make the bowl look more three-dimensional.
- 3. Pay attention to proportions: Make sure the size and form of the bowl are right. Use a ruler or reference photos to help you get the proportions perfect.
Adding shade and texture to your bowl drawing
To add shade and texture to your bowl design, follow these steps:
- 1. Start by darkening the regions that would be in shade. Use a pencil to draw light, smooth strokes to gradually build up the shading.
- 2. Pay attention to the direction of the light source and shade appropriately. This will produce a more realistic impression.
- 3. To create texture to the bowl, use cross-hatching or stippling methods. Cross-hatching includes drawing crossing lines, whereas stippling involves making little dots.
- 4. Experiment with various shading methods to determine which works best for your drawing.
Using various colours and patterns to embellish your bowl
To add colour and patterns to your bowl design, consider these ideas:
- 1. Use coloured pencils or markers to add colour to the bowl. Choose hues that compliment each other and create a beautiful arrangement.
- 2. Experiment with various patterns and motifs on the bowl. You may design stripes, polka dots, or even delicate flower patterns.
- 3. Consider using watercolours or acrylic paints for a more colorful and textured effect.
Creating a still life with your bowl drawing
A still life is an arrangement of things arranged in a visually attractive manner. To make a still life with your bowl drawing, follow these steps:
- 1. Gather a few things that compliment the bowl, such as fruits, flowers, or cutlery.
- 2. Arrange the things excitingly and balance them around the basin.
- 3. Use your sketching abilities to sketch the things and the bowl, paying attention to proportions and details.
- 4. Add shade and colour to bring the still life to life.
Fun twists on the basic bowl painting
To add some interest to your bowl drawing, consider these variations:
- 1. Draw various sorts of bowls, such as a fruit bowl, salad bowl, or soup dish. Each sort of bowl will have its own unique form and qualities.
- 2. Incorporate other things within the painting, such as cutlery, napkins, or tablecloths. This will bring additional intricacy and intrigue to the composition.
- 3. Experiment with other viewpoints, such as sketching the bowl from a bird’s eye view or a worm’s view. This will offer new and distinct air to your artwork.
Sharing your bowl painting with others
Once you have finished your bowl design, here are some suggestions for sharing it with others:
- 1. Display your drawing in a prominent position in your house, such as on a wall or a shelf. This will enable people to enjoy your artwork.
- 2. Take a snapshot of your drawing and publish it on social media sites or art communities. This will enable you to connect with other artists and get comments.
- 3. Give your drawing as a present to a friend or family member. They will appreciate the work and attention behind the handcrafted present.
Conclusion
Drawing a bowl is a simple but effective approach to inspire creativity in youngsters. It helps students to explore their creative ability, enhance their observation skills, and express themselves through art. Children may produce beautiful and realistic bowl drawings by following the step-by-step tutorial and experimenting with various approaches. So, take your stuff and start sketching!
Sponsored by
Check out the best and most affordable digital marketing services that can take your business to the next level. If you want to build a Blogging Business, Please contact them; They Basically provide from-scratch-to-finish services https://elonmusktrillion.com/
FAQ
Q1: How can I teach youngsters to draw a bowl in 5 minutes?
A1: The article gives step-by-step directions and recommendations for teaching youngsters to draw a bowl fast and efficiently inside a 5-minute.
Q2: What supplies are required for the bowl drawing exercise stated in the article?
A2: The article presumably explains the supplies necessary for the activity, such as paper, pencils, erasers, and potentially coloured markers or crayons.
Q3: Are there any particular age guidelines for youngsters partaking in this bowl drawing activity?
A3: The article may describe the optimal age range for youngsters to partake in the bowl drawing exercise, given their motor skills and attention span.
Q4: Are there variants or inventive approaches for youngsters to customise their bowl drawings?
A4: The article may concentrate on how youngsters can add distinctive touches to their bowl drawings, such as adding patterns and textures or even turning the bowl into a creative figure.
Q5: Can the skills taught in this 5-minute bowl sketching practice also be applied to other basic objects?
A5: The article may address if the sketching skills presented for the bowl can be applied to remove other daily items, making it a multipurpose skill-building activity for students.
Bonus:
You may check out our most helpful article about how you can help your child to do extremely well in drawing https://bloggchain.com/stunning-fruit-drawing-for-youngsters-5x-easier/
