Introduction
Pear Drawing is an excellent pastime for kids as it enables them to express their creativity and helps improve their fine motor skills, hand-eye coordination, and focus. It is a terrific method for kids to develop their creativity and learn about forms, colors, and proportions. This post will concentrate on sketching a pear, a basic but engaging topic for youngsters.
Materials required for drawing a pear
To draw a pear, you will need the following materials:
- 1. Paper: A blank piece of paper will be the canvas for your artwork.
- 2. Pencil: A pencil will be used to draw the contour of the pear and add details.
- 3. Eraser: An eraser will come in helpful to repair any errors or make improvements.
Gift:
Claim our premium worksheet practice book For Free (Only for you):
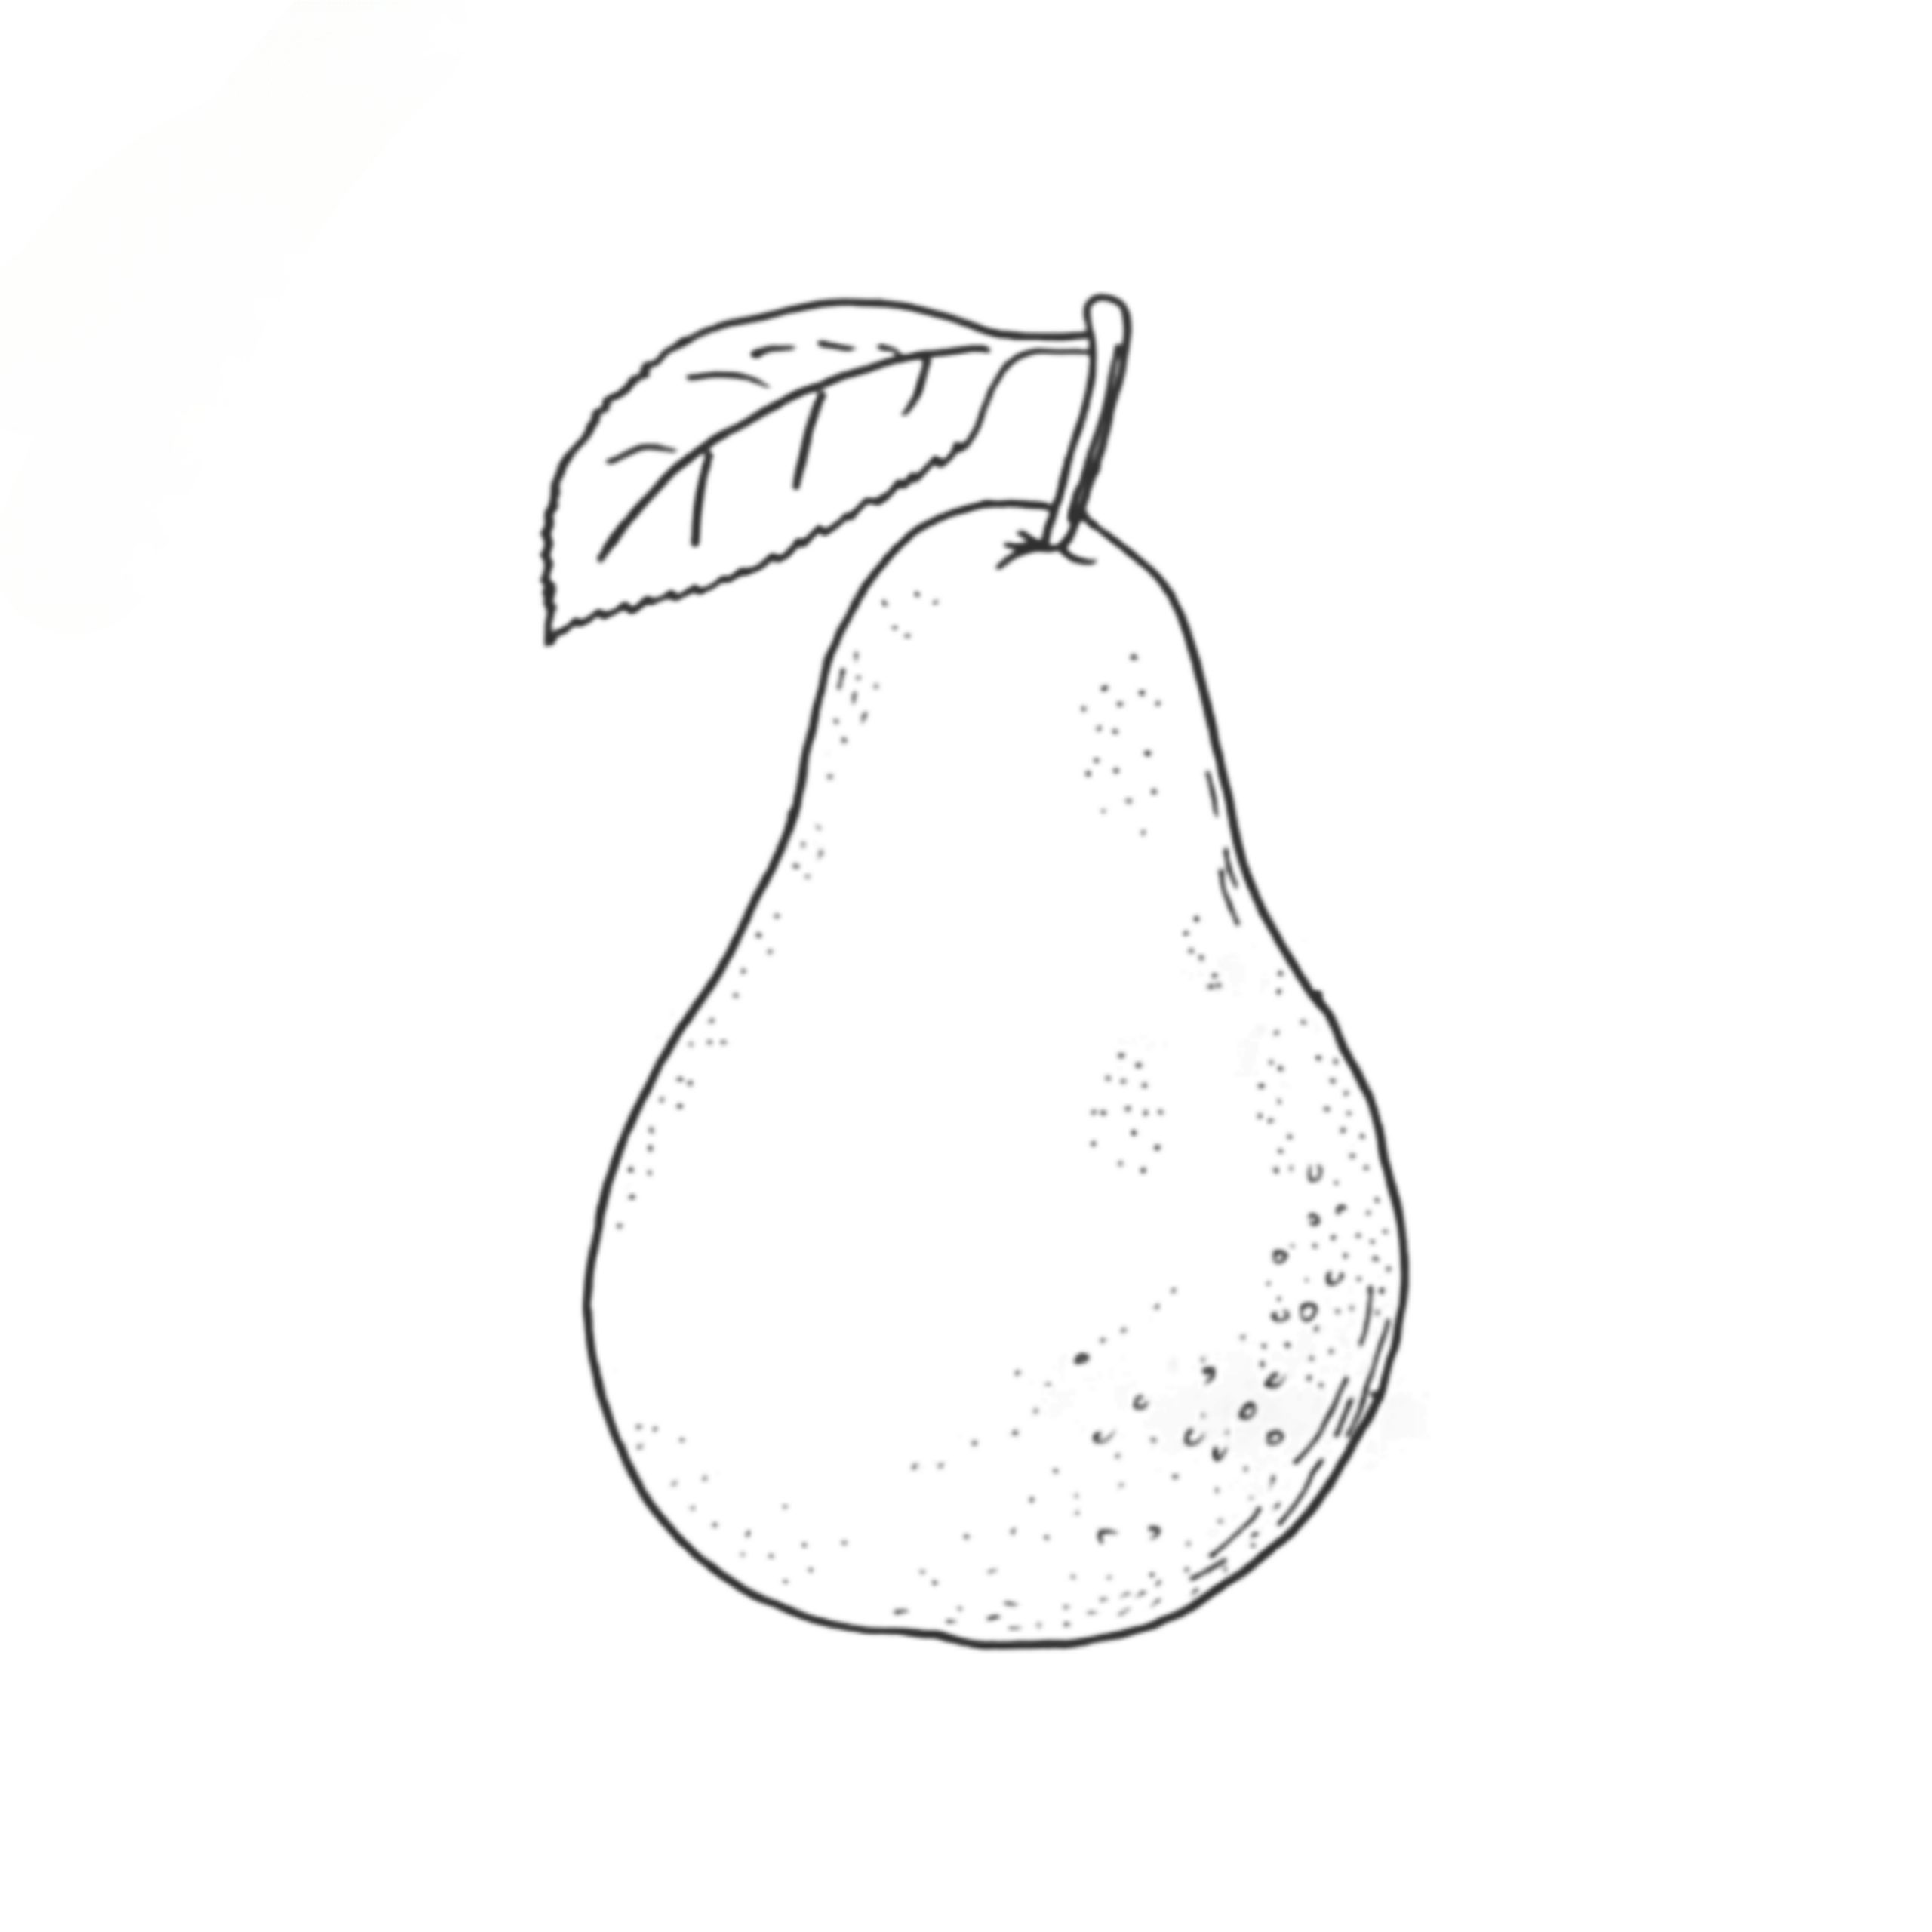
A step-by-step approach on drawing a pear
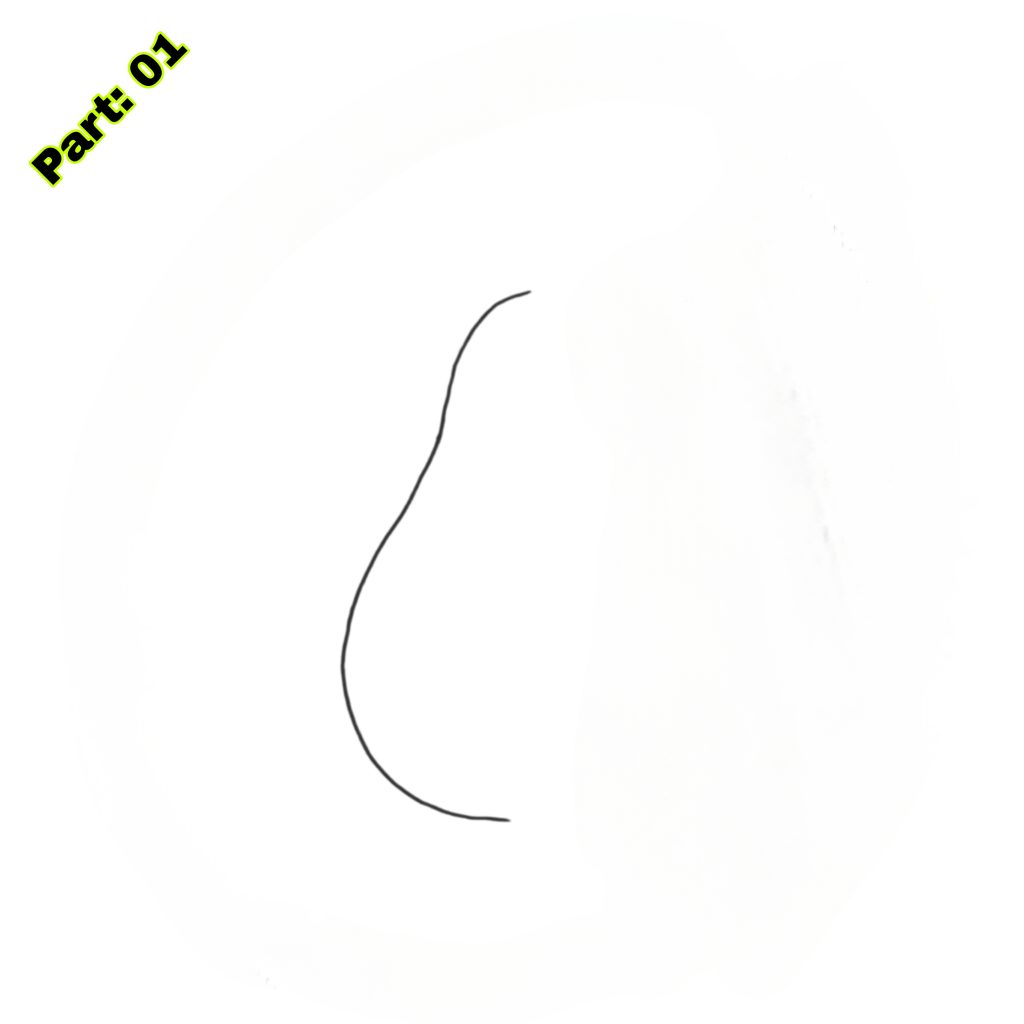
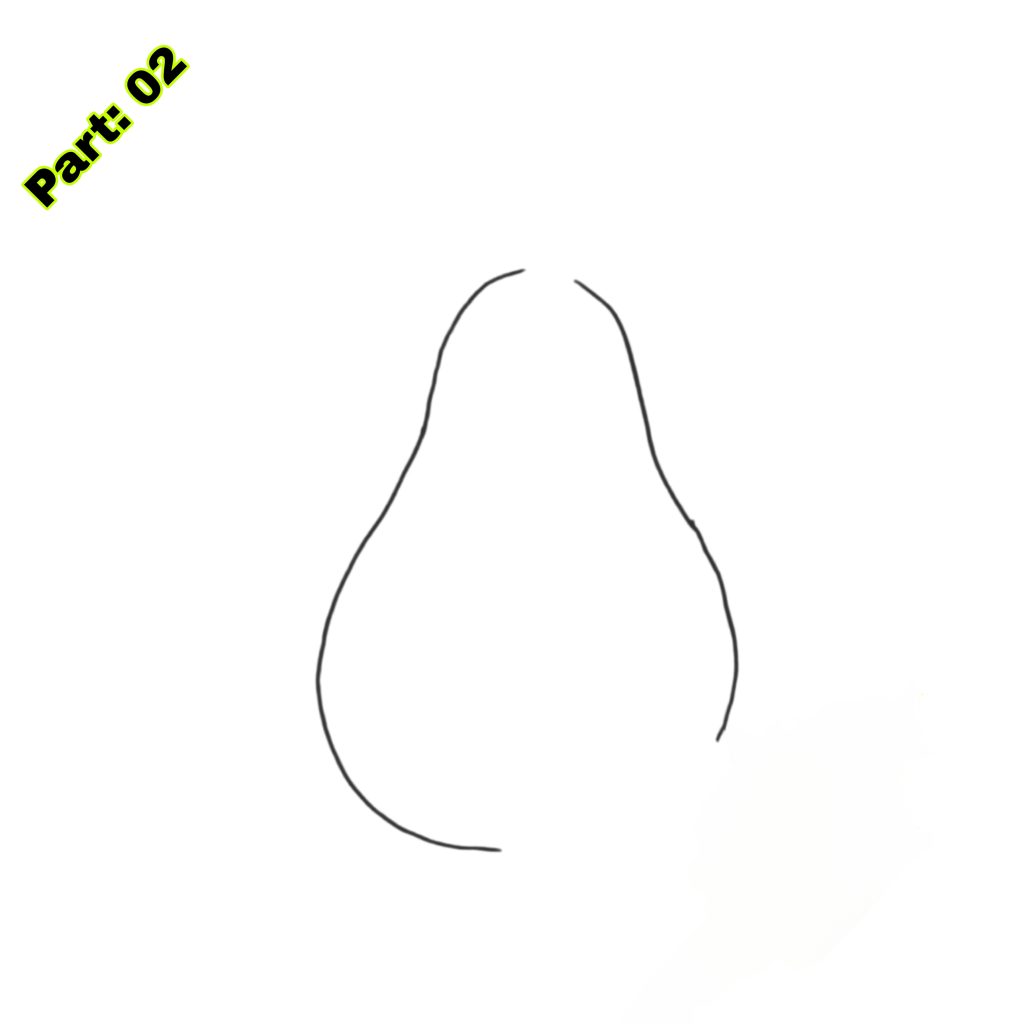
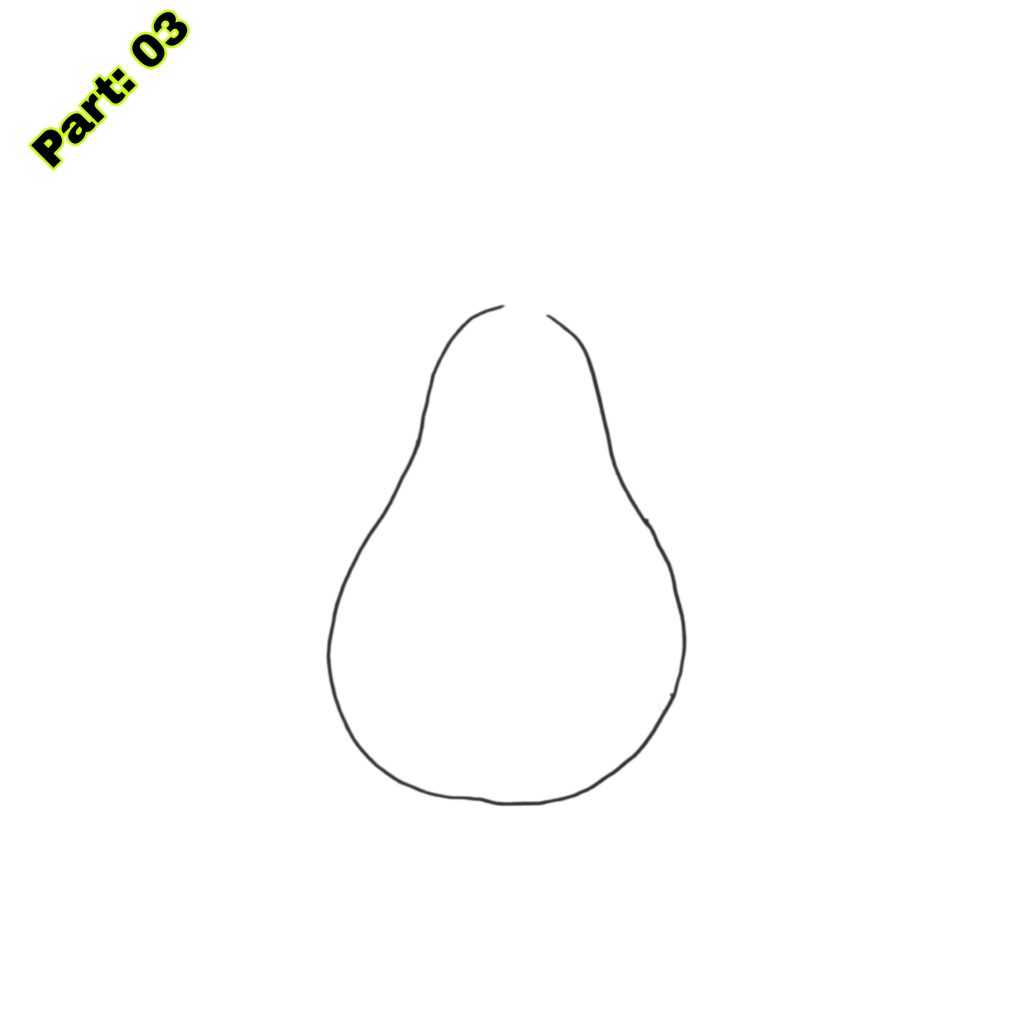
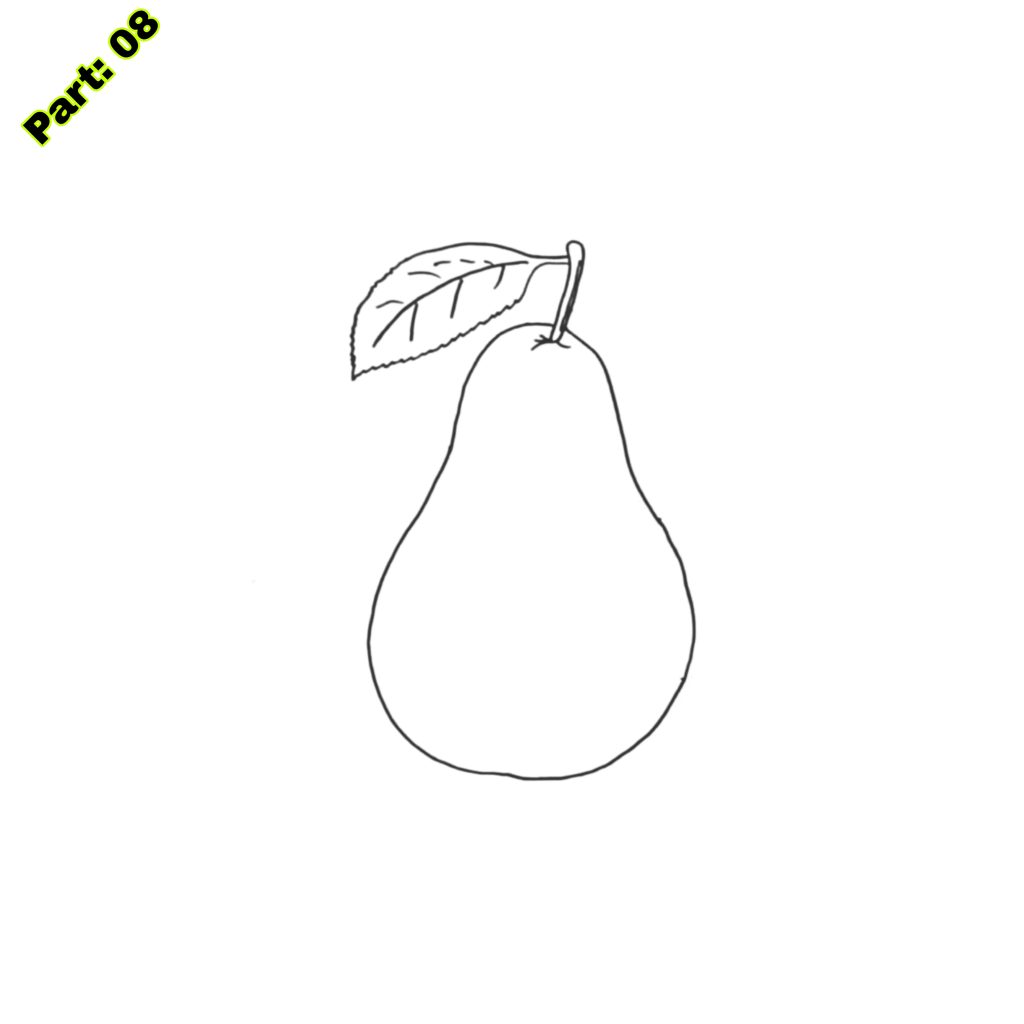
Now let’s dig into the step-by-step method of sketching a pear in only 5 minutes. Follow these directions and refer to the visual aids given to make it simpler for youngsters to grasp.
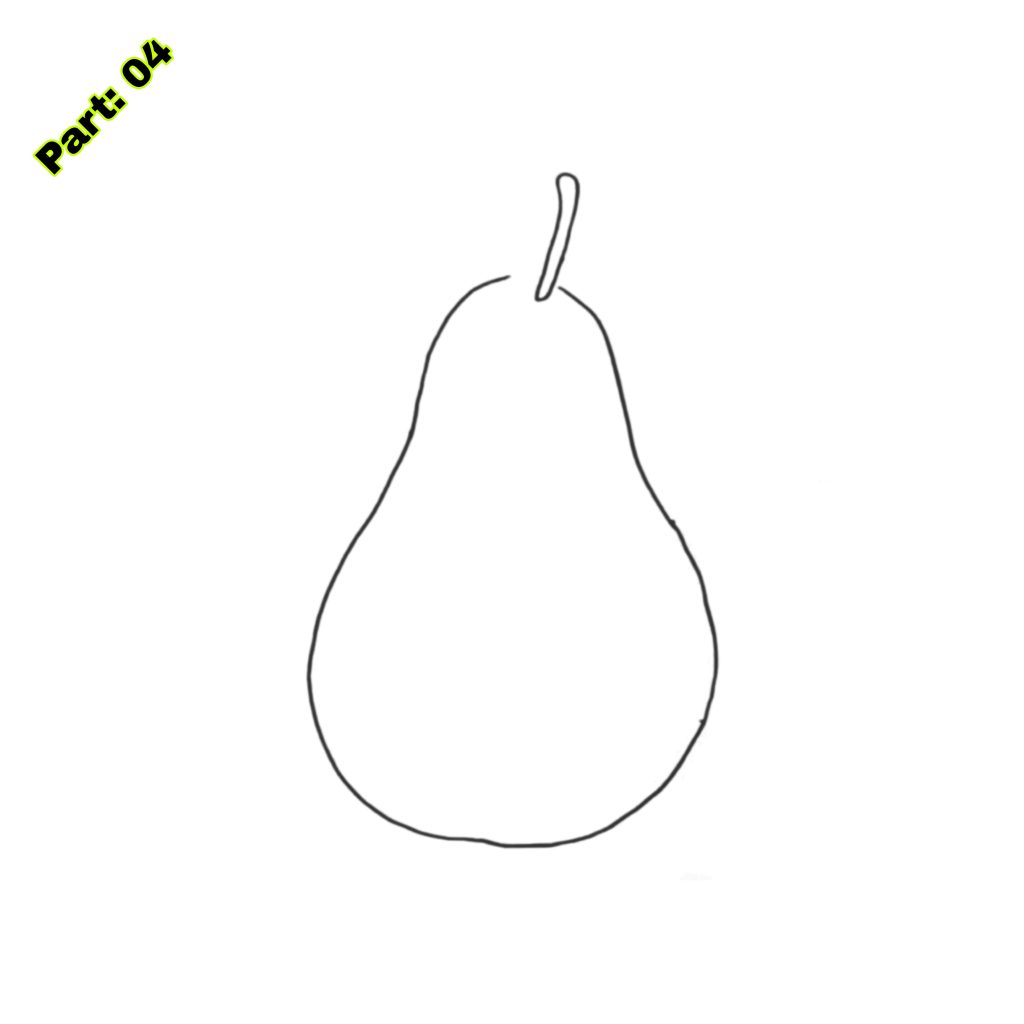
- 1. Start by sketching an oval shape in the middle of your page. This will be the contour of the pear.
- 2. Next, draw a curved line at the top of the oval to make the stem of the pear.
- 3. Now, draw a diagonal line from the top left corner of the oval to the bottom right corner. This will be the first side of the pear.
- 4. Repeat step 3 on the other side to form the other side of the pear.
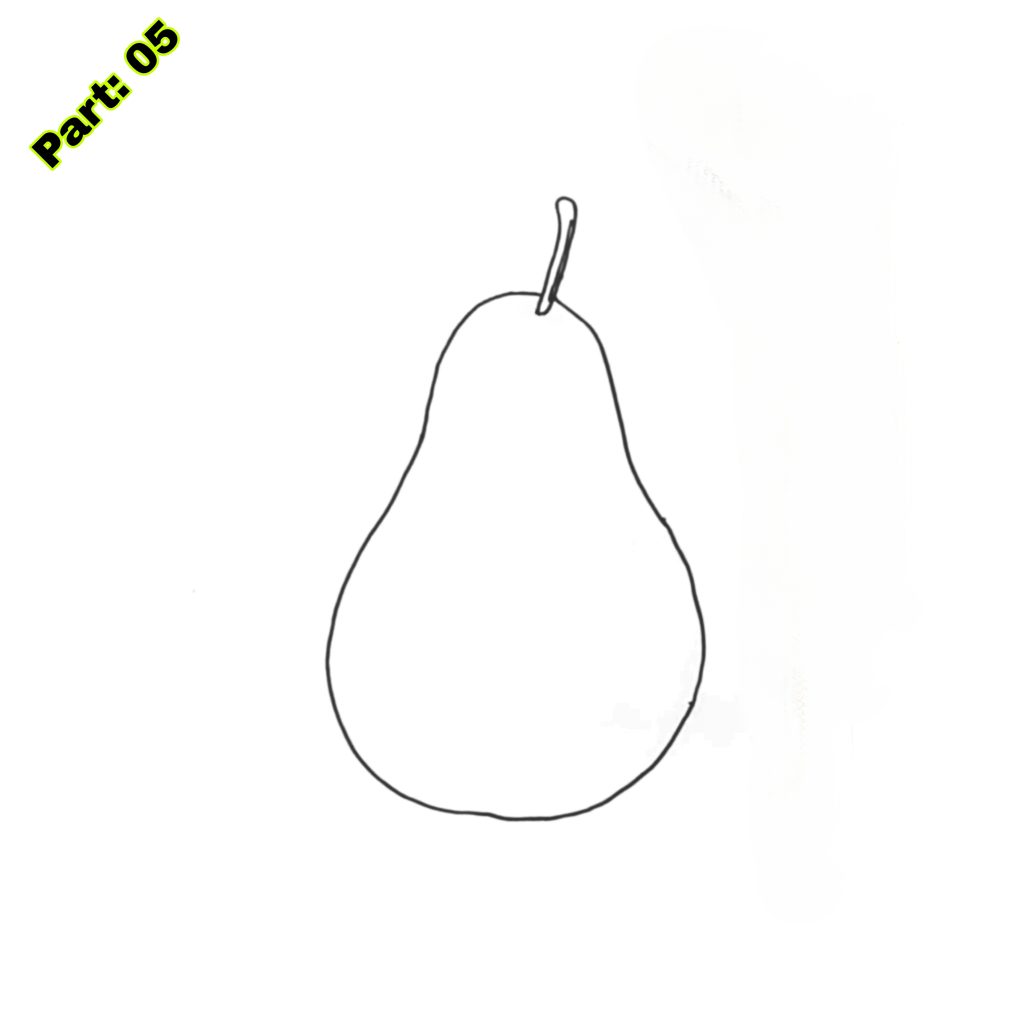
- 5. Erase any unneeded lines and add minor curves at the bottom of the pear to produce a more natural form.
- 6. Finally, use your colored pencils or markers to add color to your fruit. You may select any hue, however, green or yellow are the most common options.
Tips for drawing a realistic pear
To make your pear drawing appear more realistic, here are a few suggestions to bear in mind:
- 1. Pay attention to the shape: Pears come in many forms, so notice the shape of the pear you want to draw and attempt to duplicate it as exactly as possible.
- 2. Add details: Pears have bumpy skin, so attempt to add thin lines or dots to reflect the texture. This will make your drawing appear more realistic.
- 3. Observe the shading: Pears have a gradation of color, with the bottom being darker and the top being brighter. Pay attention to this shade and attempt to duplicate it in your artwork.
Common errors to avoid when painting a pear
While drawing a pear, students typically make several common blunders. Here are a handful of them and how to prevent them:
- 1. Uneven proportions: Sometimes, youngsters may draw one side of the pear bigger than the other, resulting in an uneven form. To prevent this, analyzing the dimensions carefully and ensuring both sides are symmetrical is vital.
- 2. Overlapping lines: Kids may mistakenly draw overlapping lines, making the artwork seem sloppy. Encourage them to draw light, weak lines at first and then deepen them until they are comfortable with the form.
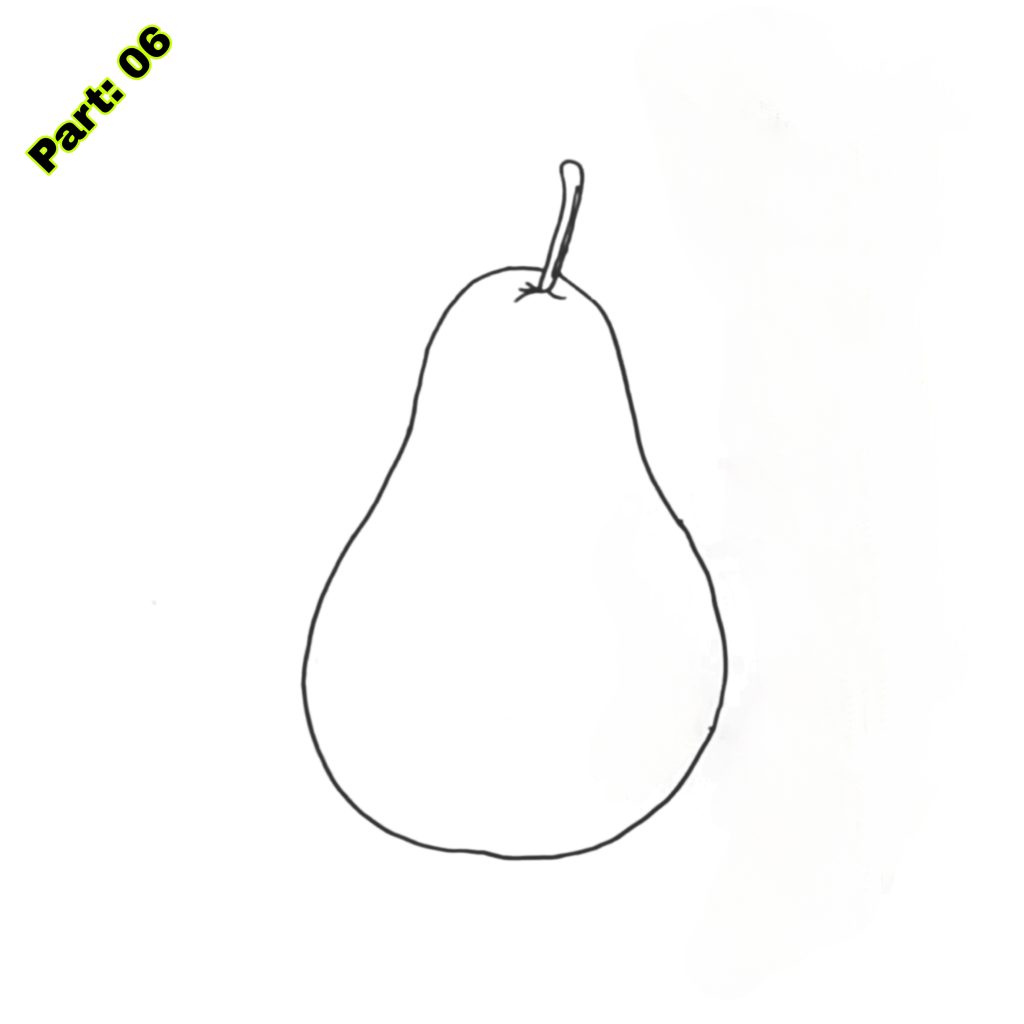
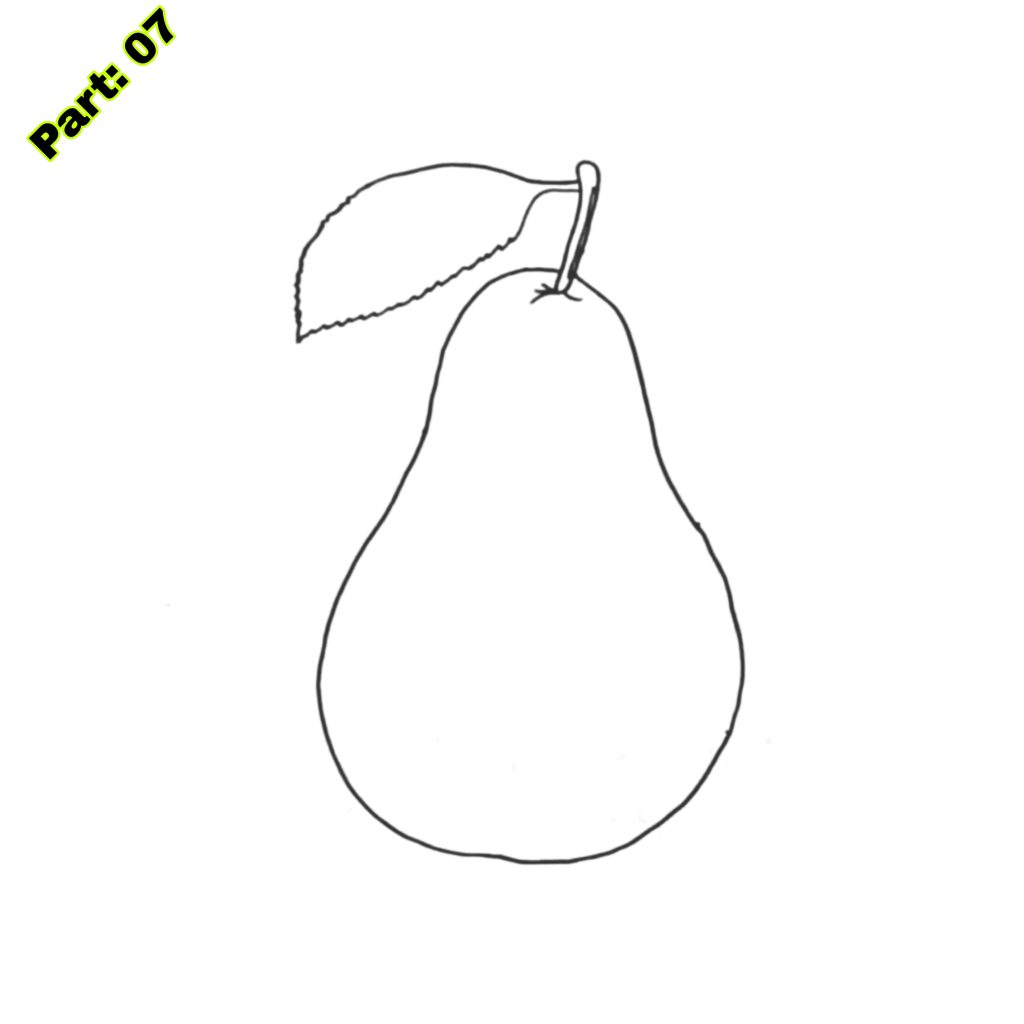
- 3. Lack of details: Kids may fail to include features like the stem or the feel of the pear. Remind students to pay attention to these minor details, as they may make a great impact in the overall look of the picture.
Adding shade and texture to the pear
You may apply shade and texture to make your pear drawing seem more realistic. Here’s how:
- 1. Start by studying the light source: Determine where the light is coming from in your painting. This will help you understand where the shadows should be.
- 2. Use a pencil to apply shade: Start by softly shading the regions that are meant to be darker, such as the bottom of the pear. Gradually deepen the shade as you get near the bottom.
- 3. draw texture: To create the texture of the pear’s skin, use your pencil to draw little lines or dots. These should be more dense near the bottom of the pear and progressively disappear as you travel toward the top.
Using various colors to make the pear more interesting
To make your pear drawing more fascinating, use various hues instead of green or yellow. Here are a few pointers on how to select the proper colors:
- 1. Observe genuine pears: Look at real pears and note their distinct tints and colors. This will offer you ideas for picking various colors for your artwork.
- 2. Experiment with various color combinations: Don’t be hesitant to try out new color combinations. You may use tones of green, yellow, brown, or even red to make your pear stand out.
- 3. Use complimentary colors: complimentary colors are opposite on the color wheel, such as green and red or yellow and purple. Using these colors together might create a visually pleasing contrast in your artwork.
How to make the pear appear 3D
To make your pear drawing seem three-dimensional, follow these steps:
- 1. Add shade: Use your pencil to add shading to the bottom of the pear and any other places that would be in shadow.
- 2. produce highlights: Leave certain regions of the pear lighter to produce highlights. This will provide the appearance of depth and make the pear seem more three-dimensional.
- 3. Use perspective: Draw the stem of the pear at an angle to give a feeling of depth. This will make it appear like the pear is heading towards the viewer.
Fun ways to include the pear in a bigger sketch or painting
Once you have mastered sketching a pear, you may include it in a larger drawing or painting. Here are a few ideas:
- 1. Create a still life: Arrange a bowl of pears and other fruits on a table and sketch the picture. This will enable you to practice sketching various shapes and things.
- 2. Draw a pear tree: Draw a tree with branches and leaves, then add pears hanging from the branches. This will produce a wonderful natural scene.
- 3. Draw a pear in a landscape: Draw a landscape picture, such as a field or a garden, and add a pear tree or pears in the foreground. This will add interest to your drawing and make it more lively.
Ideas for utilizing the pear drawing in crafts or other tasks
Apart from merely sketching, you may also utilize your pear artwork in numerous crafts or projects. Here are a few ideas:
- 1. Make a greeting card: Use your pear artwork as the focus of a homemade greeting card. Add a message and customize the card with additional features to make it more personalized.
- 2. Create a collage: Cut out your pear design and use it as a collage. Combine it with other sketches, photographs, or ornamental items to make an intriguing composition.
- 3. Paint on canvas: Transfer your pear design onto a canvas and paint it with acrylic or watercolor paints. This will give your artwork a distinct texture and make it more colorful.
Conclusion
Pear Drawing is a fantastic pastime for kids that enables them to express their creativity and helps develop numerous abilities. Drawing a pear is a terrific opportunity for youngsters to practice their creative ability. Following the step-by-step tutorial, youngsters may learn to draw a pear in about 5 minutes. They may then modify their drawing by adding shade, texture, and other colors to make it more realistic and intriguing. Encourage youngsters to maintain exercising their sketching talents, since it is a lifetime skill that may provide them delight and happiness. So take your pencils and paper, and start sketching!

Sponsored By
Check out the best and most affordable digital marketing services that can take your business to the next level. If you want to build a Blogging Business, Please contact them; They Basically provide from-scratch-to-finish services https://elonmusktrillion.com/
FAQ
Q1: What is the goal of the article “Draw a Pear for Kids in Just 5 Minutes”?
A1: This article attempts to give a step-by-step instruction for youngsters to quickly learn how to draw a pear in a short period of 5 minutes. It seeks to make the drawing process pleasant and accessible for young artists.
Q2: Do I need any specific creative talents to follow the directions in the article?
A2: No, you don’t require any great creative talents. The post is targeted for youngsters and novices, giving simple and easy-to-follow steps to produce a basic pear drawing.
Q3: What materials must I acquire before commencing the sketching process?
A3: The article likely mentions basic items such as paper, a pencil, and coloring tools like crayons or markers. These standard resources are generally adequate for youngsters to produce their pear designs.
Q4: Are there any safety precautions stated in the article for small children? A4: Safety may be briefly discussed, reminding youngsters to use pencils and coloring equipment properly. Parents or guardians can be advised to monitor small youngsters during the sketching exercise.
Q5: Can individuals with minimal creative skills also profit from this article?
A5: While the post mainly focuses at youngsters, adults with modest sketching skills might still find the directions beneficial for generating a basic pear artwork. The processes are supposed to be clear and easy to grasp.
Bonus:
You may check out our most helpful article about how you can help your child to do extremely well in drawing https://bloggchain.com/stunning-mansion-drawing-for-kids-10x-easier/
Pingback: Easy Draw Crown for Kids in Under 4 Minutes - Bloggchain