Introduction
Pumpkin Skull is a fun and creative exercise that enables youngsters to express their creativity and artistic talents. It entails sketching a skull form on a pumpkin and adding features to create a creepy, Halloween-themed design. Encouraging creativity and imagination in youngsters is vital as it helps them develop problem-solving abilities, think outside the box, and express themselves individually.
Materials Needed for Pumpkin Skull
To make a pumpkin skull sketch, you will need the following materials:
- A pumpkin
- A pencil
- An eraser
- Black markers or pens
- Colored pencils or markers (optional)
- Paint and brushes (optional)
If you don’t have a pumpkin, you may use paper or cardboard as a substitute. Instead of markers or pens, you may use crayons or colored pencils. The choice of materials depends on the age and ability level of the kid, as well as the intended output of the drawing.
Gift:
Claim our premium worksheet practice book For Free (Only for you):
Step-by-Step Guide to Pumpkin Skull
Here is a step-by-step instruction for pumpkin skull:
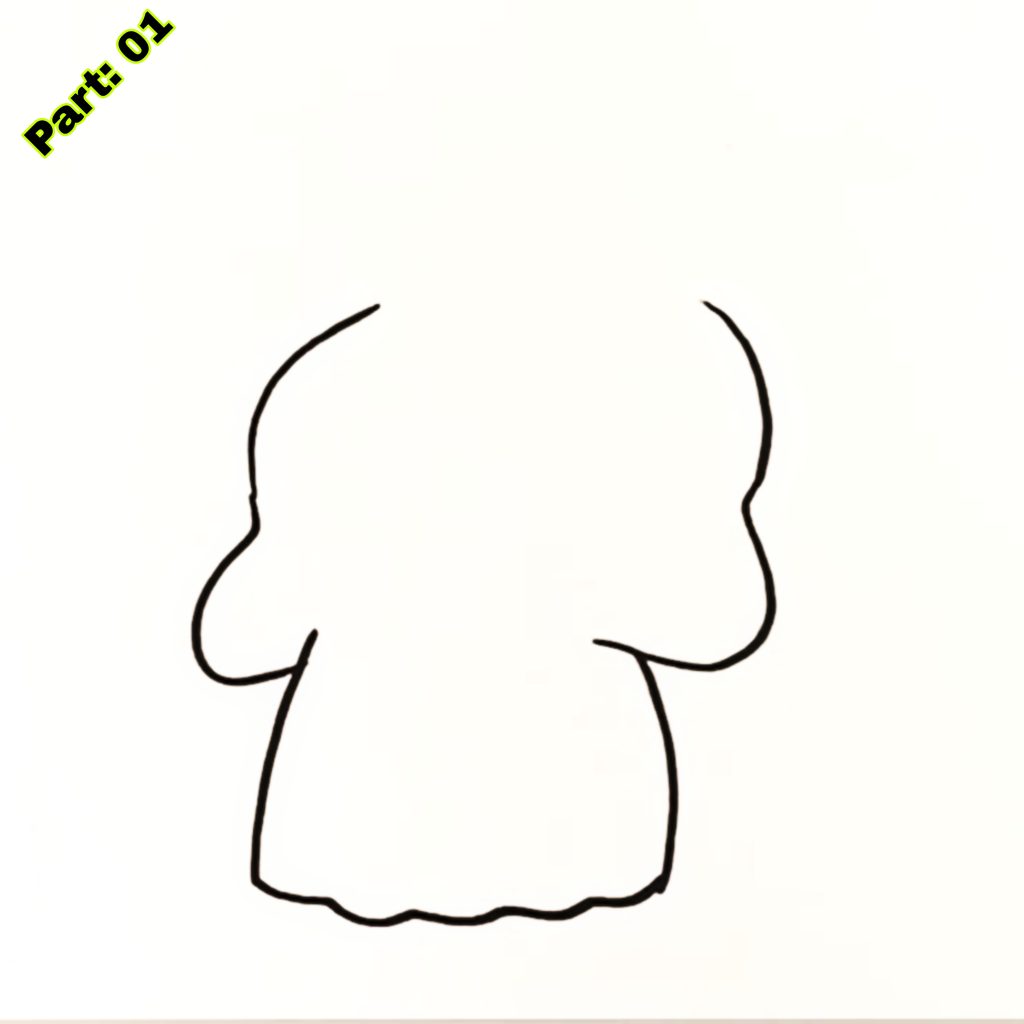
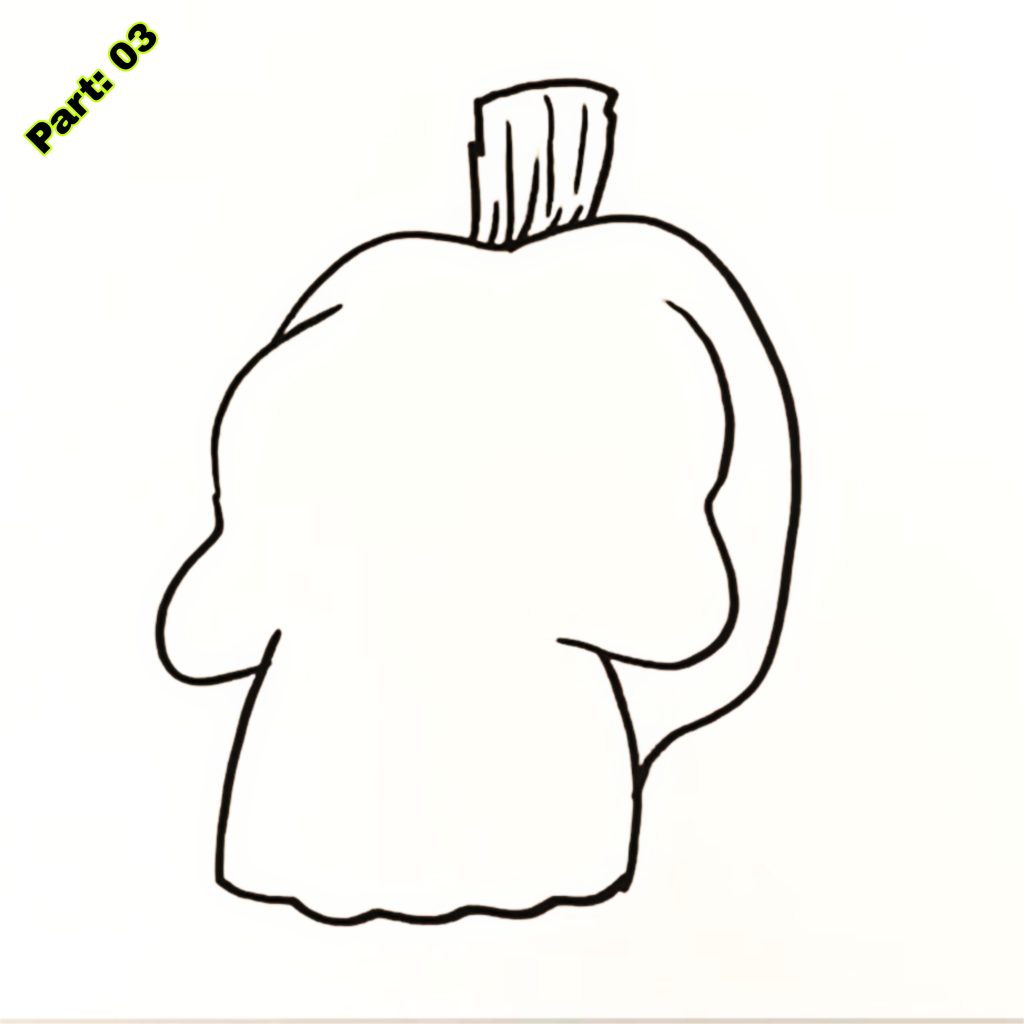
- 1. Start by sketching a huge oval shape on the pumpkin. This will be the contour of the skull’s head.
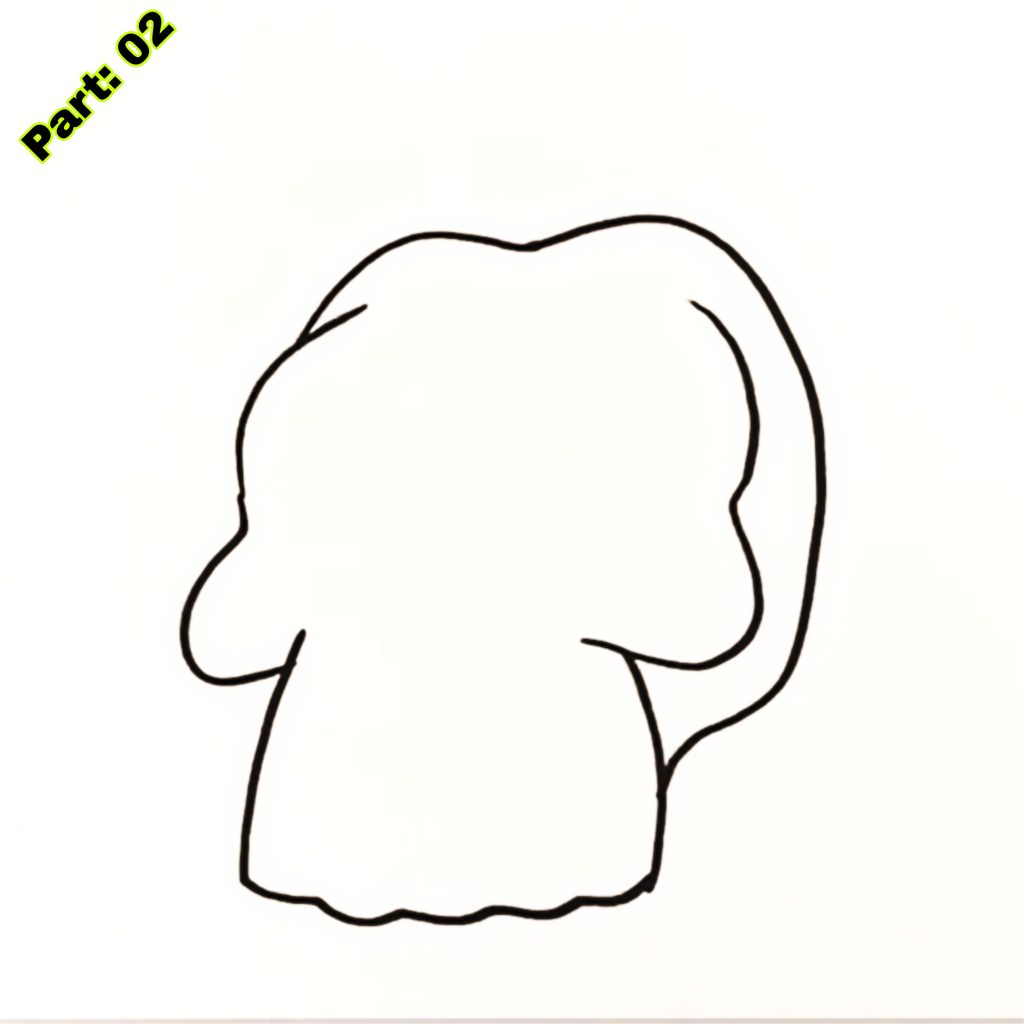
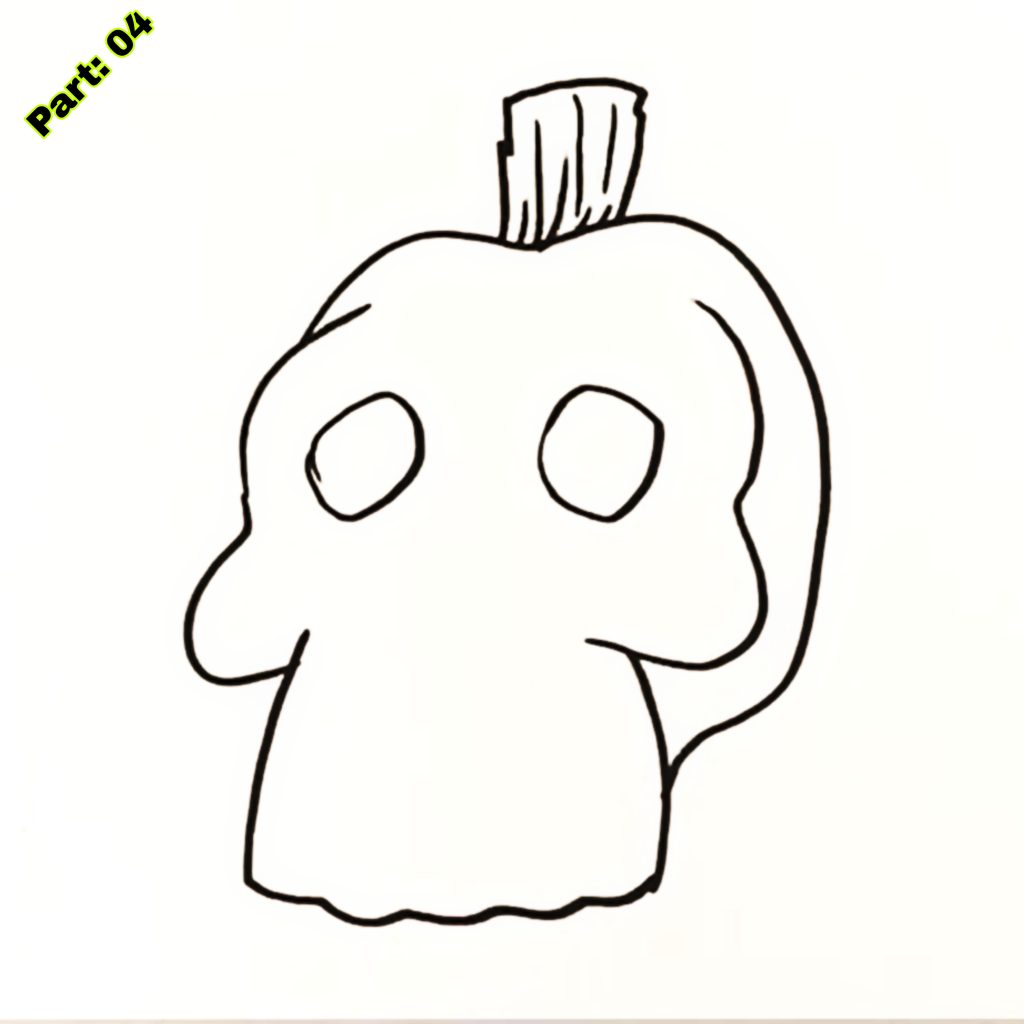
- 2. Draw two tiny ovals within the main oval to depict the eye sockets. Leave some space between the eye sockets for the nose.
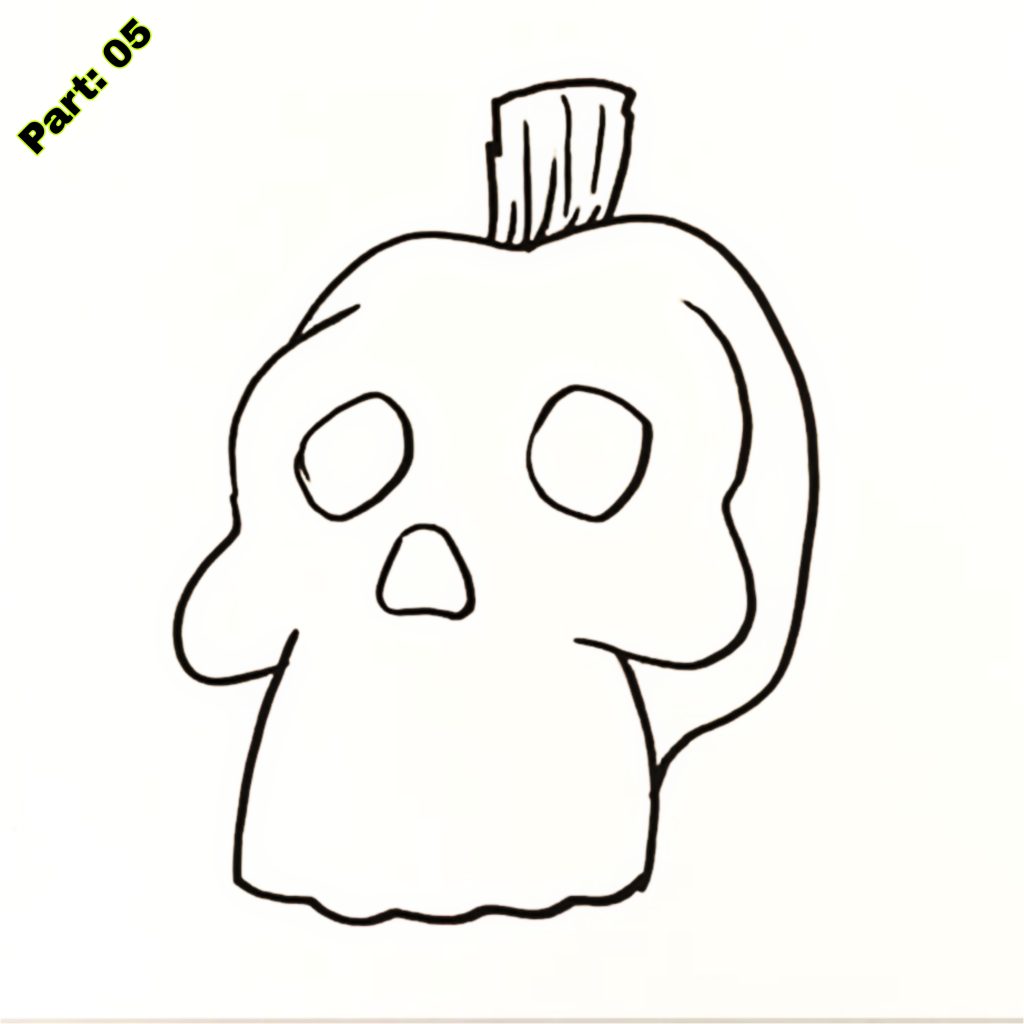
- 3. Draw a little triangle below the eye sockets for the nose.
- 4. Add a curved line below the nose to represent the mouth. You may make the mouth as large or as small as you wish, based on the intended expression of the skull.
- 5. Add teeth to the mouth by drawing little triangles along the curving line.
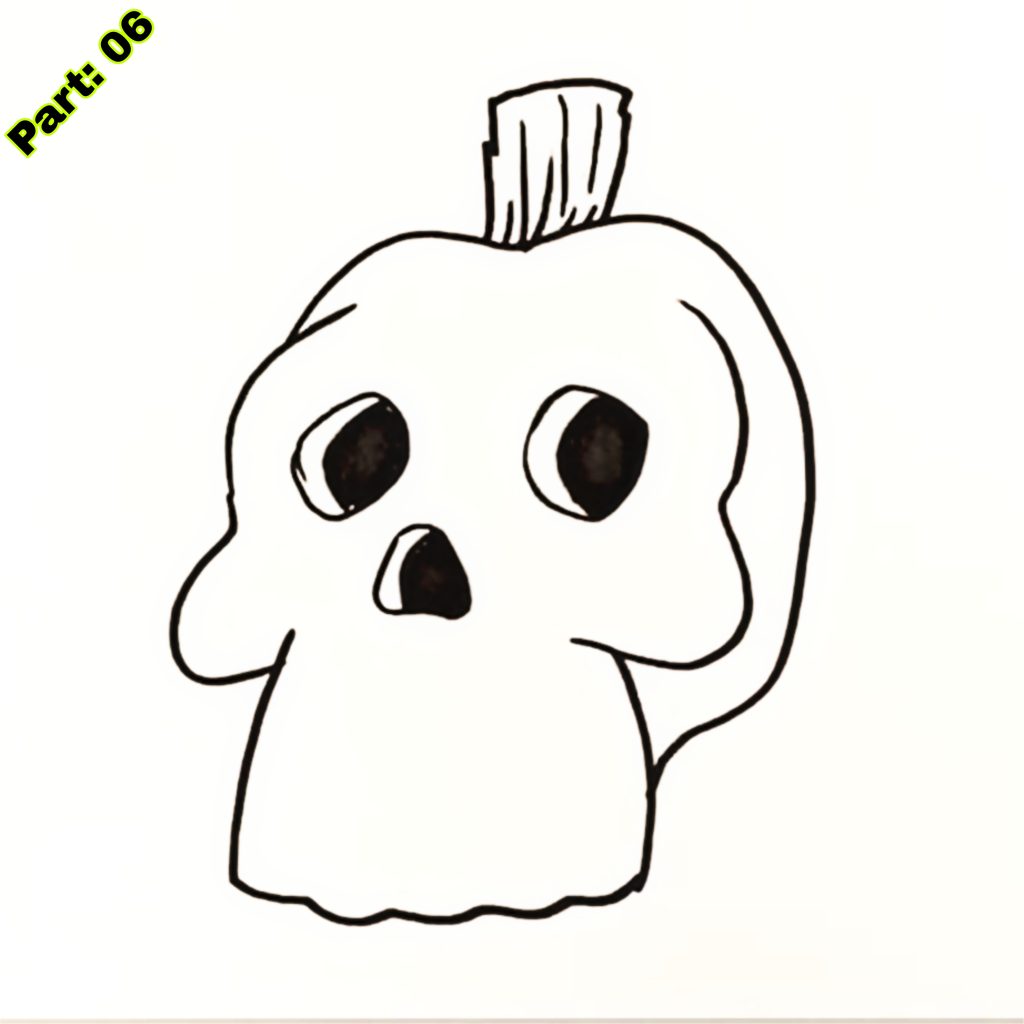
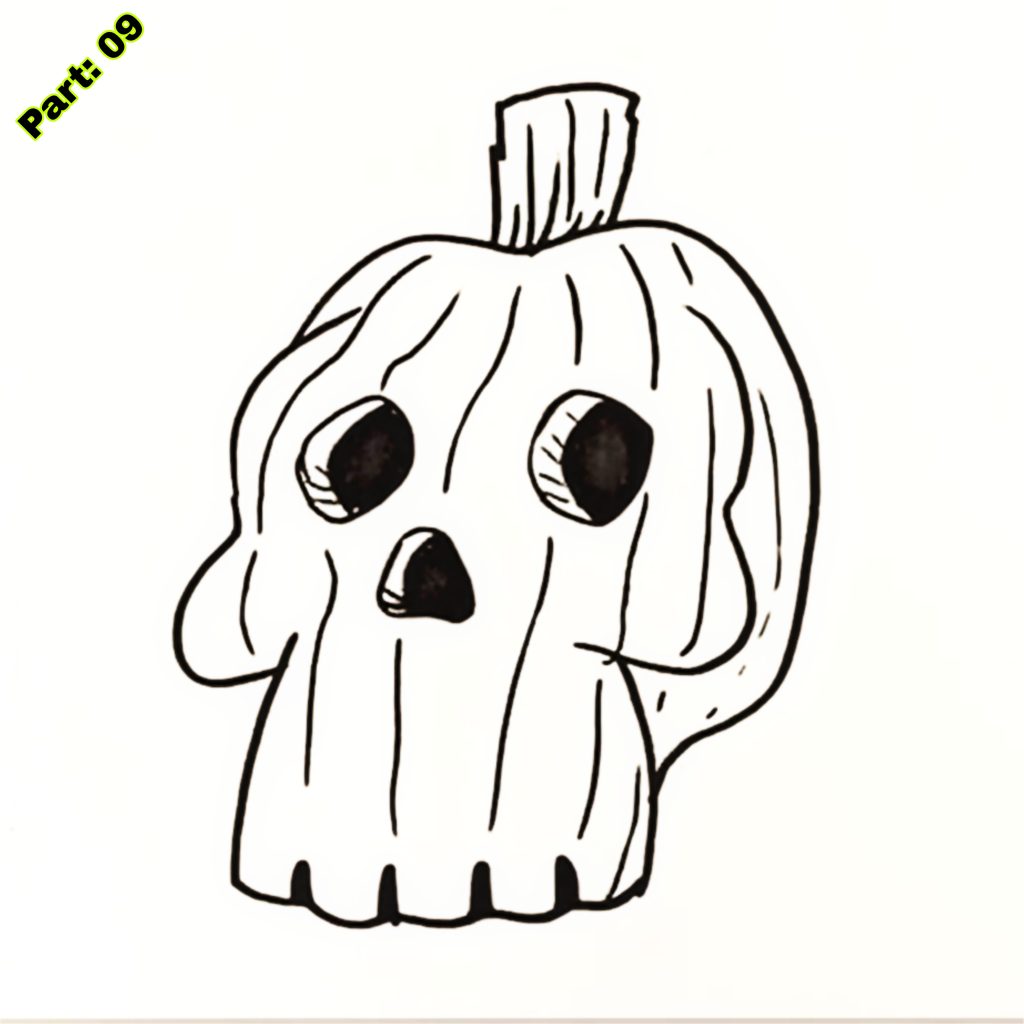
- 6. Erase any extraneous lines and improve the contour of the skull.
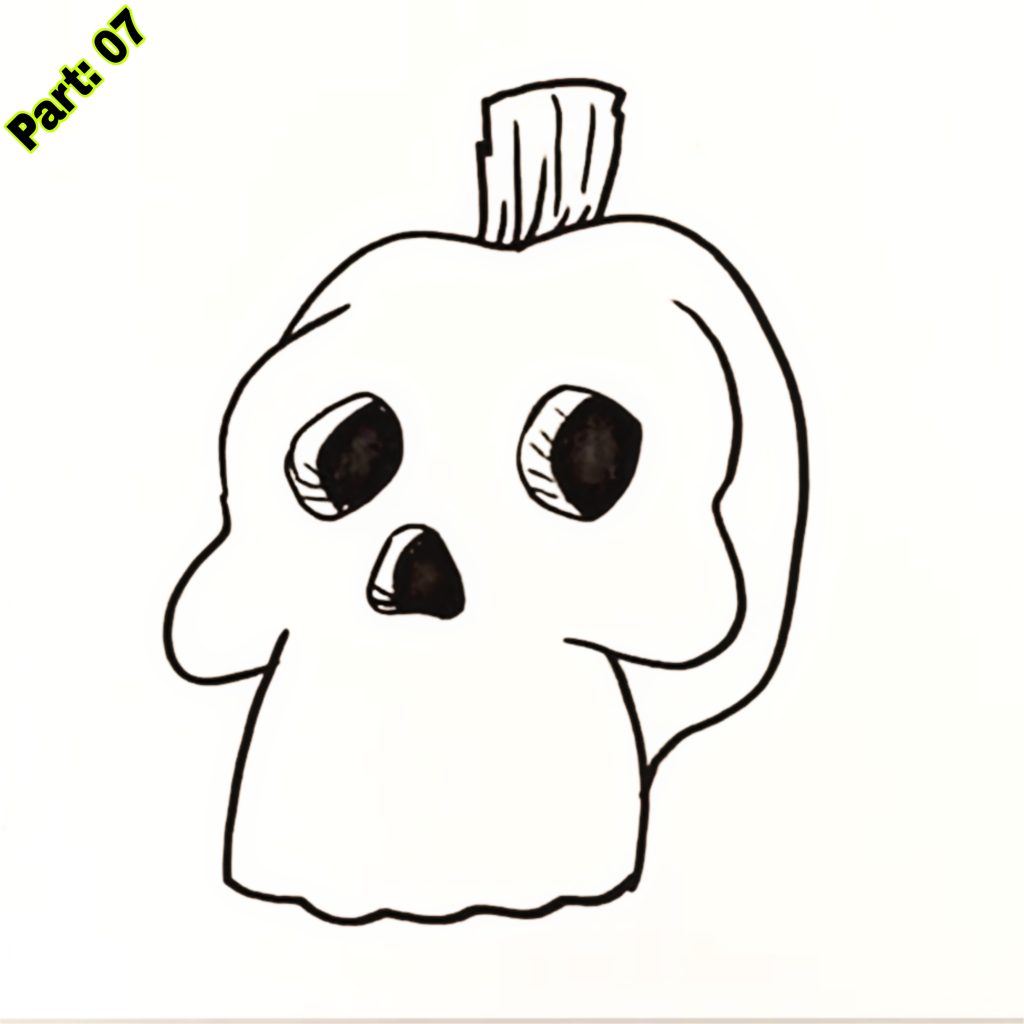
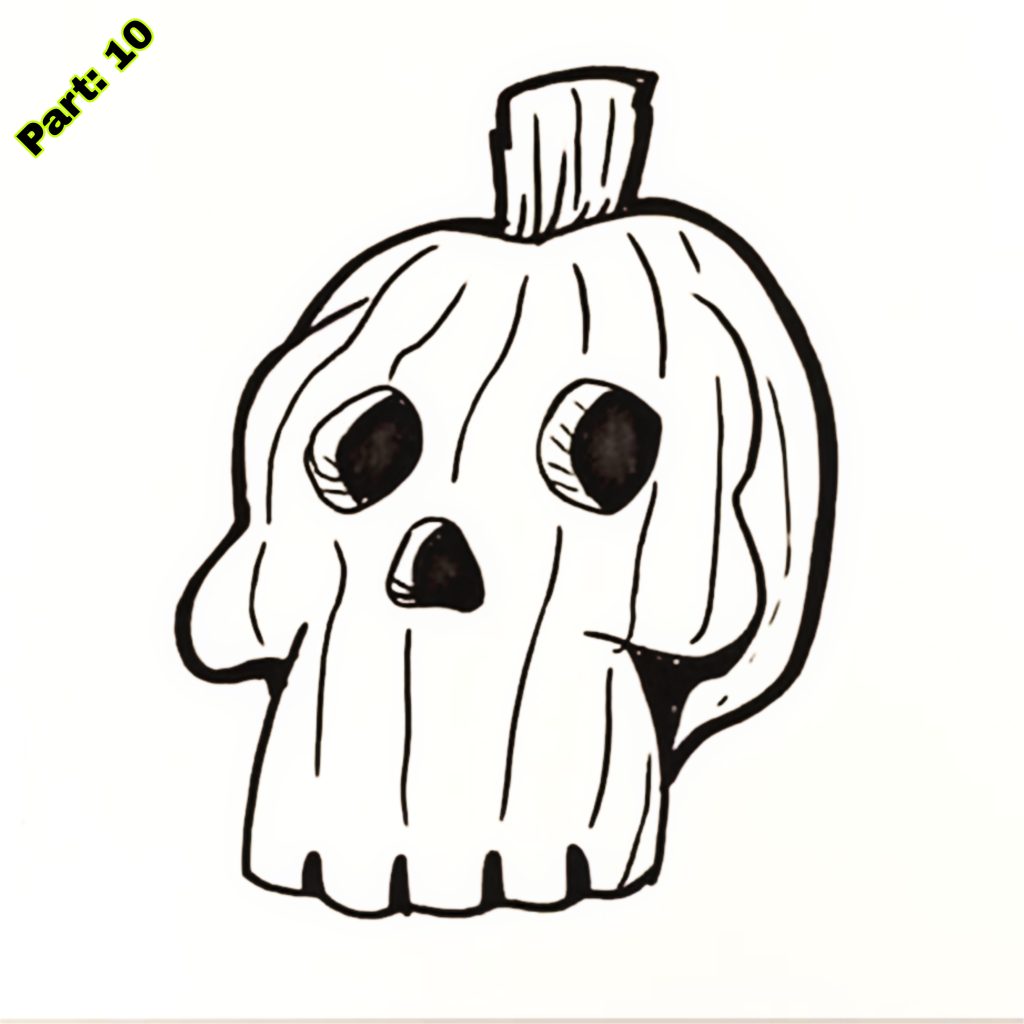
- 7. Once you are pleased with the outline, use black markers or pens to trace over the lines and add features to the skull. You may apply shading, cross-hatching, or other patterns to make the drawing more fascinating.
Tips for Making Your Pumpkin Skull Stand Out
You may add distinctive elements and experiment with various styles and approaches to make your pumpkin skull design stand out. Here are some suggestions:
- 1. Add elaborate patterns to the skull’s surface, such as swirls, dots, or lines. This will give the drawing a more detailed and aesthetically pleasing aspect.
- 2. Experiment with various line weights to create depth and dimension. Use larger lines for the outline and thinner strings for the details.
- 3. Play with various textures by utilizing cross-hatching or stippling methods. This will add visual appeal and make the drawing more lively.
- 4. Incorporate other components into the picture, such as spiders, bats, or cobwebs. This will accentuate the Halloween theme and make the photo more distinctive.
Adding Color to Your Pumpkin Skull
Adding color to your pumpkin skull artwork will bring it to life and make it more aesthetically attractive. Here are some suggestions for coloring the picture:
- 1. Use classic Halloween hues such as orange, black, and purple to tint the pumpkin and backdrop.
- 2. Experiment with various shading methods to create depth and dimension. Use deeper hues of color for the shadows and lighter colors for the highlights.
- 3. Consider using complementary hues to create contrast and make certain areas of the artwork stand out. For example, you may choose blue or green for the eyes to make them shine against the orange backdrop.
- 4. If you like a more realistic effect, try acrylic or watercolor paints instead of colored pencils or markers. This will enable you to combine colors and produce a more bright and textured look.
Creative Ways to Display Your Pumpkin Skull
Once you have done your pumpkin skull artwork, there are numerous imaginative ways to display it. Here are some suggestions:
- 1. Frame the drawing and hang it on a wall. This will make it a focal point in the space and enable people to enjoy your artwork.
- 2. Attach the drawing to a wooden board or canvas and place it on a shelf or mantel. This will give it a three-dimensional appearance and make it stand out.
- 3. Create a Halloween-themed collage by merging your pumpkin skull artwork with other Halloween decorations, such as imitation spiders, cobwebs, or bats.
- 4. Use the artwork as a centerpiece for a Halloween party or event. Place it on a table surrounded by candles, pumpkins, and other eerie decorations.
Halloween-Themed Activities to Pair with Pumpkin Skull
You may match the pumpkin skull with other Halloween-themed activities to make it even more entertaining. Here are some suggestions:
- 1. Carve a real pumpkin and use your sketch to influence the design. This will help you bring your artwork to life and create unique and customized Halloween décor.
- 2. Host a pumpkin painting party where kids may paint their pumpkins and make their pumpkin skull designs. Provide various colors of paint, brushes, and other painting equipment for children to use.
- 3. Organize a Halloween costume contest and have youngsters dress up as their favorite characters or animals. They may then use their pumpkin skull designs as props or accessories to complete their outfits.
- 4. Create a frightening scavenger hunt where youngsters have to uncover hidden things or answer puzzles based on Halloween themes. Use the pumpkin skull designs as clues or suggestions for the scavenger hunt.
Benefits of Drawing for Kids’ Development
Drawing provides several cognitive and emotional advantages for kids’ development. Here are some suggestions:
- 1. Enhances fine motor abilities: Drawing helps youngsters develop hand-eye coordination and fine motor skills, which are crucial for writing, typing, and playing musical instruments.
- 2. Boosts creativity and imagination: Drawing helps youngsters communicate their thoughts, ideas, and feelings graphically and artistically. It inspires students to think outside the box and discover creative solutions to issues.
- 3. Improves concentration and focus: Drawing involves concentration and focus, as students must pay attention to details, follow directions, and remain interested in the activity. This helps increase their capacity to concentrate and focus on things.
- 4. Builds confidence and self-esteem: When youngsters see their drawings come to life and get favorable comments from others, it enhances their confidence and self-esteem. It also inspires kids to continue exploring their imagination and attempting new things.

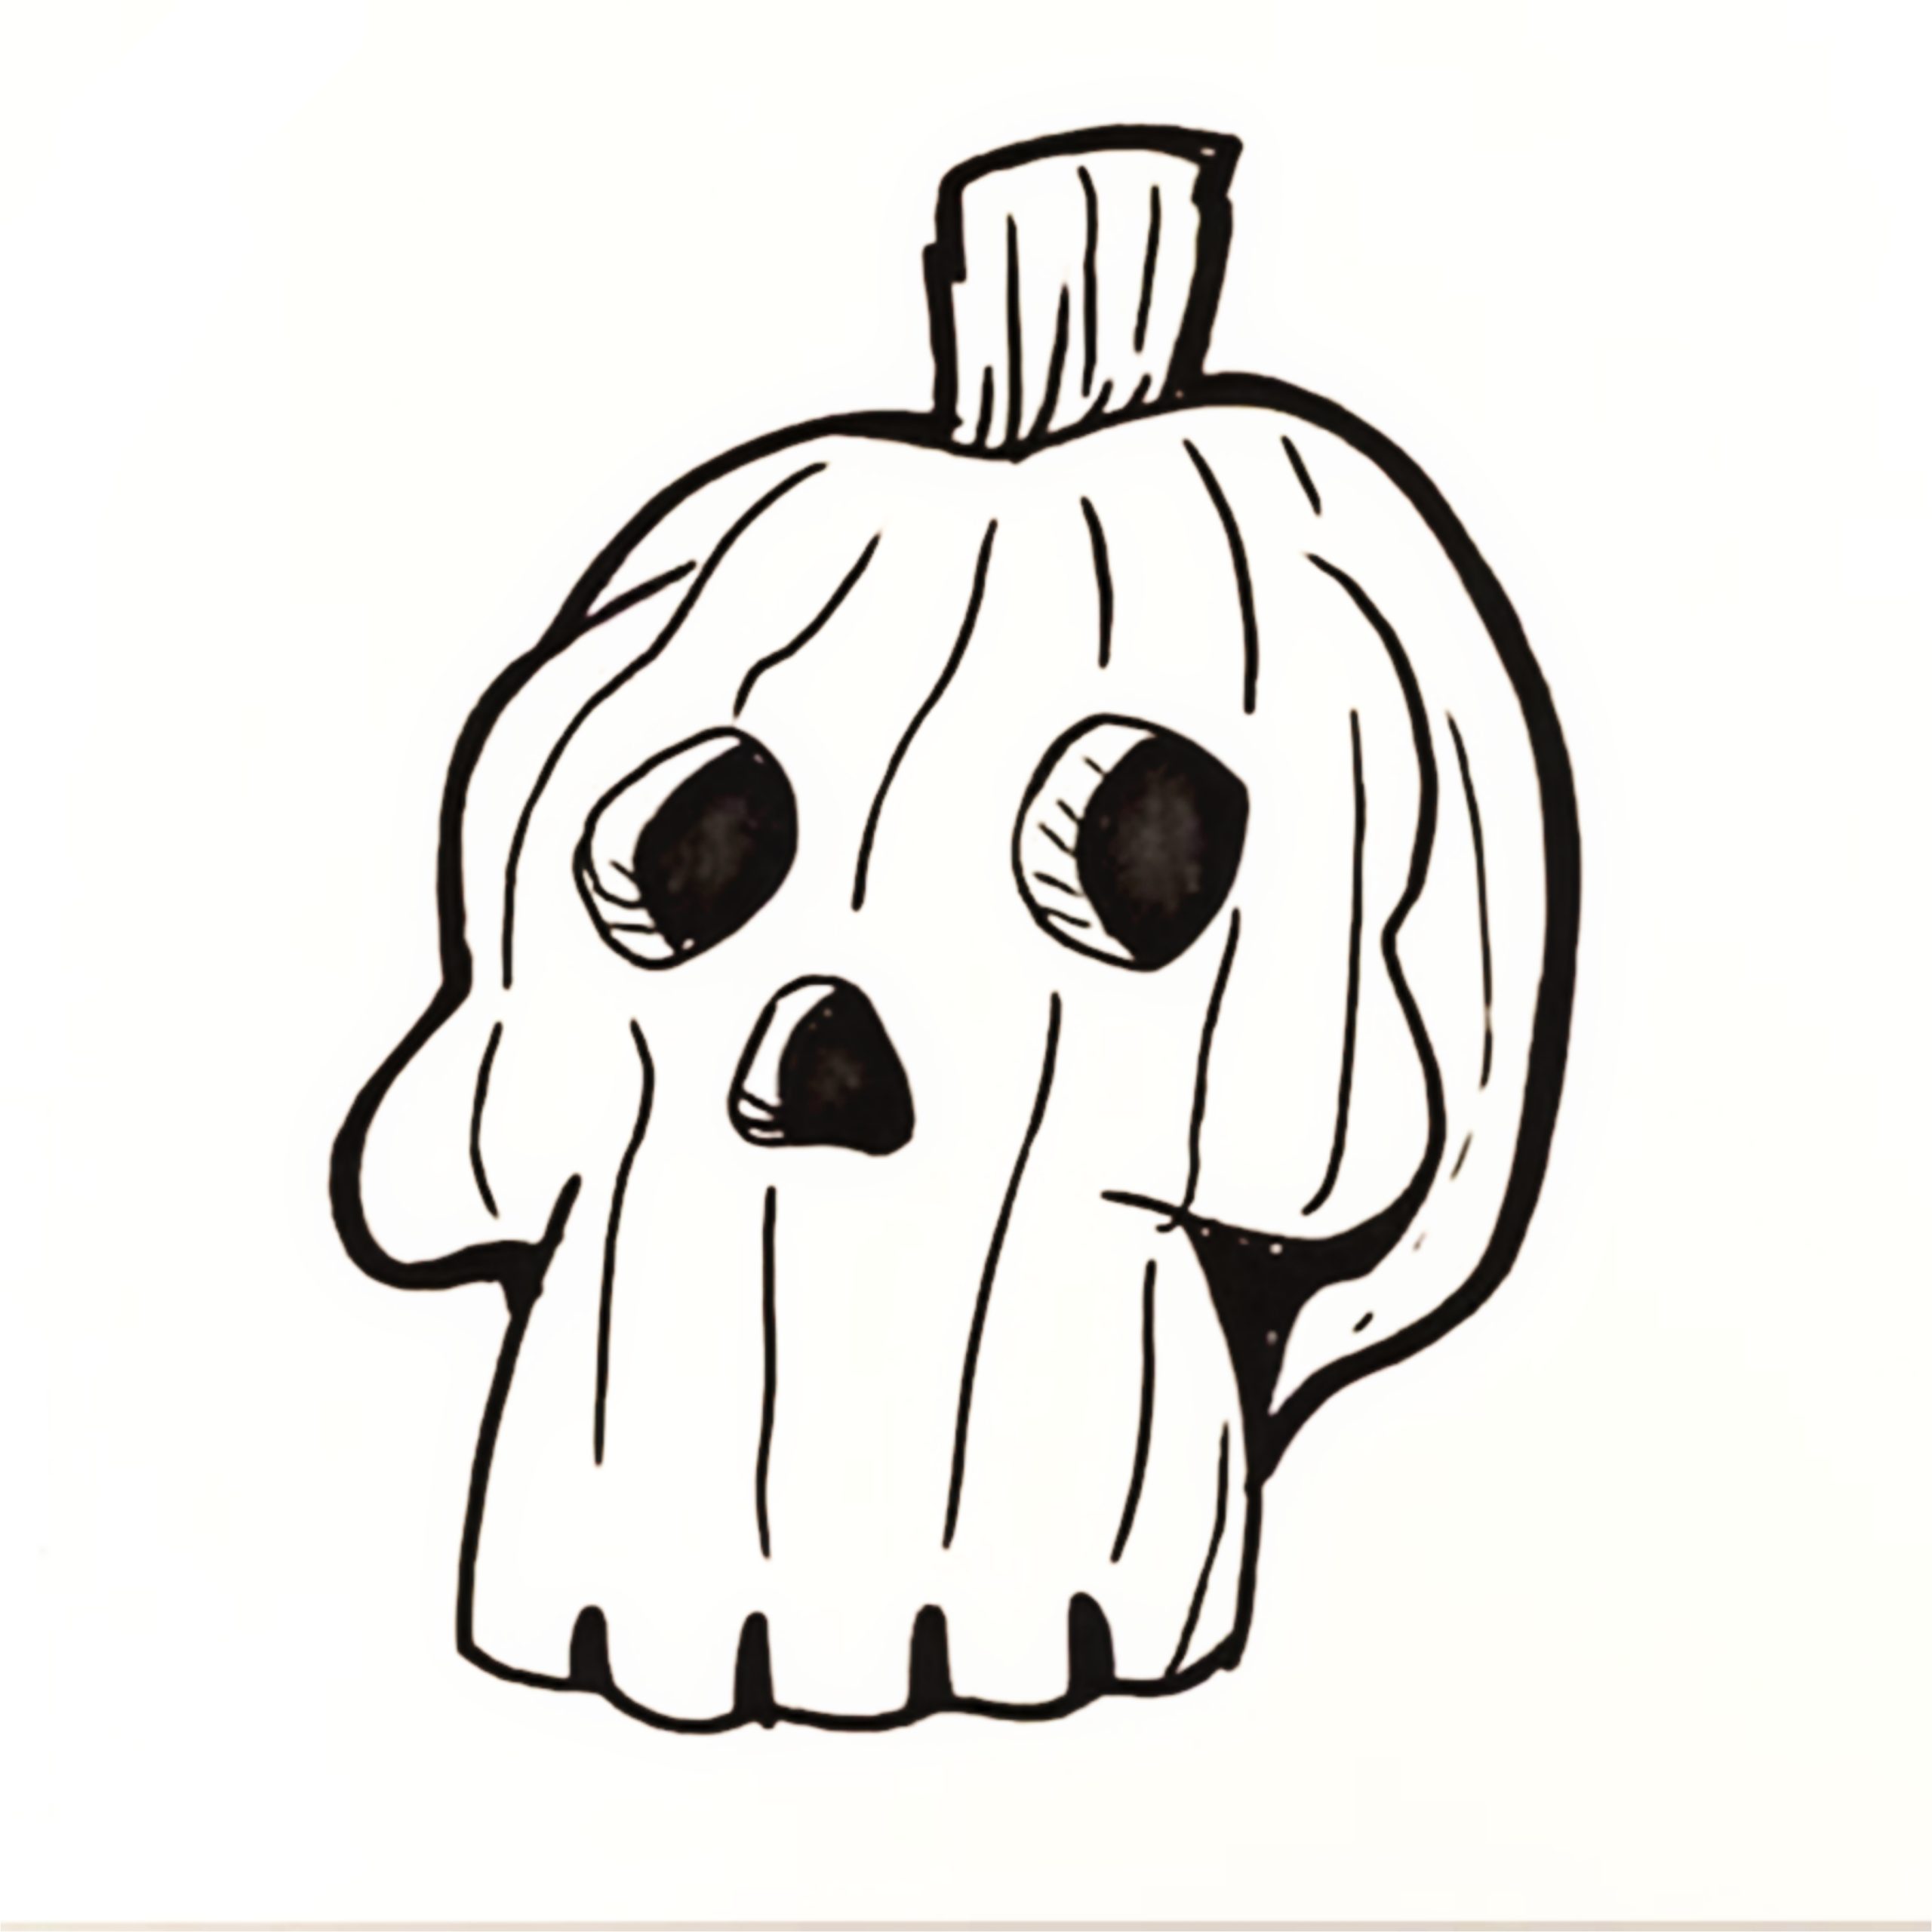
Inspiring Examples of Pumpkin Skull by Kids
Here are some great examples of pumpkin skull drawings by kids:
[Include a few examples of pumpkin skull drawings by youngsters, displaying diverse styles, approaches, and ability levels.]
These images highlight the ingenuity and inventiveness that youngsters may bring to their pumpkin skull paintings. Each artwork is unique and represents the originality of the artist.
Conclusion
Pumpkin Skull is a fun and creative exercise that enables youngsters to express their creativity and artistic talents. By promoting creativity and imagination in youngsters, we help them develop critical cognitive and emotional abilities that will benefit them throughout their lives. Drawing strengthens fine motor skills, stimulates creativity, improves attention, and builds confidence. So, take a pumpkin, some markers, or pencils, and let your imagination run wild as you design your frightening pumpkin skull artwork!
Sponsored By
Check out the best and most affordable digital marketing services that can take your business to the next level. If you want to build a Blogging Business, Please contact them; They Basically provide from-scratch-to-finish services https://elonmusktrillion.com/
FAQ
Q: What age group is the pumpkin skull drawing instruction targeted for?
A: The lesson is particularly developed for youngsters, often between the ages of 5 and 10 years old.
Q: What supplies are necessary for the pumpkin skull sketching activity?
A: The article should list the essential tools for drawing, including colored pencils, markers, crayons, blank paper, and an eraser.
Q: Is the instruction appropriate for novices with no previous drawing experience?
A: The pumpkin skull sketching lesson is intended with beginners in mind. It employs basic and easy-to-follow procedures, making it accessible to youngsters new to sketching.
Q: How long does it take to create the pumpkin skull drawing?
A: The time necessary to finish the picture may vary based on the child’s age, drawing speed, and attentiveness. It may take roughly 15 to 30 minutes to complete the drawing.
Q: Are there any safety precautions listed in the article?
A: The article could contain safety guidelines for youngsters in sketching activities, such as using non-toxic art materials and providing adult supervision if required.
Bonus:
You may check out our most helpful article about how you can help your child to do extremely well in drawing https://bloggchain.com/stunning-spider-web-drawing-for-kids-2x-easier/
