
Introduction
Star Drawing is a fantastic method for youngsters to express their creativity and imagination. It enables kids to explore diverse shapes, colors, and textures and helps improve fine motor skills. In this blog article, we will concentrate on sketching stars, a basic but adaptable shape that can be utilized in numerous sorts of artwork. We will give step-by-step directions, ideas, and recommendations to assist students construct their star drawings.
Encouraging youngsters to explore their creativity via sketching is vital for their development. The image helps develop hand-eye coordination, focus, and problem-solving abilities. It also helps youngsters to communicate their feelings and thoughts graphically. By giving them the tools and assistance to draw stars, we will empower them to explore their creative ability and build their distinctive style.
Materials required for star drawing
You will need a few basic supplies to start with star drawing. Follow these step-by-step:
- 1. Paper: Choose a smooth, robust paper that can withstand varied sketching approaches. A journal or sketching pad would be nice.
- 2. Pencils: Have a selection of pencils with varied lead hardness, such as HB, 2B, and 4B. These will help you to generate varied hues and textures in your designs.
- 3. Eraser: An indispensable tool for rectifying mistakes and modifying your artwork is a reliable eraser of decent quality.
- 4. Ruler: A ruler can help you make straight lines and accurate angles in your star design.
Gift:
Claim our premium worksheet practice book For Free (Only for you) :
Alternative materials:
If you don’t have access to the items indicated above, don’t worry! You may still construct star designs with different materials. For example, instead of pencils, you may use colored pencils, markers, or even crayons. Instead of paper, you may use a canvas or a piece of cardboard. The goal is to be creative and utilize any materials you have available to make your star designs.
A step-by-step approach to sketching a main star
Now that you have your supplies set start designing a simple star. Follow these step-by-step instructions:
- 1. Start by drawing a little dot in the middle of your page.
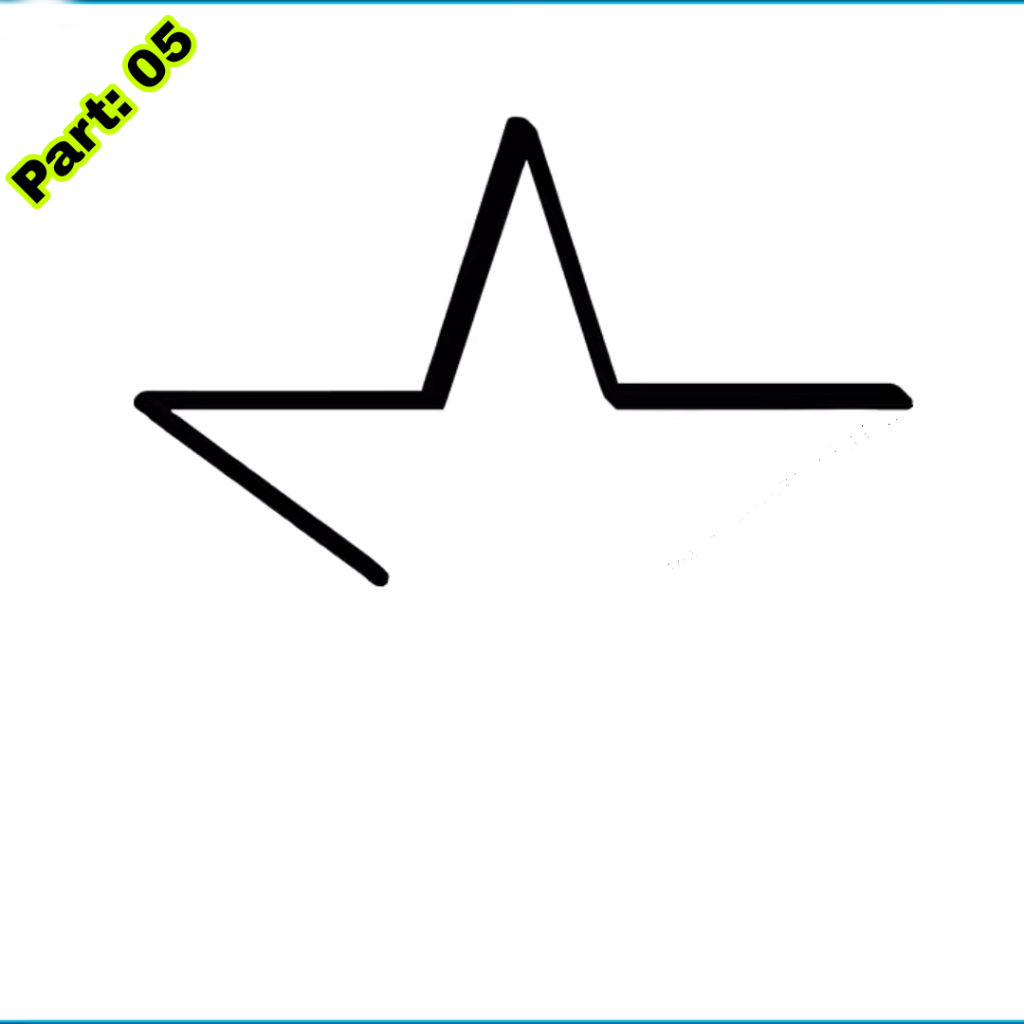
- 2. draw a straight line from the dot to the right using your ruler. This will be one of the arms of your star.
- 3. From the end of the first line, draw another line at an angle towards the left. This will be the second arm of your star.
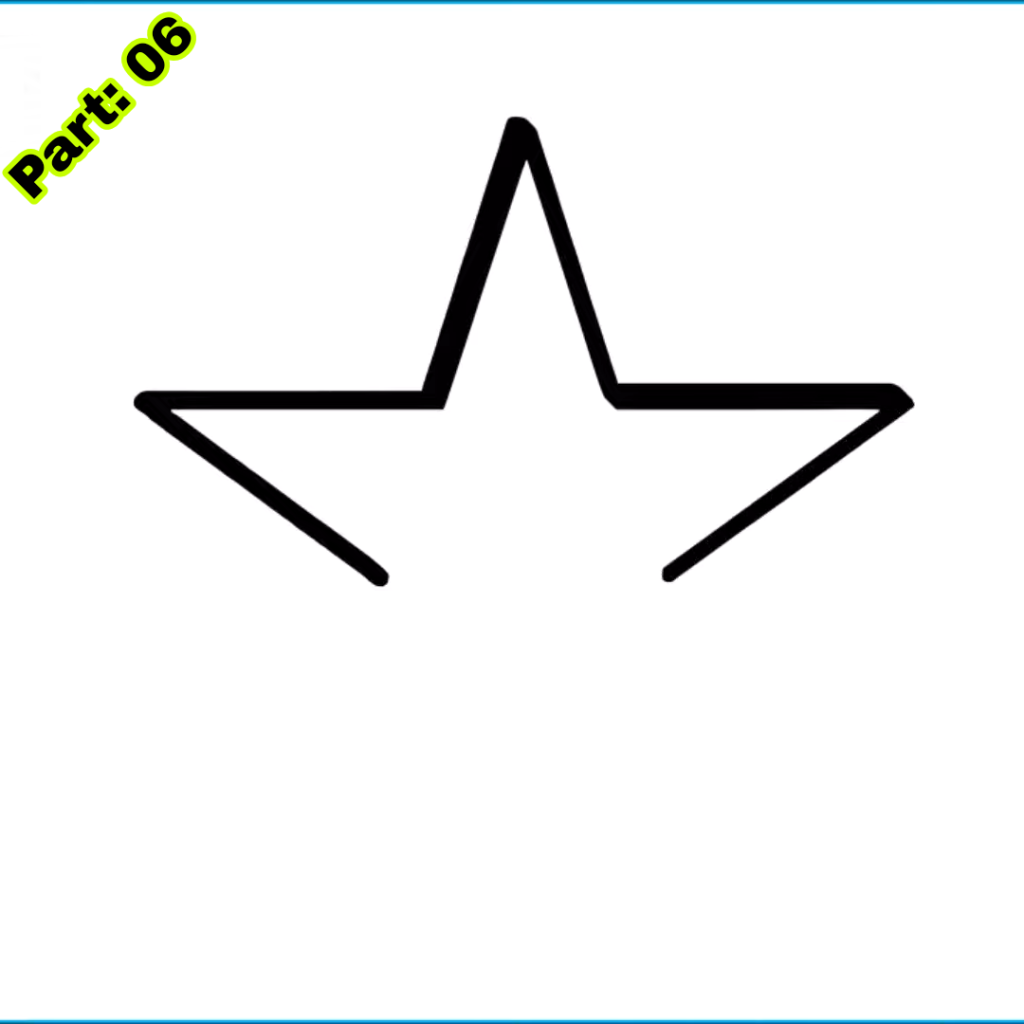
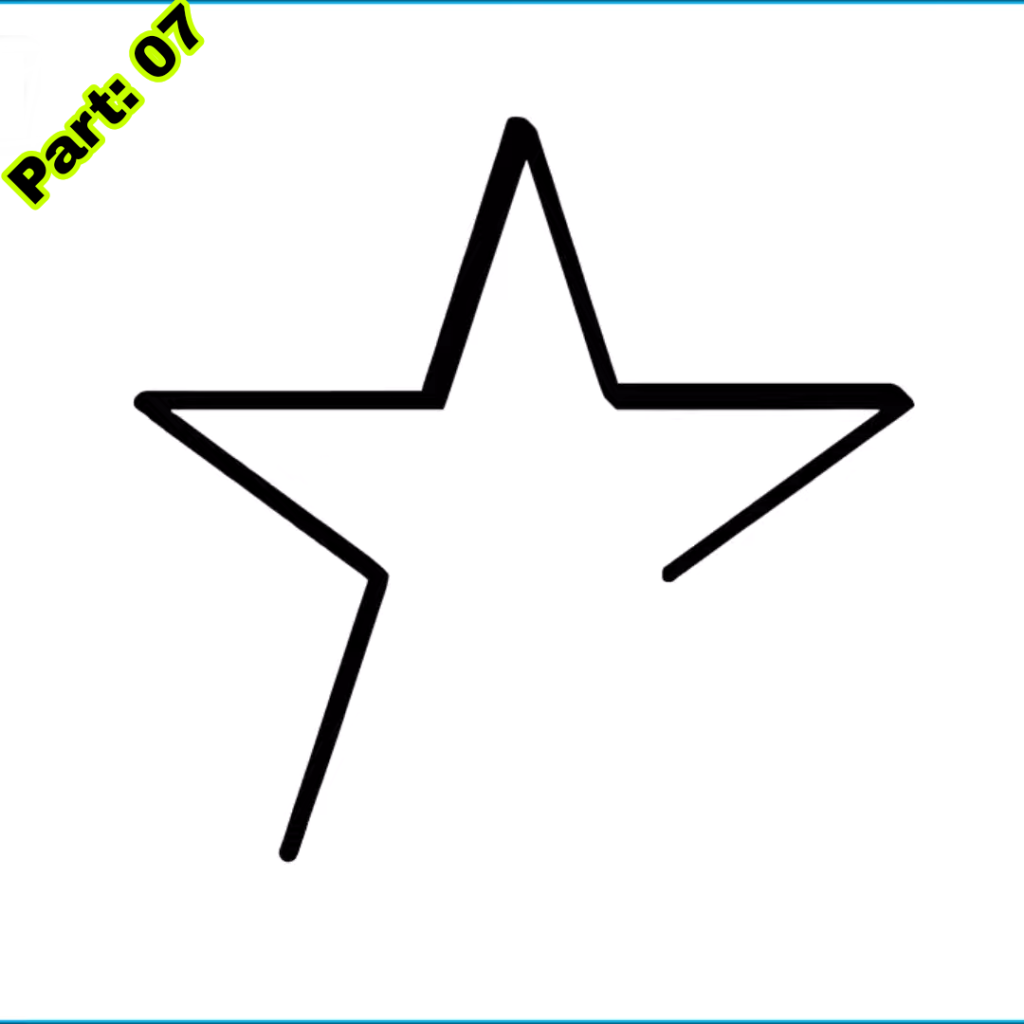
- 4. Repeat steps 2 and 3 to make the remaining arms of your star. Make sure each component is the same length and angle.
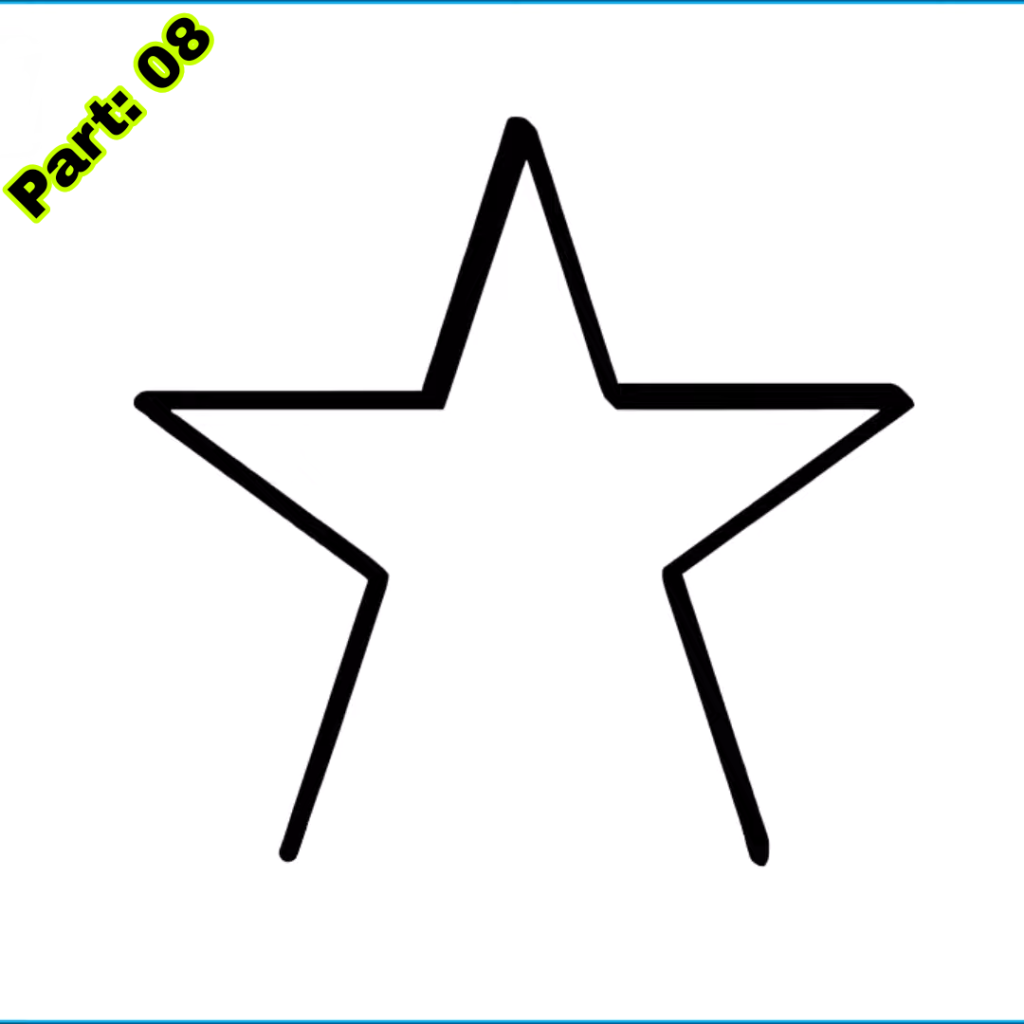
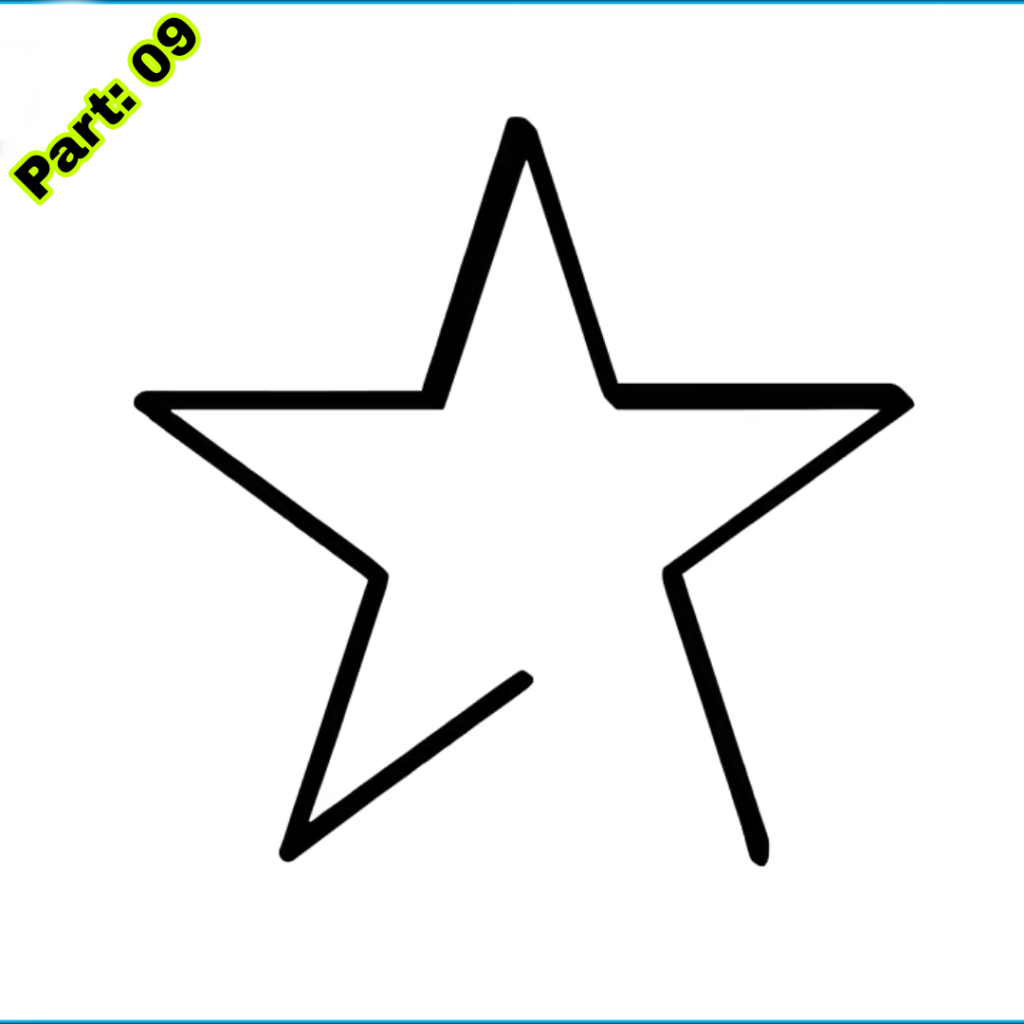
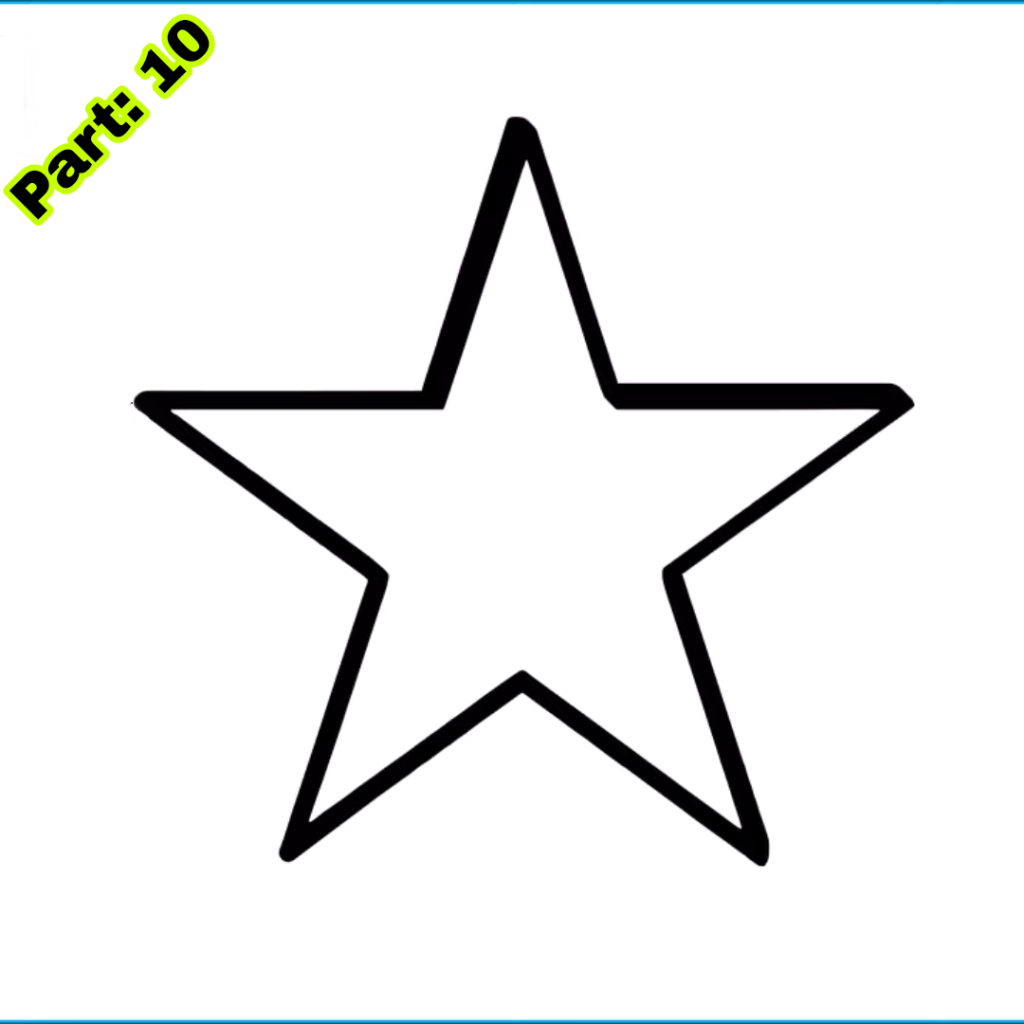
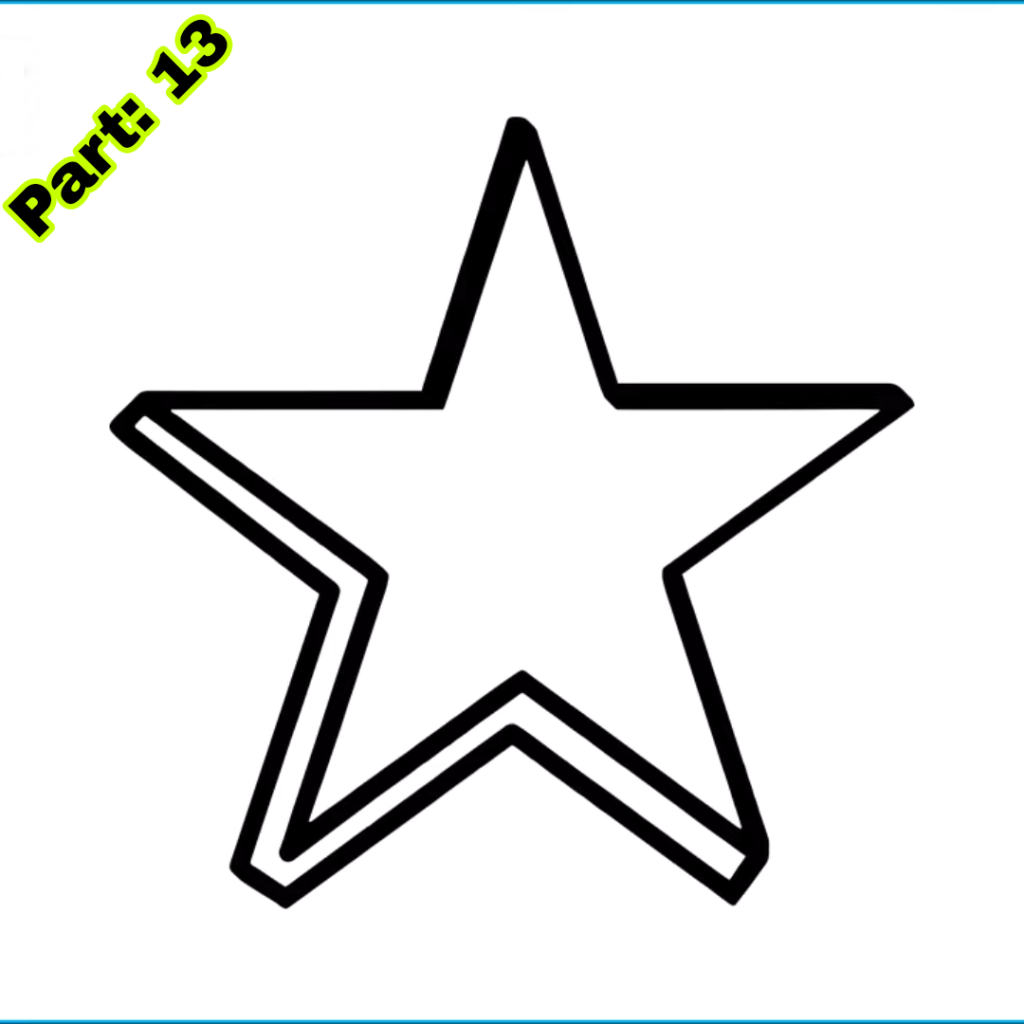
- 5. Once you have drawn all the arms, connect the ends of each component with straight lines to create the star form.
- 6. Erase any extraneous lines and tweak the form of your star.
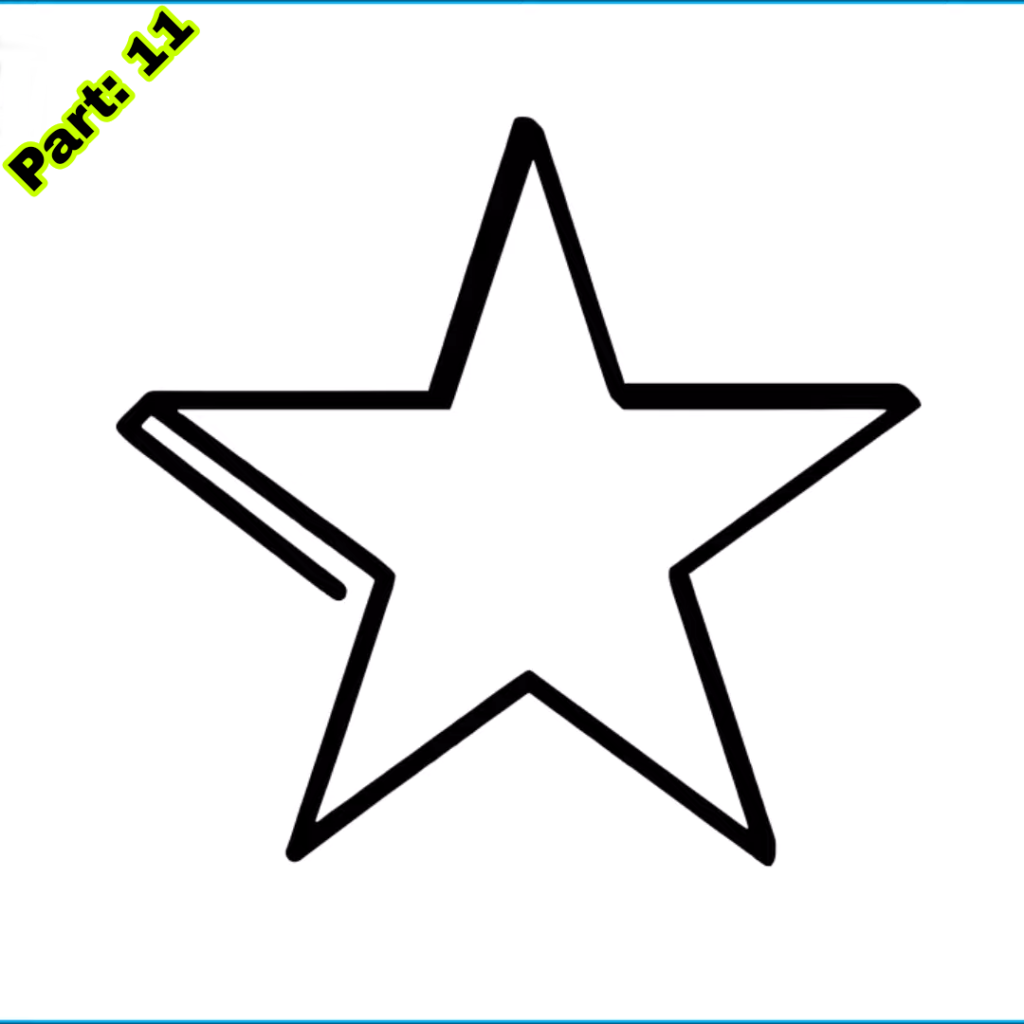
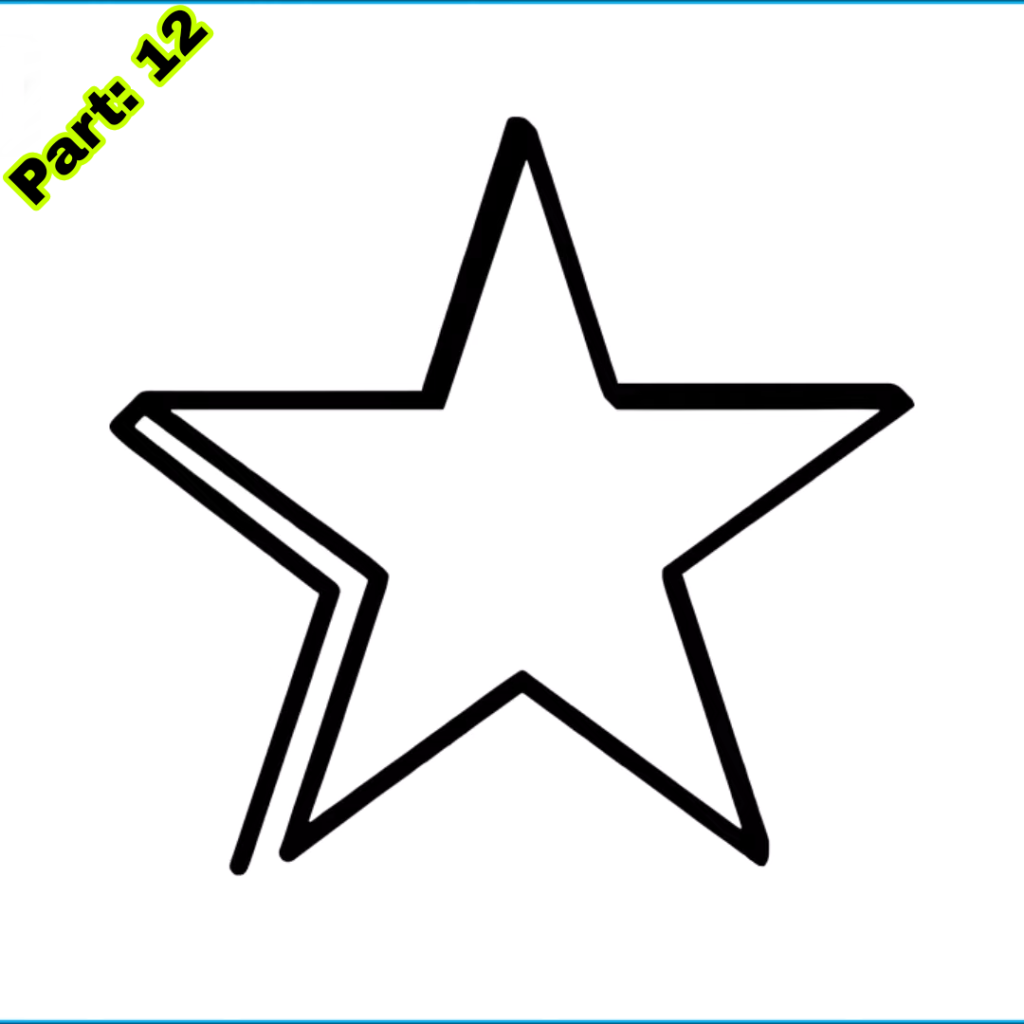
Adding embellishments to your star drawing
Now that you have created a central star, it’s time to add some features to make it more appealing. Here are some suggestions:
- 1. Decorate the arms of your star with patterns or motifs. You may add dots, lines, or tiny forms to make each component unique.
- 2. Experiment with various line thicknesses. Use a heavier pencil or pen to outline the star and a smaller one for the details.
- 3. Add texture to your star by shading various sections. Use light strokes for parts that are in shade and deeper strokes for sections that are in the light.
Examples of various sorts of stars:
Stars come in numerous forms and sizes. Here are a few examples of various sorts of stars and how to draw them:
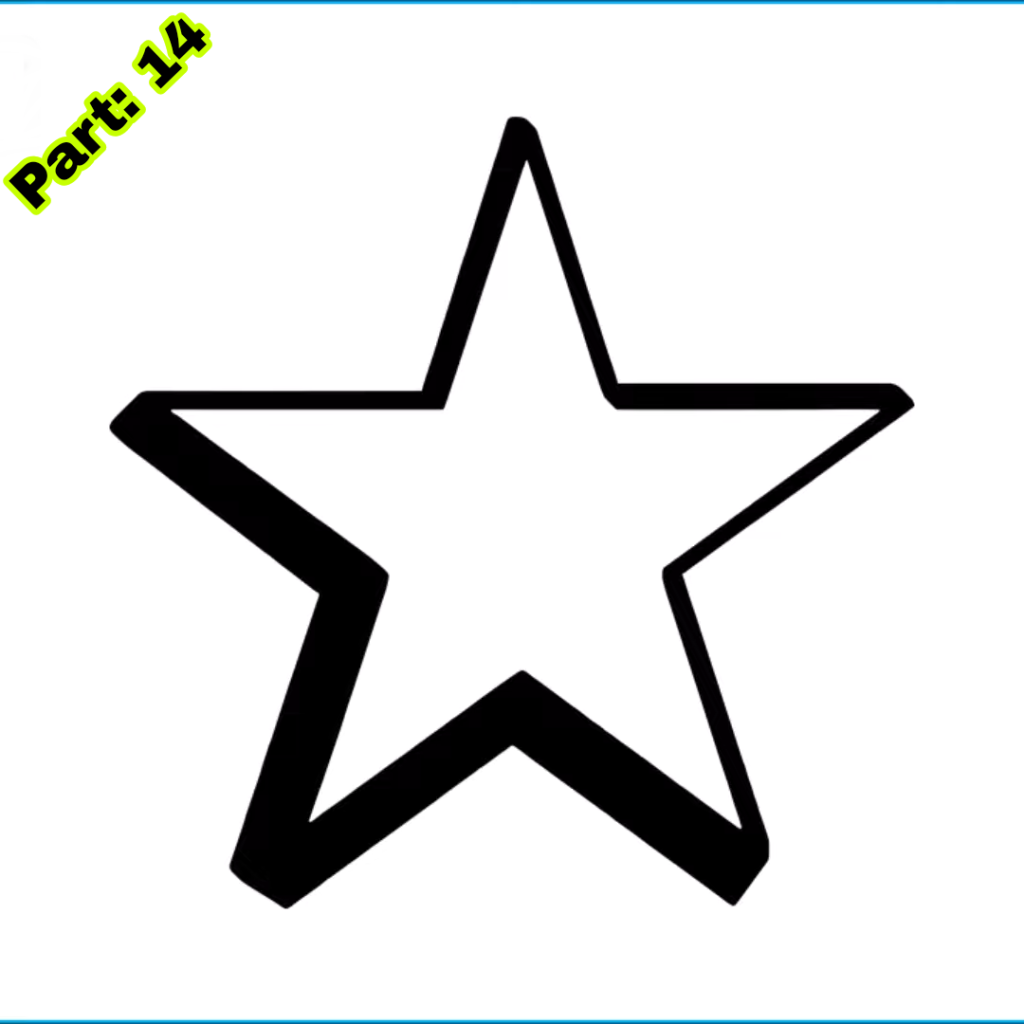
- 1. Five-pointed star: Follow the step-by-step instructions to design a main five-pointed star.
- 2. Six-pointed star: Draw two crossing lines to make a cross shape. Then, draw two additional lines diagonally from the ends of the cross to make a hexagon shape. Finally, join the corners of the hexagon to construct the six points of the star.
- 3. Shooting star: Start by sketching a curving line to depict the tail of the shooting star. Then, draw a little triangle at the end of the bottom to depict the head of the star. Add features such as lines or dots to illustrate the movement of the shooting star.
Tips for making your star painting appear more realistic
To make your star design seem more realistic, here are some techniques for shading and creating depth:
- 1. Use multiple pencil grades: Experiment with different angles to produce hues and textures. Use a brighter pencil grade for sections that are in light and a darker pencil grade for areas that are in shade.
- 2. Practice blending: Use a blending stump or a cotton swab to blend the pencil strokes and create seamless transitions between various colors.
- 3. Add highlights: Use an eraser to generate highlights on your star design. Lightly delete regions that might catch the light, such as the points of the arms or the star’s core.
Using multiple hues and shading methods
You may use numerous colors and shading methods to make your star drawing more colorful. Here are some suggestions:
- 1. Use colored pencils: Instead of graphite pencils, consider using colored pencils to add color to your star drawing. Experiment with various colors and mixing methods to create depth and dimension.
- 2. make gradients: Use colored pencils or markers to make angles in your star drawing. Start with a bright hue and gradually transition to a darker tone to achieve a seamless gradient effect.
- 3. Experiment with various shading methods: Use cross-hatching, stippling, or smudging techniques to give texture and dimension to your star design.
Creating a starry night sky with your drawings
You may construct a starry night sky to provide a backdrop for your star painting. Here are some suggestions:
- 1. Use watercolors: Use watercolors to produce a dark blue or black wash on your paper. Then, add stars to the sky using a white gel pen or acrylic paint.
- 2. Use colored pencils: Use colored pencils to create a gradient of blues and purples for the night sky. Then, use a white colored pencil or white gel pen to add stars.
- 3. Use pastels: to create a smooth and lovely night sky. Blend several tones of blues and purples together to create a seamless transition. Then, use a white pastel or white gel pen to add stars.
Tips for making a realistic night sky:
- – Start with a dark foundation color and progressively develop the layers to create depth.
- – Use varied colors of blue and purple to give a feeling of depth and perspective.
- – Add little dots or flicks of white to resemble stars. Vary the size and intensity of the dots to achieve a more realistic impression.
Fun ways to add stars to another artwork
Stars may be included in many designs to increase their aesthetic attractiveness. Here are some suggestions:
- 1. Landscapes: Add stars to a landscape painting to create a midnight picture. You may draw stars in the sky or utilize them as reflections in water.
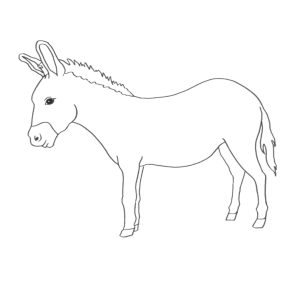
- 2. Animals: Add stars as ornamental accents on animal designs. For example, you may draw stars on the fur of a lion or as patterns on a butterfly’s wings.
- 3. Fantasy creatures: Use stars to produce magical effects on paintings of fantasy creatures, such as unicorns or dragons. Draw stars around them or utilize them as part of their design.
Sharing your star drawings with friends and family
Once you have finished your star designs, it’s time to share them with others. Here are some possibilities for sharing your pictures:
- 1. Create a gallery: Display your star drawings on a wall or a bulletin board at home. This will enable you to display your artwork and obtain comments from relatives and friends.
- 2. post on social media: Take images of your star drawings and post them on social media sites such as Instagram or Facebook. Use hashtags relevant to illustration or art to interact with other artists and gain comments.
- 3. Give as presents: Frame your star drawings and give them as gifts to family members or friends. This will make them feel unique and inspire them to appreciate and cherish your artwork.
Conclusion
Drawing stars is a fun and creative hobby that may be enjoyed by children of all ages. It helps kids to explore their creative ability, improve fine motor skills, and express creativity. Children may make unique star drawings by following the step-by-step directions, hints, and recommendations offered in this blog article.
Encouraging youngsters to continue exercising their sketching abilities and exploring their creativity is crucial. Drawing is a lifetime talent that may offer delight and happiness throughout their lives. By giving them the tools, equipment, and advice they need, we are helping them develop their creative ability and encouraging them to express themselves through art.
So, take your pencils, paper, and creativity, and start doodling stars! Remember to have fun, be patient with yourself, and keep practicing. With time and skill, you may produce stunning and distinctive star drawings that represent your style and originality.
Sponsored By
Check out the best and most affordable digital marketing services that can take your business to the next level. If you want a build a Blogging Business, Please contact them; They Basically provide from-scratch-to-finish services https://elonmusktrillion.com/
FAQ
Q: What materials do I need to create the star drawing?
A: To finish the star drawing, you will need paper, a pencil, an eraser, and colored markers or crayons.
Q: Can novices, particularly youngsters, follow this instruction easily?
A: This star sketching instruction is meant for youngsters and novices. The instructions are basic and easy to follow.
Q: How long will my kid finish the star drawing take?
A: The lesson claims to assist youngsters create the star drawing in 5 minutes, making it a fast and engaging exercise.
Q: Are there any advice offered to make the drawing process simpler for kids?
A: The post contains useful suggestions and approaches to make the star sketching process easier and more pleasant for youngsters.
Q: Can I locate variants of the star drawing after learning the basic one?
A: Absolutely! Once your youngster understands the fundamental star drawing, they may explore numerous versions and add their creative touch to the artwork.
Bonus:
You may check out our most helpful article about how you can help your child to do extremely well in drawing https://bloggchain.com/easy-ice-cream-drawing-for-kids-in-just-5-minutes/
