Introduction
Burger Drawing is a fantastic approach to developing creativity in youngsters. It helps kids to express themselves, develop their creativity, and enhance their fine motor abilities. In this blog article, we will study the art of sketching burgers. Burgers are a common culinary item that youngsters can readily identify with, making it a fun and fascinating topic for them to draw. We will present step-by-step directions, suggestions, and strategies to assist youngsters produce tasty burger drawings.
Encouraging creativity in youngsters is vital for their entire development. It helps people think outside the box, problem-solve, and produce innovative ideas. Drawing is a terrific approach to encouraging creativity, enabling youngsters to explore their imagination and express themselves artistically. By giving them the materials and direction to create a burger, we will help them to explore their creativity and have fun.
Materials required for burger drawing
You will need a few basic items to get started with burger sketching. Here is a list there:
- 1. Paper: Choose durable paper that can bear sketching supplies without ripping or smearing.
- 2. Pencils: Have a range of pencils with varied lead hardness (HB, 2B, 4B) to produce distinct hues and textures.
- 3. Eraser: A decent quality eraser will come in helpful for fixing errors or making corrections.
- 4. Colored pencils or markers (optional): If you wish to add color to your burger drawing, colored pencils or tags may be used.
- 5. Ruler: A ruler may assist draw straight lines or measuring dimensions.
Alternative materials:
If you don’t have access to the items indicated above, don’t worry! You may still produce a burger drawing with different materials. For example, instead of pencils, you may use crayons or pastels. Instead of colored pencils or markers, you may use watercolor paints or even food coloring combined with water. The idea is to be creative and utilize what you have available.
Gift:
Claim our premium worksheet practice book For Free (Only for you) :
A step-by-step approach to sketching a burger
Now that you have your supplies available let’s delve into the step-by-step process of designing a simple burger. Follow through with the directions and refer to the visual aids given.
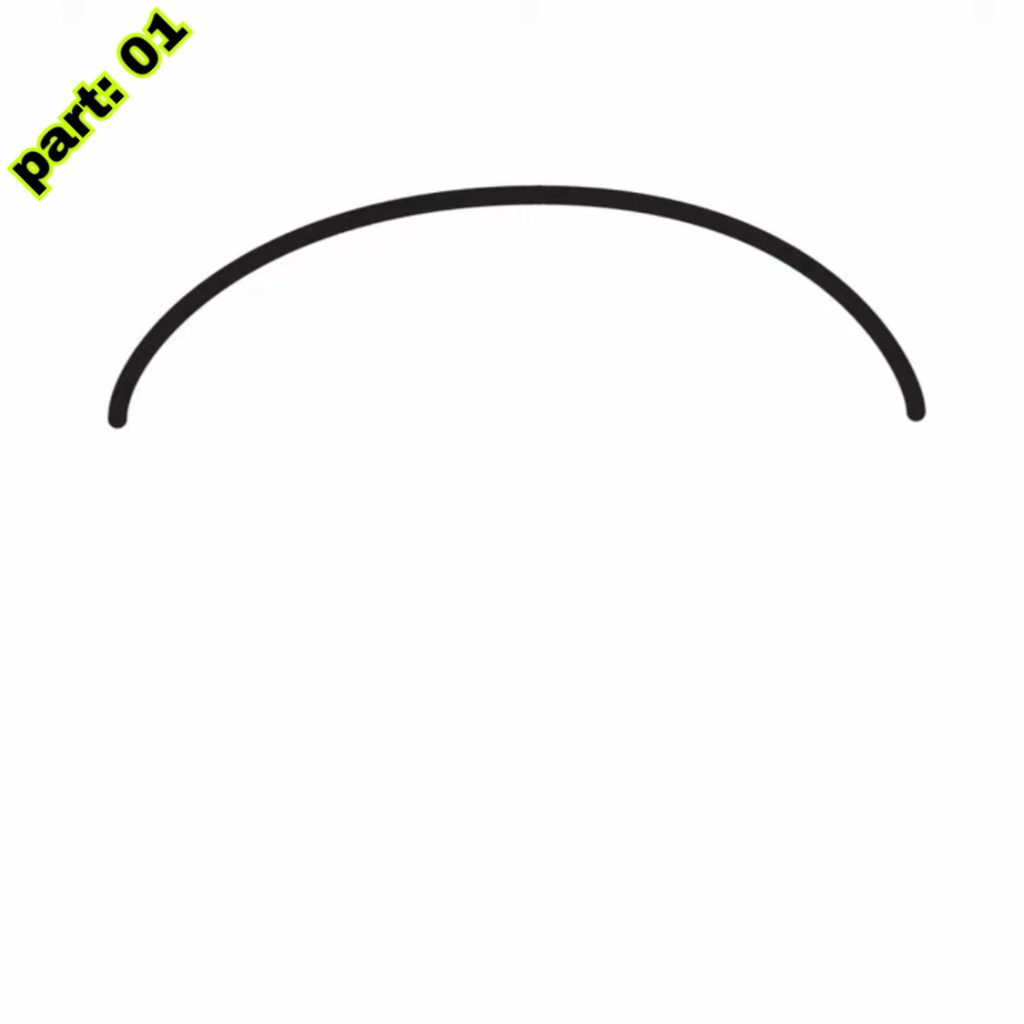
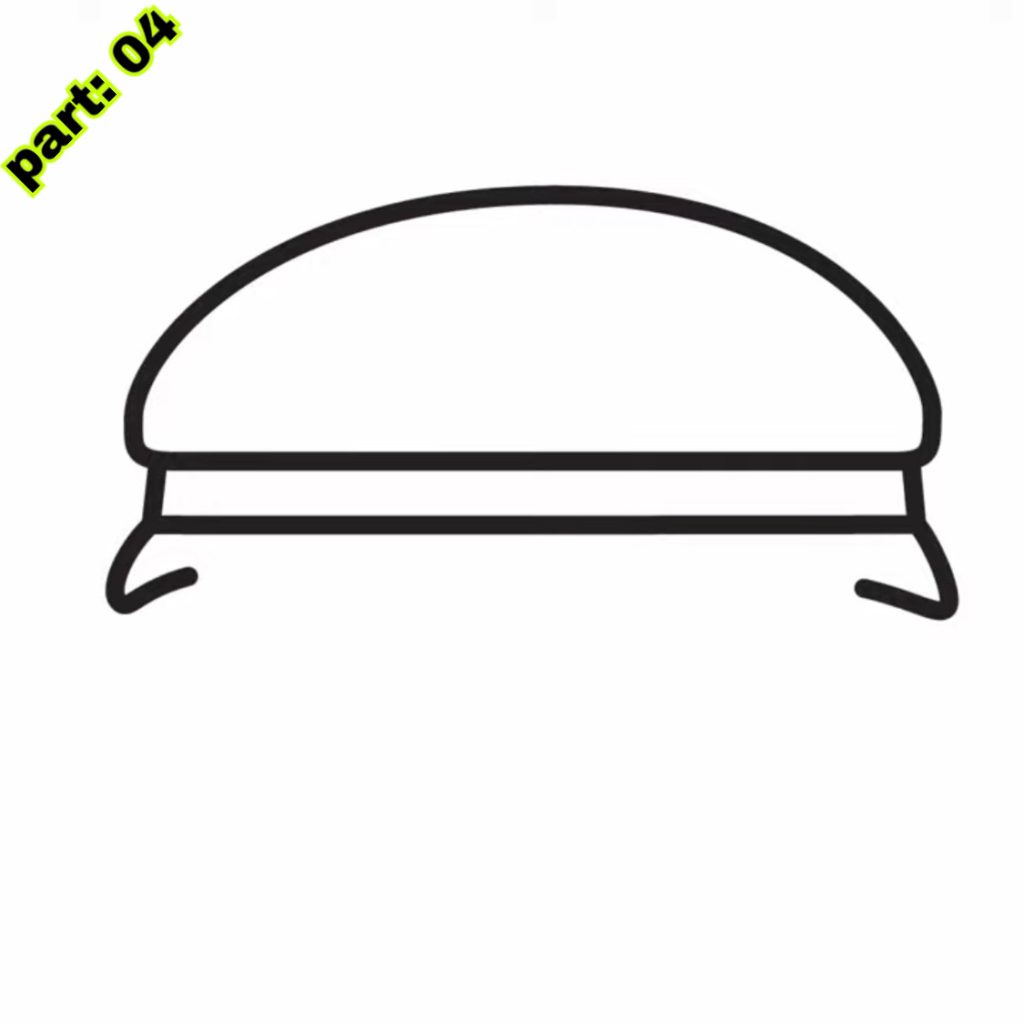
- Step 1: Start by creating a huge oval shape for the bottom bread of the burger. This will be the basis of your artwork.
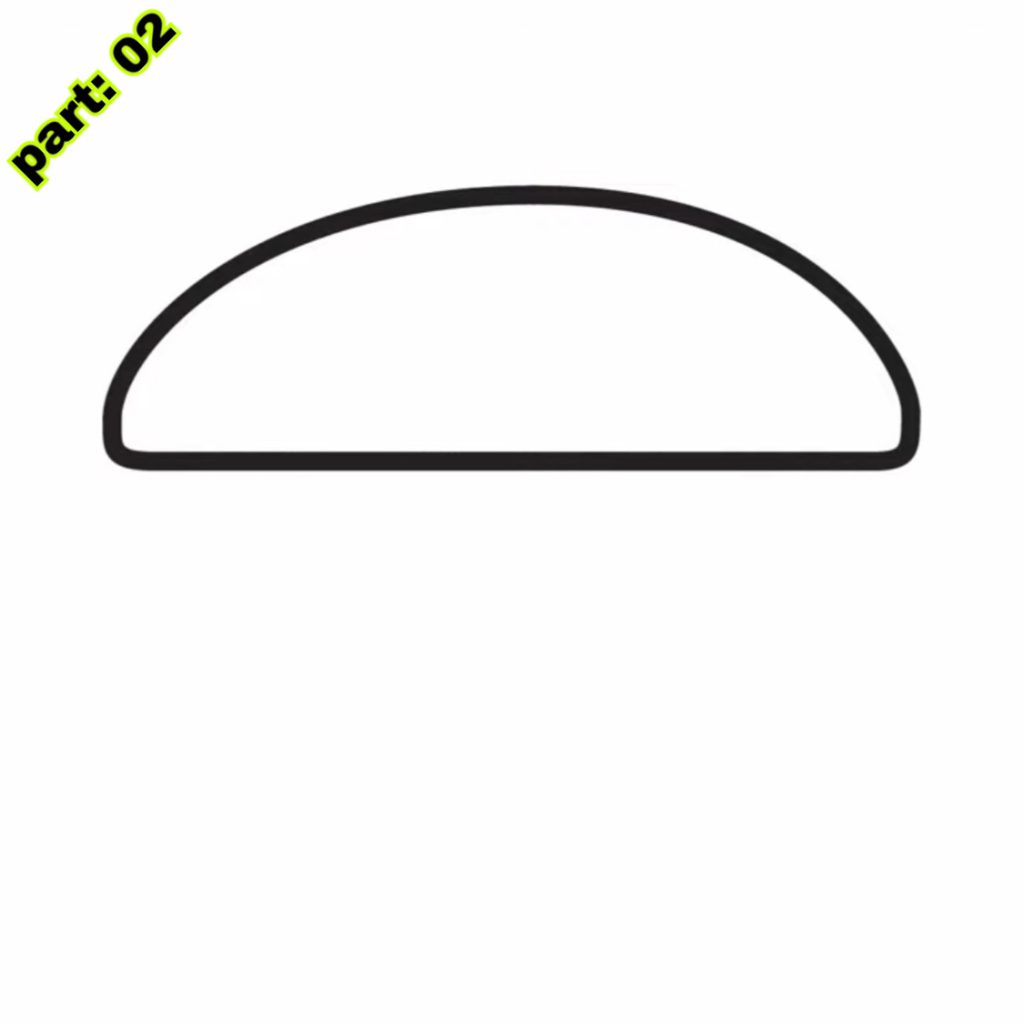
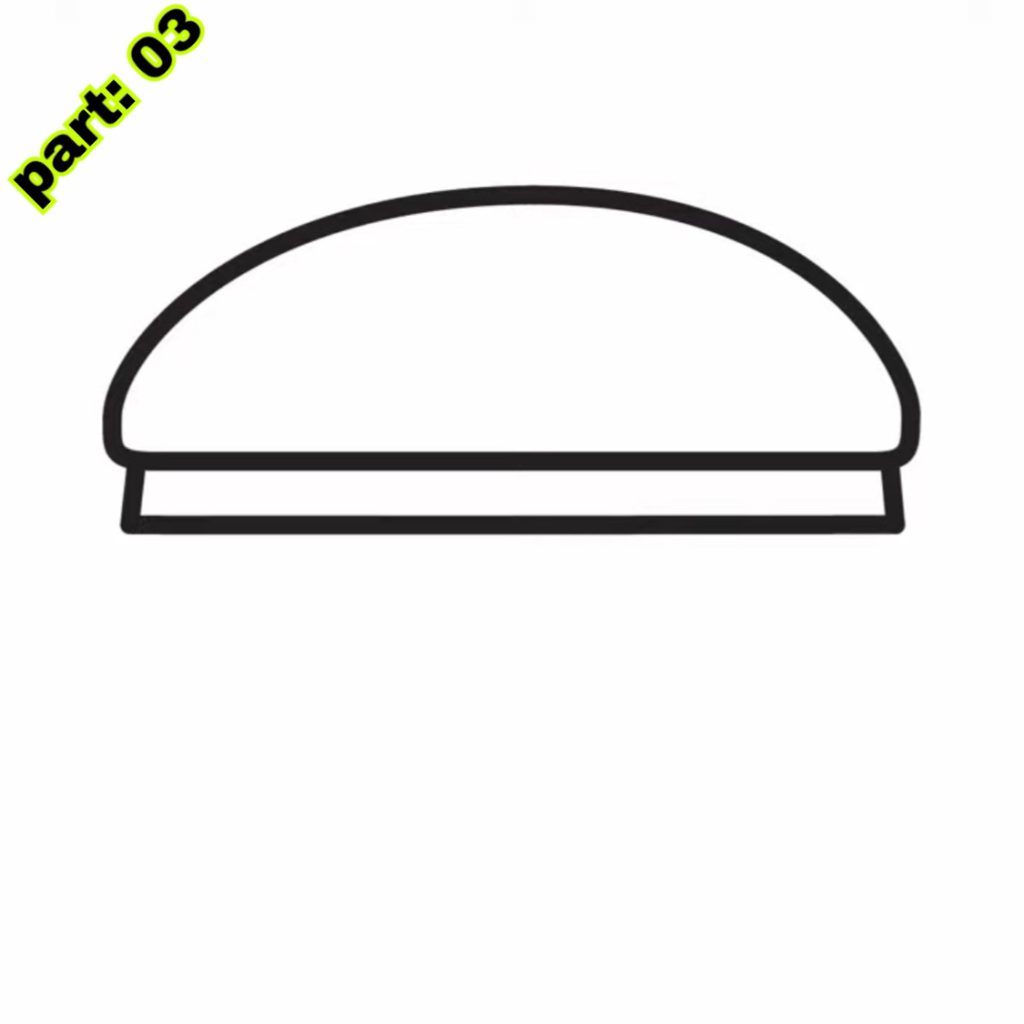
- Step 2: Draw another oval shape slightly smaller than the previous one for the top bun. Make sure it overlaps with the bottom bun.
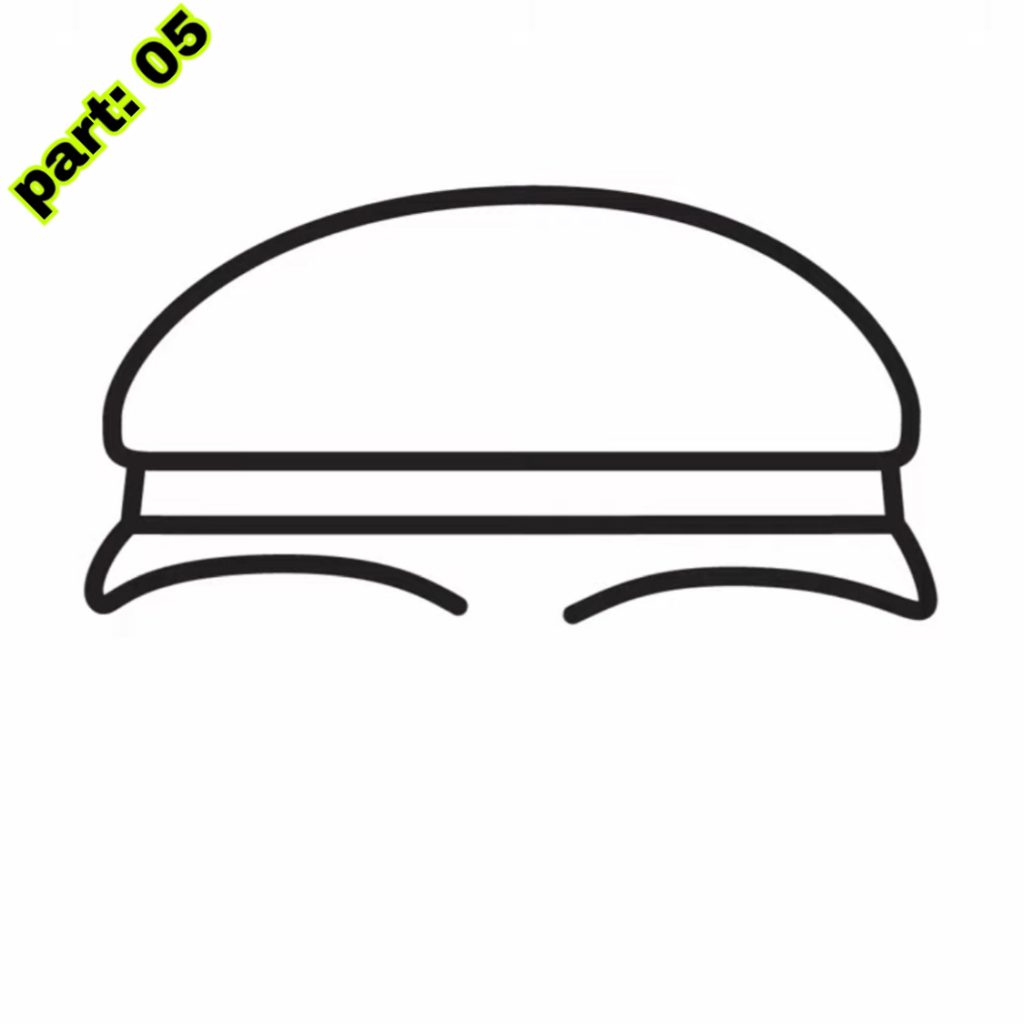
- Step 3: Connect the two buns by sketching two curving lines. These lines will depict the sides of the burger.
- Step 4: Add texture to the buns by painting little lines or dots. This will grant them a distinctively lifelike look
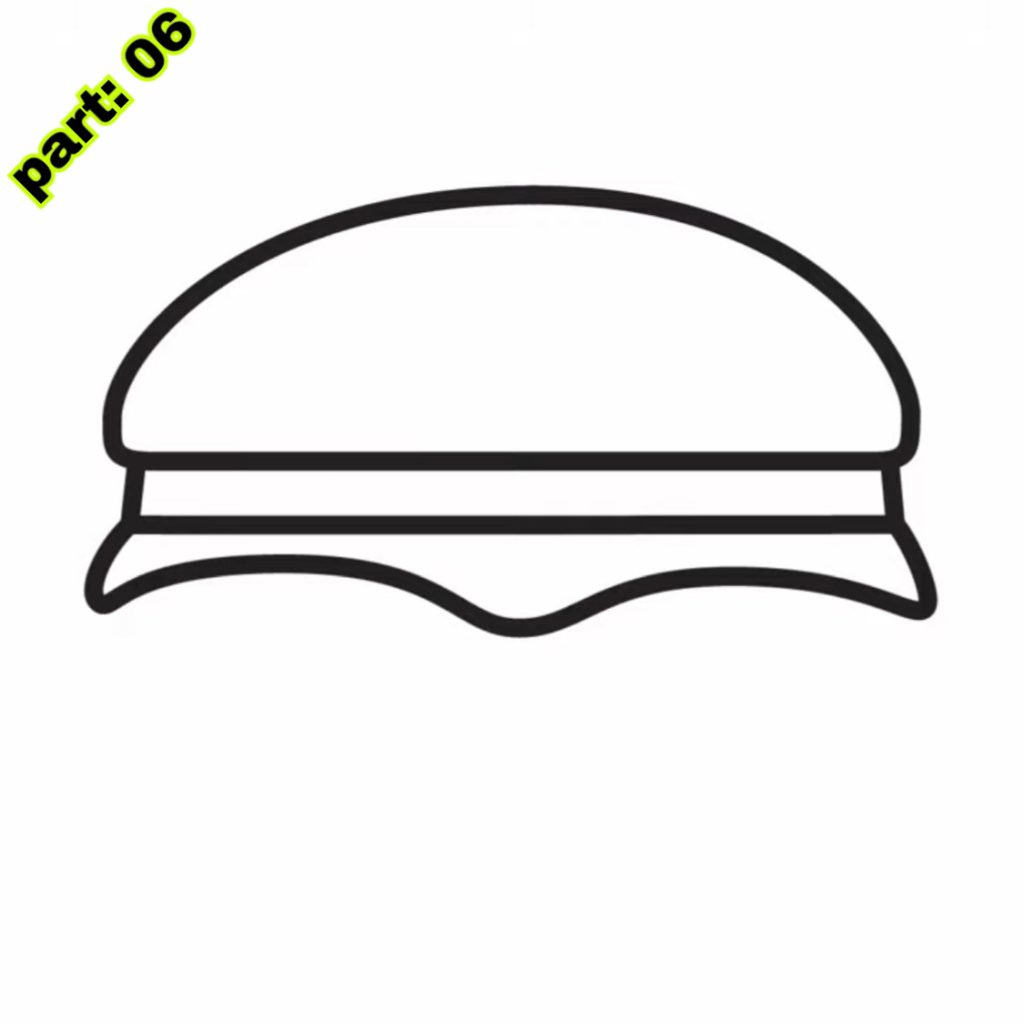
- Step 5: Draw a tiny oval shape in the middle of the bottom bun. This will be the patty of the burger.
- Step 6: Add features to the patty by painting curving lines or crosshatching to resemble grill marks.
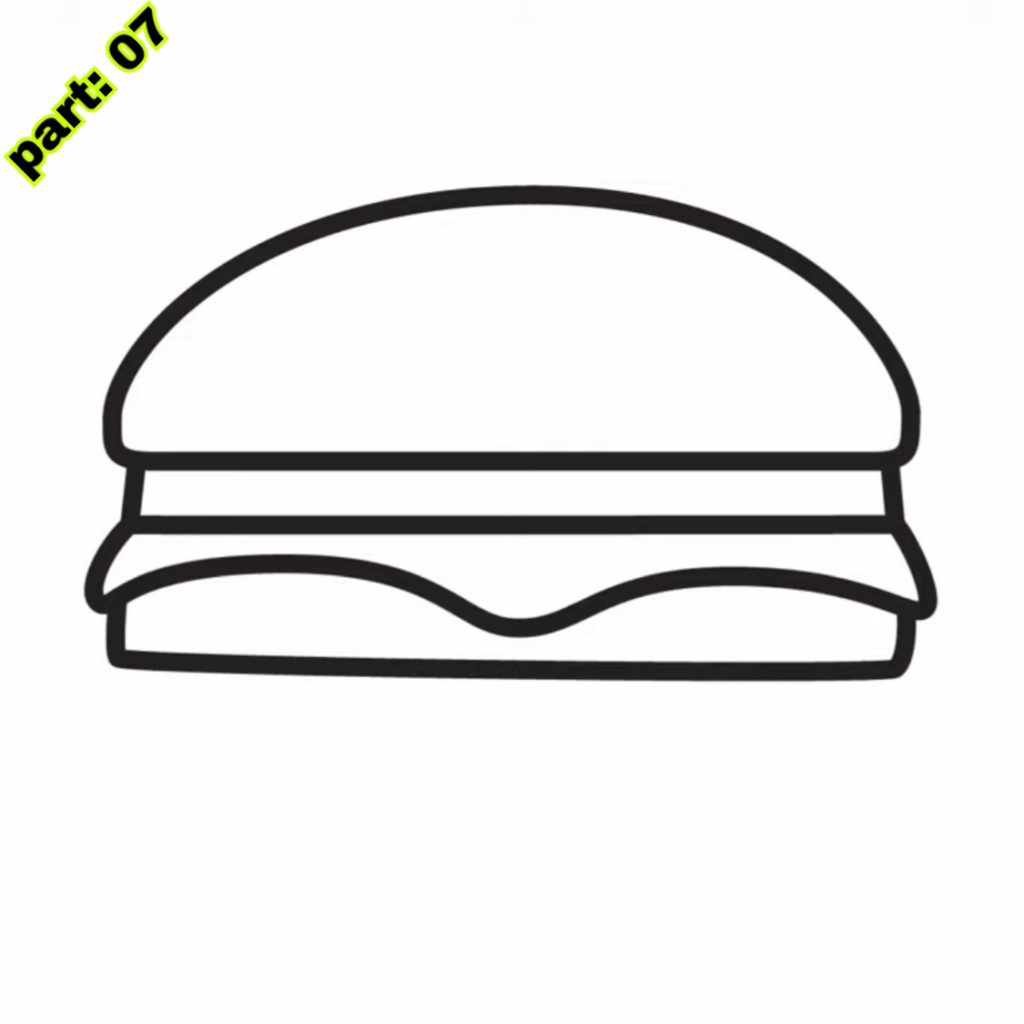
- Step 7: Draw a piece of cheese on top of the patty. You may make it somewhat bigger than the patty to make it seem melted.
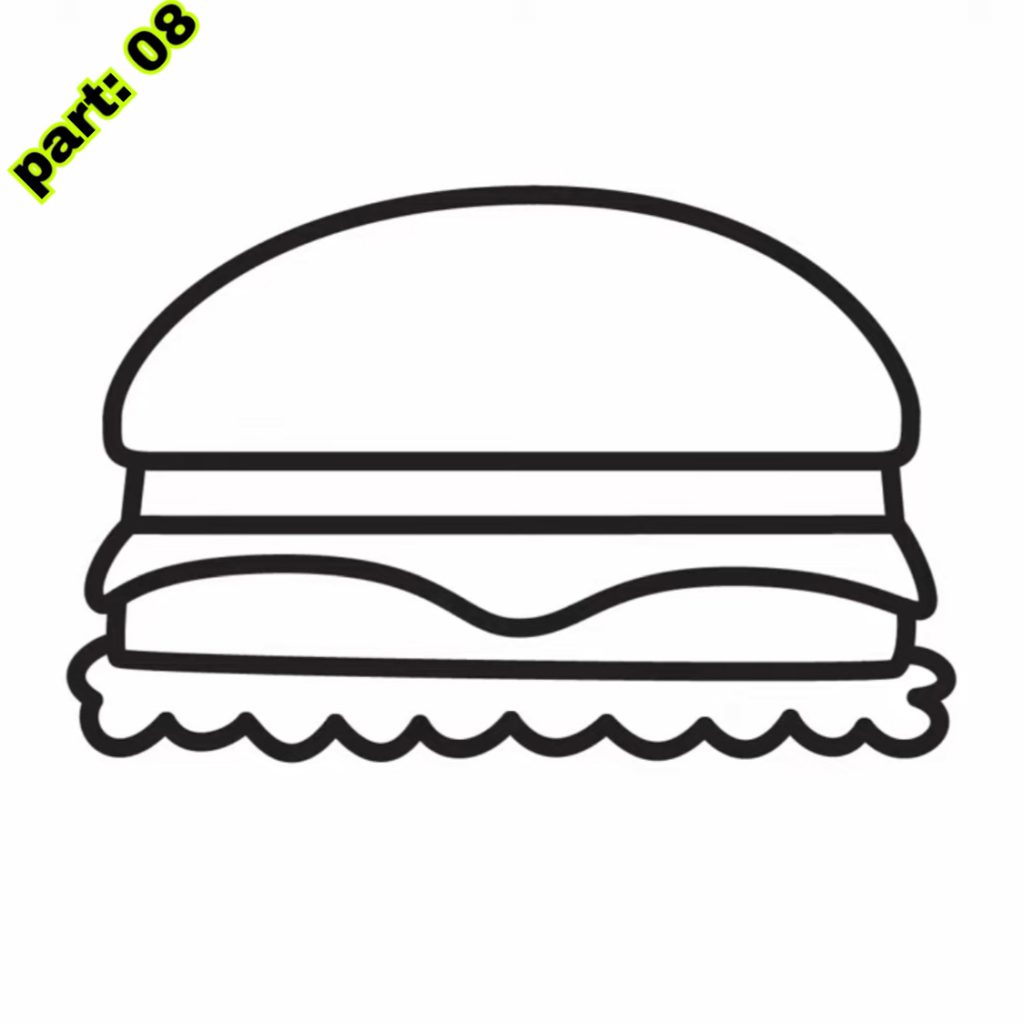
- Step 8: Add some lettuce by painting a wavy line on the cheese. You may also add some lines to simulate the texture of the lettuce.
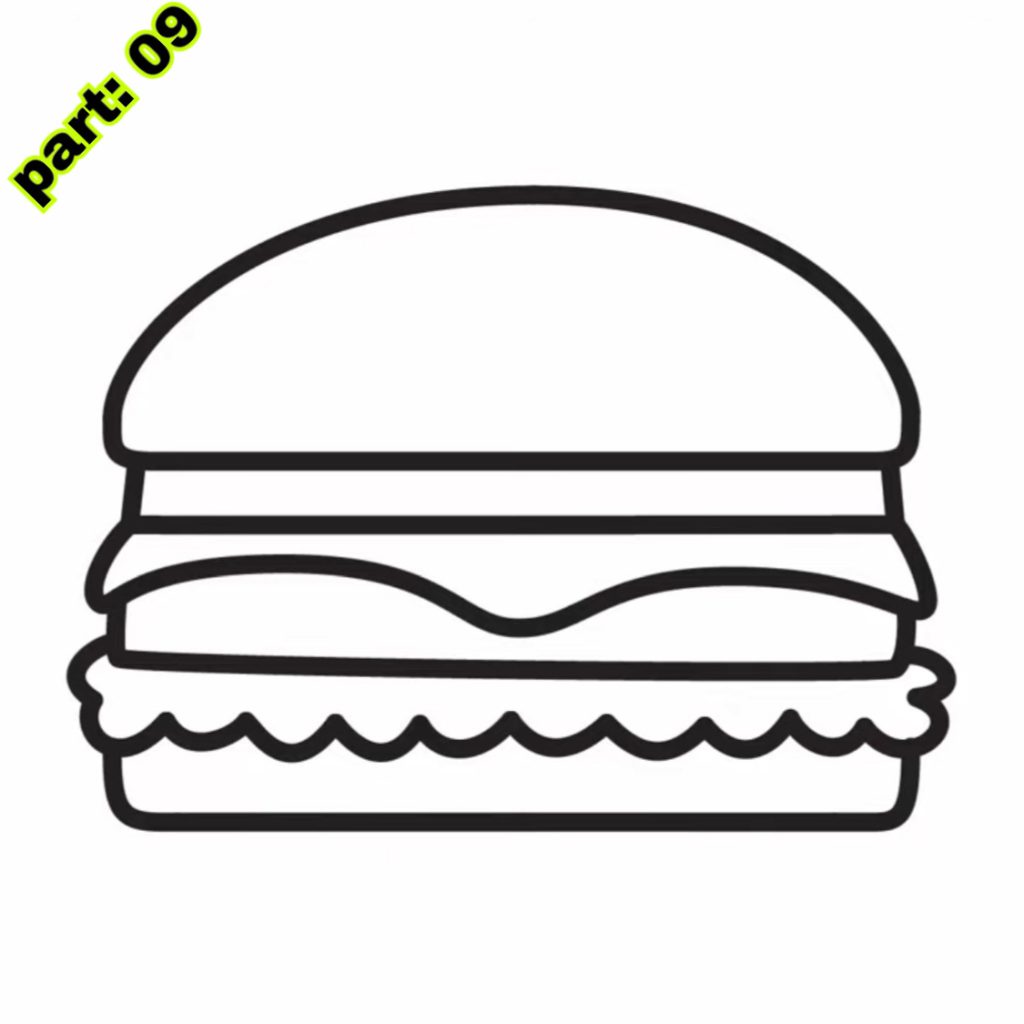
- Step 9: Draw some tomato slices on top of the lettuce. These may be spherical forms with little lines within to indicate the seeds.
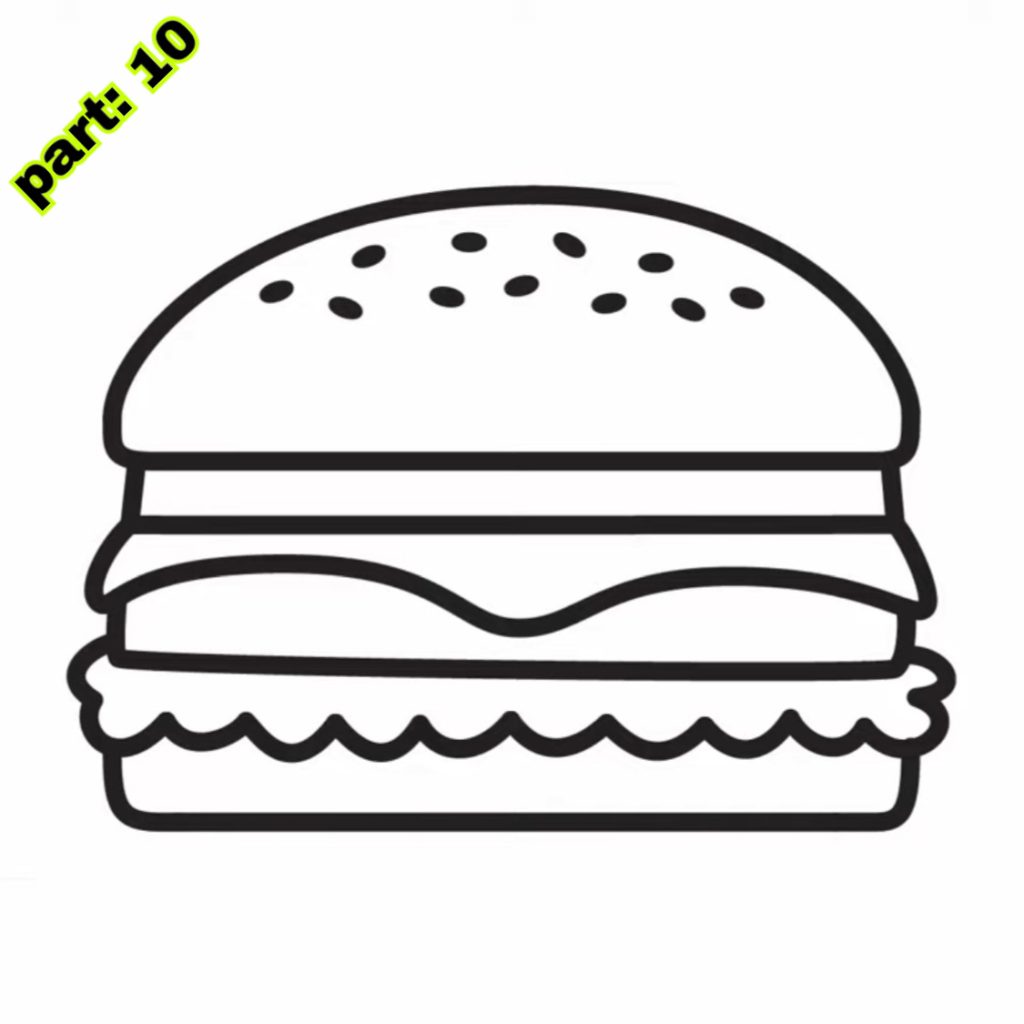
- Step 10: Finally, draw some sesame seeds on top of the top bun. These might be little specks dispersed around the bun.
Congratulations! You have successfully sketched a simple burger. Feel free to add your own personal touches and make it unique.
Tips for making your burger drawing appear realistic
To make your burger art appear more realistic, here are some techniques and suggestions:
- 1. Use shading: Shading is a technique that gives depth and dimension to your drawing. Use darker pencil strokes to produce shadows and lighter strokes for highlights. Consider the light source and visualize where the shadows might fall on the burger.
- 2. Add texture: Burgers’ buns, patties, and toppings have various textures. Use little lines, dots, or crosshatching to portray these textures. For example, you may draw little lines on the buns to mimic sesame seeds or wavy lines on the lettuce to reflect its green feel.
- 3. Pay attention to proportions: Proportions are vital in making a realistic drawing. Make sure the size of each burger part is related to the others. For example, the patties should be smaller than the buns, and the toppings should fit perfectly on the cake.
- 4. Avoid frequent mistakes: One typical error when designing burgers is having the buns too flat or too round. Create a tiny curve on the top and bottom buns to give them a more natural form. Another error is not paying attention to the specifics of the toppings. Take your time to sketch each topping attentively and include the required details to make them seem authentic.
Following these ideas, you may take your burger sketching to the next level and produce more realistic and aesthetically attractive artwork.
Adding toppings to your burger drawing
Now that you have mastered the basic burger design, it’s time to add some toppings to make it even more delectable. Here are some suggestions for various toppings you may add to your burger:
- 1. Onions: Draw thin slices of onions on top of the patties. You may add some texture by painting little lines on the parts.
- 2. Pickles: Draw some little oval shapes on top of the onions to resemble pickles. Add some texture by sketching little lines or dots on the places.
- 3. Bacon: Draw wavy lines on the patties mimicking bacon slices. You may also add additional texture by painting little lines on the bacon.
- 4. Ketchup and mustard: Draw squiggly lines on top of the burger to indicate ketchup and mustard. You may also draw some drips running down from the edges of the burger.
Feel free to be creative and add any additional toppings you desire. Remember to employ shade and texture methods to make the toppings seem more natural.
Drawing various burgers (veggie, cheese, bacon, etc.)
Now that you have mastered basic burger sketching, let’s examine how to draw other sorts of burgers. Here are tips on how to remove certain common varieties of burgers:
- 1. Veggie burger: Draw a big oval shape for the bottom bread. Then, make a tiny oval shape for the top bun. Connect the buns using curved lines. Instead of a patty, sketch a spherical form made of vegetables such as carrots, peas, and corn. Add some texture to the cake by sketching little lines or dots. Finally, add your preferred toppings, such as lettuce, tomato, and onion.
- 2. Cheeseburger: Follow the same procedures as the basic burger sketch, but add a piece of cheese on top of the patty. You may make it somewhat bigger than the patty to make it seem melted. Add your preferred toppings, like lettuce, tomato, and onion.
- 3. Bacon burger: Follow the same methods as the basic burger design, but add wavy lines on top of the patty to resemble bacon strips. Add your preferred toppings, like lettuce, tomato, and onion.
- 4. BBQ burger: Follow the same methods as the basic burger design, but add some squiggly lines on top of the patty to represent BBQ sauce. Add your preferred toppings, like lettuce, tomato, and onion.
Feel free to experiment with various kinds of burgers and toppings. The options are infinite!
Making your burger drawing pop out using shading and texture
Shading and texture methods may take your burger drawing to the next level and make it stand out. Here are some explanations and examples of how to use these approaches to your drawing:
- 1. Shading: Shading adds value to your drawing to give the perception of depth and shape. To shade your burger design, start by determining the light source. Imagine where the light is coming from and how it might create shadows on the various pieces of the burger. Use darker pencil strokes to produce shadows and lighter strokes for highlights. For example, shade the bottom half of the buns to form a cloud beneath, and shade the edges of the patty to create a three-dimensional look.
- 2. Texture: Texture is the visual representation of the surface quality of an item. Burgers have diverse textures on their buns, patties, and garnishes. Use little lines, dots, or crosshatching to give texture to your burger design. For example, draw little lines on the buns to represent sesame seeds, wavy lines on the lettuce to reflect its green texture, and trim lines on the bacon to portray its crispy feel.
Shading and texture methods may make your burger drawing seem more realistic and aesthetically attractive.
Using multiple hues to make your burger drawing pop
Adding color to your burger design might make it more visually attractive and vivid. Here are some recommendations for color choices to make your burger drawing pop:
- 1. Buns: Use tones of brown or tan for the buns. You may add some highlights with a brighter hue and shadows with a darker shade to create depth.
- 2. patties: Use tones of brown or grey for the patties. You may add some highlights with a brighter hue and shadows with a darker shade to create a three-dimensional impression.
- 3. Cheese: Use tones of yellow or orange for the cheese. You may add some highlights with a brighter hue and shadows with a darker shade to create depth.
- 4. Lettuce: Use shades of green for the lettuce. You may add some highlights with a brighter hue and shadows with a darker shade to create texture.
- 5. Tomato: Use hues of red for the tomato. You may add some highlights with a brighter hue and shadows with a darker shade to create depth.
Feel free to experiment with various color combinations and make your burger design as vivid as possible. Remember to mix the hues gradually to achieve a seamless transition between tones.
Adding a backdrop to your burger drawing
Adding a backdrop to your burger design may improve the overall composition and make it more aesthetically pleasing. Here are some suggestions for experiences that complement the burger drawing:
- 1. Checkerboard picnic blanket: Draw a checkered design in the backdrop to depict a picnic blanket. Use alternate squares of various colors, for example, red and white or green and white.
- 2. Grill: Draw a grill in the backdrop to indicate a BBQ scenario. Add some features, such as barbecue grates and smoke from the grill.
- 3. Restaurant setting: Draw a table, chairs, and other features of a restaurant scene in the backdrop. You may also put some individuals eating their burgers at the table.
- 4. Outdoor scenery: Draw a park, beach, or outdoor location in the backdrop. Add some trees, grass, or sand to make a natural scene.
Choose a backdrop that fits your burger painting and contributes to the overall tone and narrative of the artwork.
Fun ways to exhibit your burger drawing
Once you have done your burger artwork, it’s time to exhibit it proudly. Here are some options for entertaining ways to present your artwork:
- 1. Frame it: Get a picture frame and put your burger drawing on a wall or shelf. This will preserve your artwork and make it appear more professional.
- 2. Hang it: Use a clothespin or clip to hang your burger artwork on a thread or wire. You may turn it on a wall, window, or tree limb.
- 3. Make a collage: Cut out your burger design and attach it to a bigger piece of paper or cardboard. Add more pieces, such as drawings of fries, beverages, or other food items, to make a collage.
- 4. form a flipbook: Draw many burger drawings on different sheets and tie them together to form a flipbook. This will let you flick through the pages and witness your burger come to life.
You may also combine your burger artwork with other activities, such as cooking or storytelling. Use your creativity and have fun with your artwork!
Conclusion
Drawing burgers is a fun and creative hobby that helps youngsters to express themselves and improve their artistic talents. Children may design their own tasty burger drawings by following the step-by-step directions, suggestions, and methods offered in this blog article. Remember to encourage youngsters to develop their creativity, experiment with new materials and techniques, and, most importantly, have fun!
Drawing is a talent that develops with practice, therefore encouraging youngsters to keep honing their basic drawing abilities. They may attempt numerous sorts of burgers, toppings, colors, and backgrounds to enhance their creative and artistic ability. The more they practice, the better they will get at drawing and expressing themselves graphically.
So take your pencils, paper, and creativity, and create some mouth-watering burgers!
Sponsored By
Check out the best and most affordable digital marketing services that can take your business to the next level. If you want a build a Blogging Business, Please contact them; They Basically provide from-scratch-to-finish services https://elonmusktrillion.com/
Bonus:
You may check out our most helpful article about how you can help your child to do extremely well in drawing https://bloggchain.com/a-breathtaking-diamond-drawing-in-2023/

