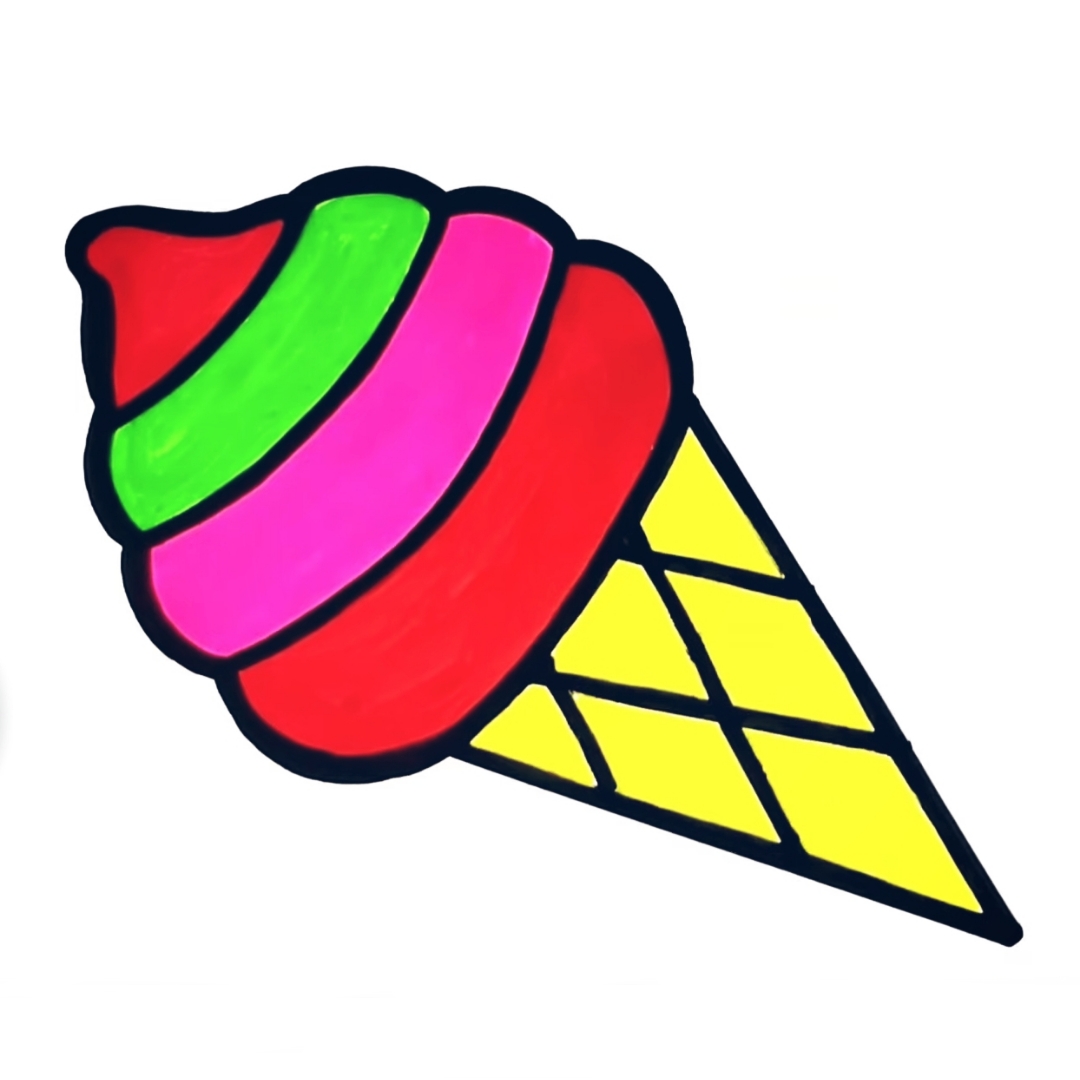
Introduction
Ice Cream Drawing is a fantastic hobby for youngsters as it helps to develop their creativity, imagination, and fine motor skills. It helps them to express themselves and explore their own unique thoughts. One enjoyable and simple sketching project for youngsters is drawing ice cream cones. Ice cream cones are bright, tasty delights that youngsters enjoy, and removing them can be a joyful and satisfying experience.

Materials required for ice cream drawing
You will need a few simple items to start sketching ice cream cones. These include:
- 1. Paper: You may use any sort of paper, but it’s recommended to choose a thicker form like drawing paper or cardstock, as it will stand up better to the sketching tools.
- 2. Pencils: You will need a few different pencils, such as a standard pencil for sketching and outlining and colored pencils for adding color to your work.
- 3. Eraser: An eraser is vital for removing errors or smudges throughout the drawing process.
- 4. sharpening: A sharpening will guarantee your pencils are always sharp and ready to use.
Gift:
Claim our premium worksheet practice book For Free (Only for you) :
A step-by-step approach to sketching a basic ice cream cone
Now that your resources are available create a basic ice cream cone step-by-step.
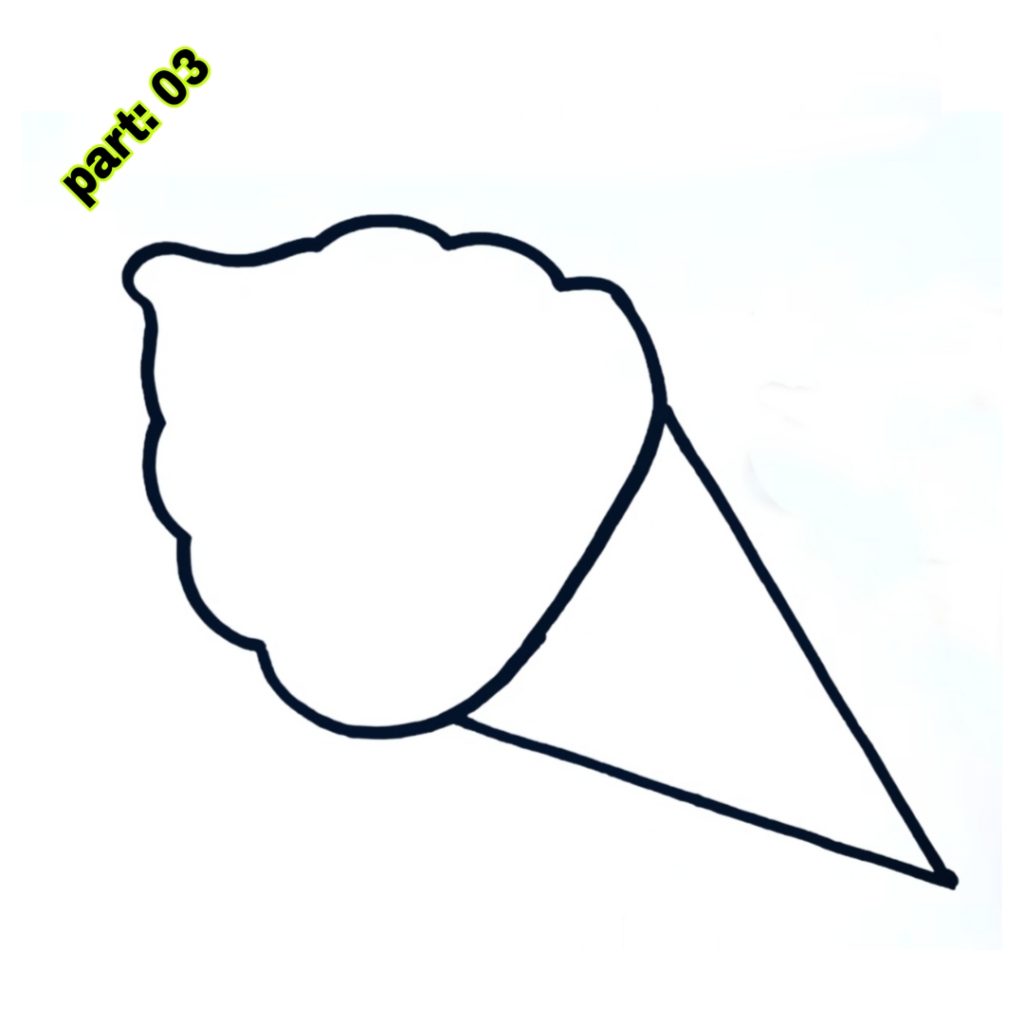
- 1. Start by sketching a triangular form for the cone. This will be the basis of your ice cream cone.
- 2. Next, draw a curved line above the triangle form to construct the top of the cone.
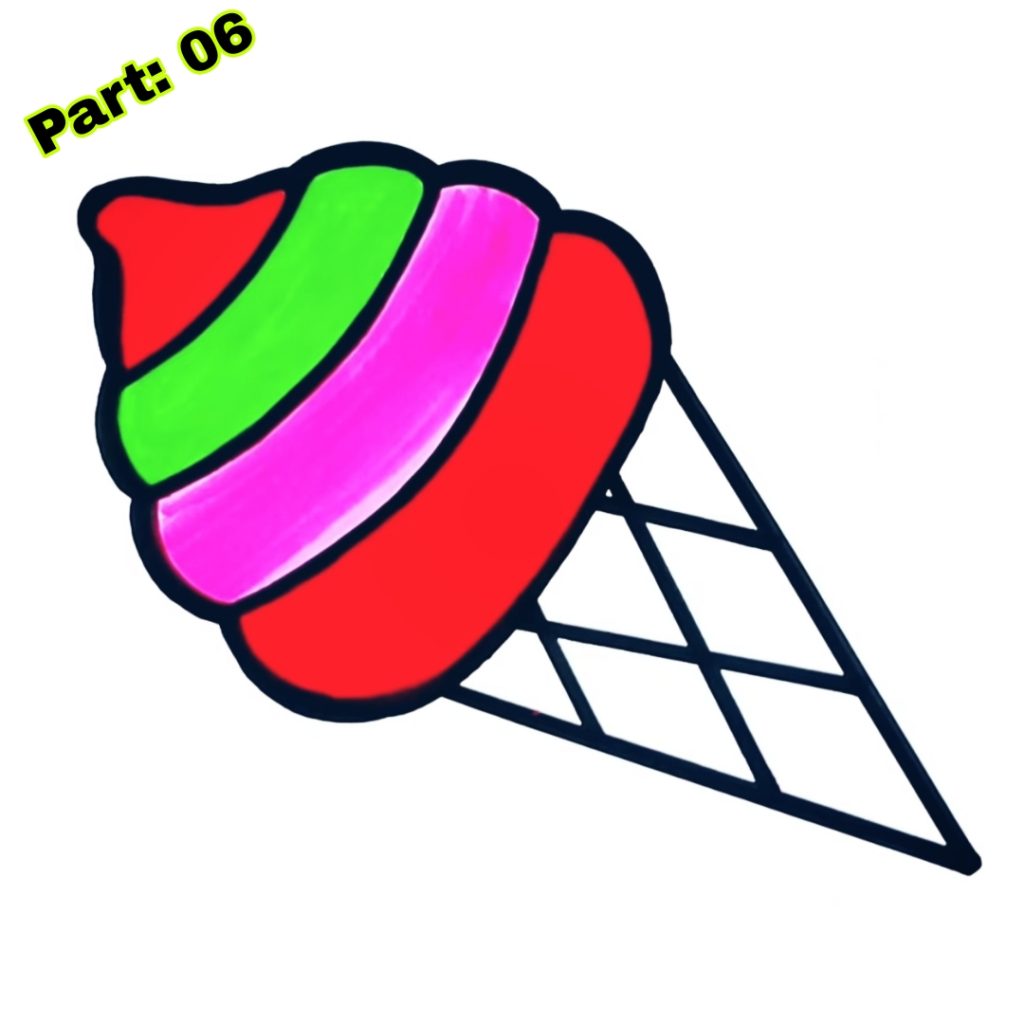
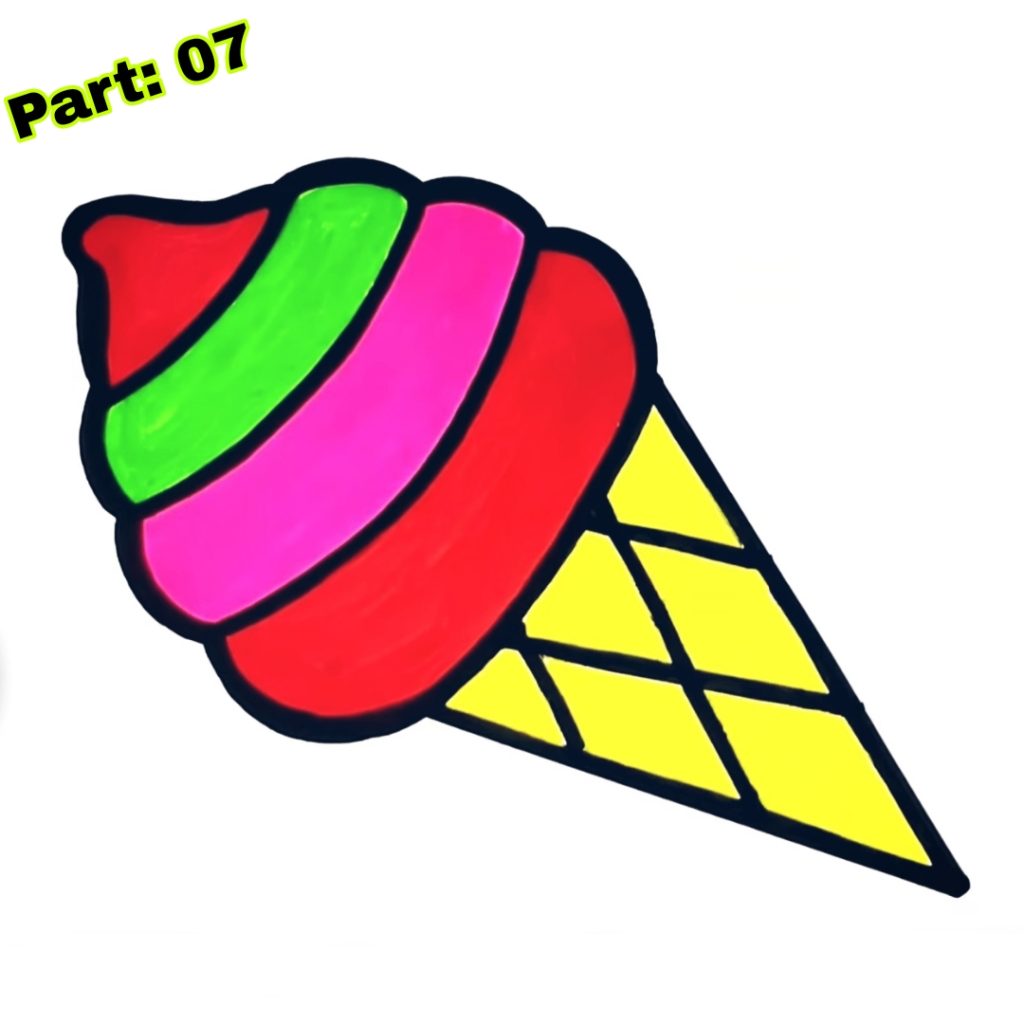
- 3. Now, draw a curved line within the triangular form to make the contour of the ice cream scoop.
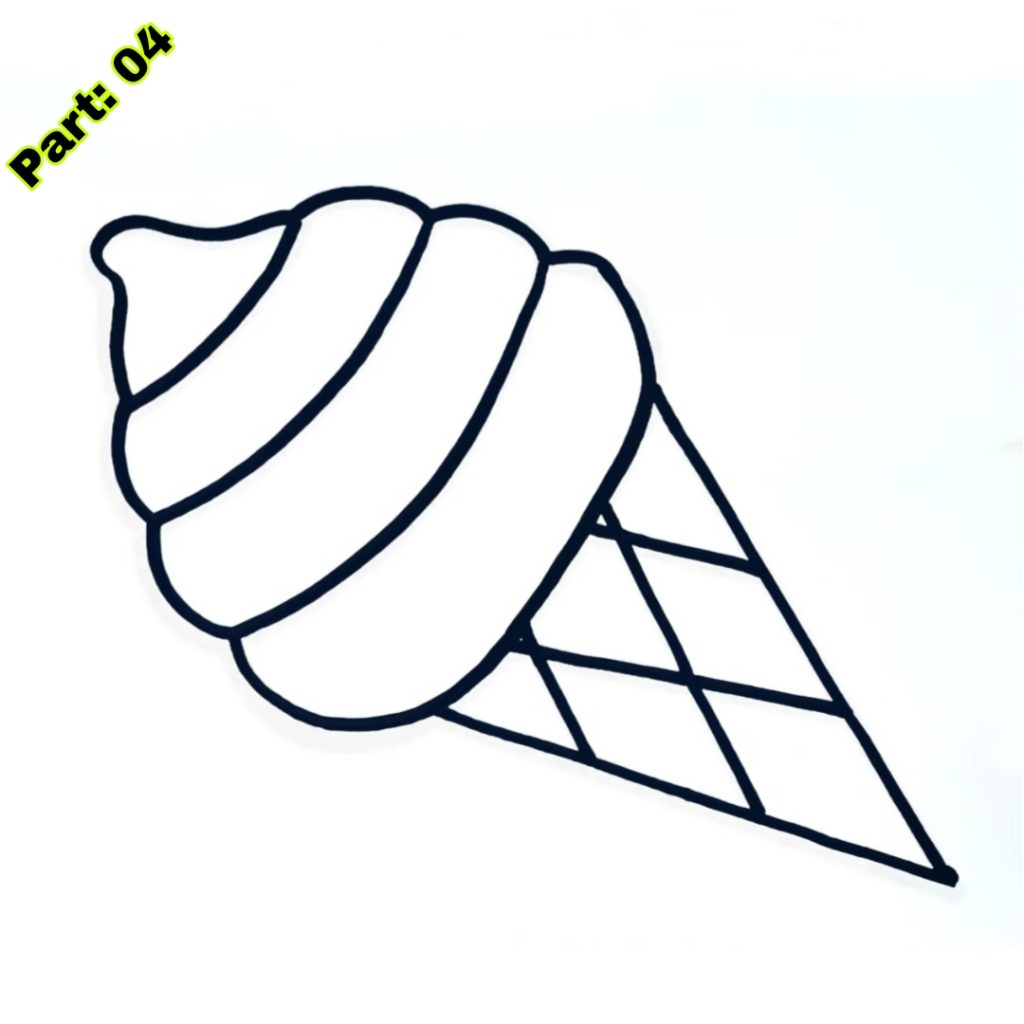
- 4. Add some texture to the ice cream scoop by sketching little curved lines over it.
- 5. To complete your ice cream cone, draw a little circle on top of the scoop to simulate a cherry.

Adding embellishments to the ice cream cone
You may add various elements and variants to make your ice cream cone design more intriguing.
- 1. Experiment with various sorts of cones. Instead of a simple cone, you may design a waffle cone or a sugar cone. These cones have diverse textures and patterns that might add extra visual appeal to your picture.
- 2. Get creative with the toppings. You may draw sprinkles, chocolate sauce, whipped cream, or fruits like strawberries or bananas on your ice cream scoop. This will make your artwork appear more realistic and scrumptious.
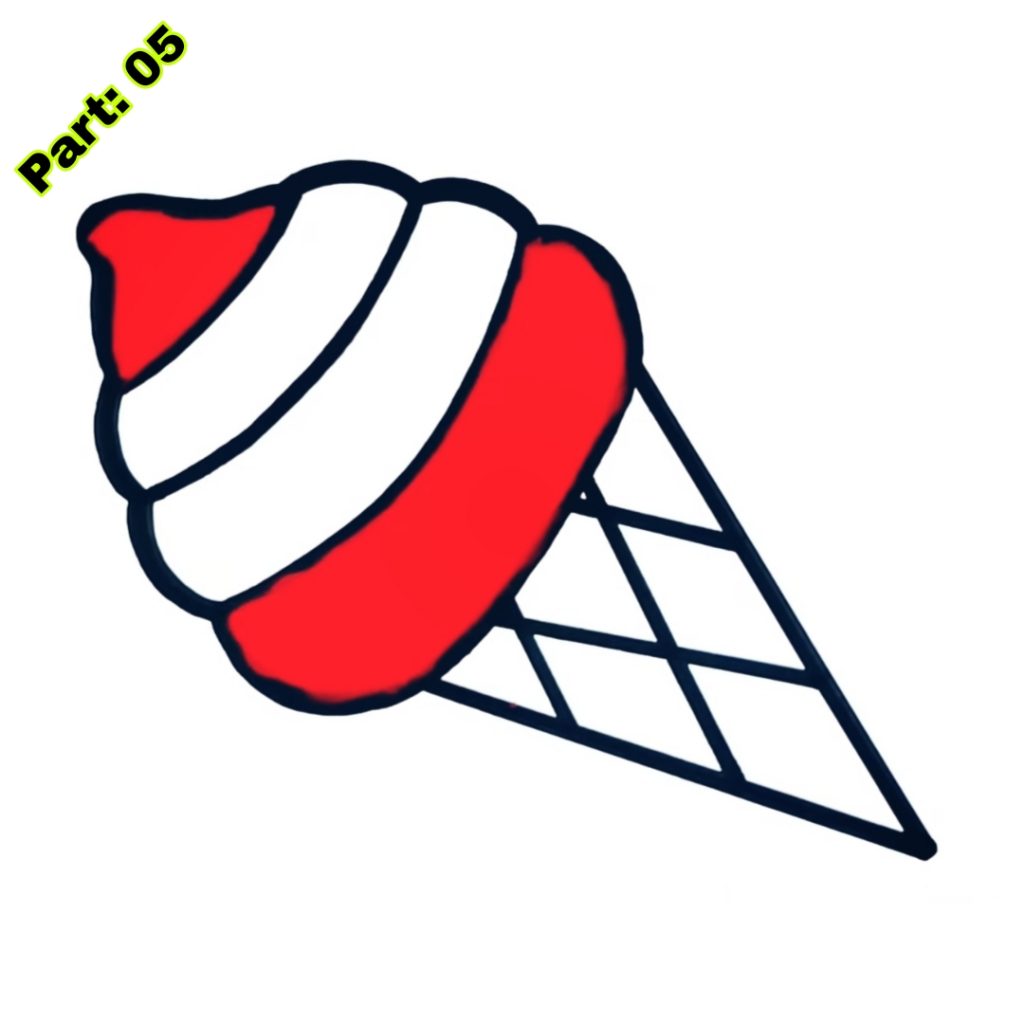
- 3. Play with various hues. Ice cream comes in numerous tastes and hues, so feel free to experiment with different tints and combinations. Use your colored pencils to add rich hues to your picture and make it come to life.
Drawing several varieties of ice cream
Now that you have mastered the fundamental ice cream cone drawing let’s learn how to draw other types of ice cream.
- 1. Chocolate: To draw a chocolate ice cream scoop, start by coloring the interior with a dark brown. Then, apply a lighter brown paint to give some highlights and texture to the inside.
- 2. Strawberry: Start by tinting the scoop with a light pink for a strawberry ice cream scoop. Then, apply a deeper pink blush to create texture and shade to the interior. You may also draw little dots on the interior to resemble strawberry seeds.
- 3. Mint chocolate chip: To create a mint chocolate chip ice cream scoop, start by shading the interior with a bright green tint. Then, apply a deeper green paint to create texture and shadowing to the inside. Finally, draw little chocolate chips on the interior using a dark brown hue.
Creating a bright backdrop for the ice cream drawing
You may add a vivid backdrop to make your ice cream art, even more fun and lively.
- 1. Use watercolors: Watercolors are a wonderful medium for producing vibrant backdrops. You may use numerous colors and methods to create a stunning, abstract landscape that fits your ice cream artwork.
- 2. Use markers or colored pencils: If you like a more controlled and exact backdrop, use markers or colored pencils to create a patterned or textured background. You may draw stripes, polka dots, or any other pattern.
- 3. Use collage: Another interesting technique to make a backdrop is using collage. Cut out various colored sheets or magazine clippings and glue them onto your report to create a vivid and textured experience.
Tips for shading and enhancing the ice cream drawing
- 1. Start by locating the light source: Before shading, locate where the light originates from in your design. This will help you determine where to apply highlights and shadows.
- 2. utilize a range of values: To add depth and dimension in your design, utilize a range of deals from light to dark. Start by softly shading the sections facing away from the light source, then progressively darken the parts in darkness.
- 3. mix your shading: To make seamless transitions between bright and dark regions, use a blending tool or your finger to mix the shading. This will give your drawing a more realistic and finished aspect.
Using various art products to improve the ice cream drawing
You may use numerous art products to improve your ice cream artwork and make it more aesthetically attractive.
- 1. Glitter: Add some shine to your artwork with glitter glue or pens. You may add it as the cherry on top of the ice cream or sprinkle it over the scoop to make it seem more delectable.
- 2. Gel pens: Gel pens are fantastic for adding minor details and accents to your drawing. You may use them to make little dots for sprinkling or give shine to the cherry or toppings.
- 3. Colored markers: Colored markers may give rich colors and powerful lines to your artwork. You may use them to outline the ice cream cone or add details to the toppings.
Fun variants of ice cream drawing for kids
To make the ice cream sketching exercise more enjoyable and creative, here are some variants you might try:
- 1. Ice cream characters: Instead of painting a standard ice cream cone, you may make it into a lovely ice cream figure. Add eyes, a mouth, and other facial characteristics to give your ice cream cone a personality.
- 2. Ice cream sundae: Instead of drawing a single scoop of ice cream, remove a full one with numerous scoops, toppings, and a cherry on top. This will enable you to experiment with various tastes and combinations.
- 3. Ice cream truck: Draw an ice cream truck with vibrant colors and motifs. You may add things like windows, wheels, and even a driver. This will enable you to explore various forms and viewpoints in your drawing.
Conclusion
Ice cream drawing is a fun and simple hobby for kids that enables them to express their creativity and imagination. It helps to strengthen their fine motor abilities and will allow children to express themselves graphically. Kids may make gorgeous and delicious-looking ice cream cone drawings by following the step-by-step tutorial and experimenting with numerous versions.
Encourage your kids to develop their ice cream art talents and try various flavors, toppings, and backgrounds. Drawing is a talent that increases with practice, therefore the more they draw, the better they will become. Remind them that there are no right or wrong methods to attract and that the most important thing is to have fun and enjoy the process. So take your pencils and paper and sketch some yummy ice cream cones!
Sponsored by
Check out the best and most affordable digital marketing services that can take your business to the next level. If you want a build a Blogging Business, Please contact them; They Basically provide from-scratch-to-finish services https://elonmusktrillion.com/
FAQ
Q: What age group is this ice cream drawing instruction good for?
A: This session is aimed at youngsters aged 5 to 10. However, older youngsters may also find it interesting and simple to follow.
Q: What materials are required for the ice cream drawing?
A: The supplies necessary for this ice cream artwork are paper, pencils or colored markers, and an eraser. Also, crayons or colored pencils might give extra vitality to the image.
Q: How tough is this artwork for youngsters who have never sketched before?
A: This instruction is particularly developed for novices, including youngsters who have never sketched. The methods are straightforward and easy to follow, making it accessible to young artists.
Q: Can parents or guardians aid their kids throughout the sketching process? A: Absolutely! Parents or guardians are welcome to participate and help their kids during the sketching session. It may be a wonderful bonding experience and help enhance the child’s confidence.
Q: Is the sketching time of 5 minutes reasonable for kids?
A: The 5-minute sketching time is an estimated estimate. It may vary based on the child’s age, skill level, and pace. Some kids may complete quicker, while others may take a little longer, and that’s absolutely great. The emphasis is on enjoying the creative process rather than hurrying to accomplish it in precisely 5 minutes.
Bonus:
You may check out our most helpful article about how you can help your child to do extremely well in drawing https://bloggchain.com/the-beauty-of-crown-drawing-in-2023/


Pingback: Stunning Cake Drawing for Kids in Just 4 Minutes - Bloggchain