Introduction
Pizza Drawing is a crucial hobby for youngsters since it improves their entire development. It stimulates their creativity, improves their fine motor abilities, and helps them to communicate their thoughts and ideas. This blog article will examine the fun and simple pastime of pizza sketching for kids. We will give step-by-step instructions on removing a pizza slice and an entire pizza pie and advice on adding toppings, shading, and coloring. This exercise is not only amusing but also instructive, since it can be used to educate youngsters about fractions, shapes, and colors.
Materials Needed for Pizza Drawing
To get started with pizza sketching, you will need a few supplies.
- 1. Paper: You may use any sort of paper, however, it is advised to use drawing paper or sketch paper since they are thicker and can withstand various drawing styles.
- 2. Pencil: A standard pencil would be great for sketching and outlining your pizza design.
- 3. Eraser: An eraser is useful for fixing errors or modifying your artwork.
- 4. Colored pencils or markers: These will be used for coloring your pizza drawing.
Gift:
Claim our premium worksheet practice book For Free (Only for you) :
Alternative materials:
If you don’t have colored pencils or markers, try crayons or watercolor paints instead. The main thing is to have a range of hues to make your pizza drawing seem vivid and lifelike.
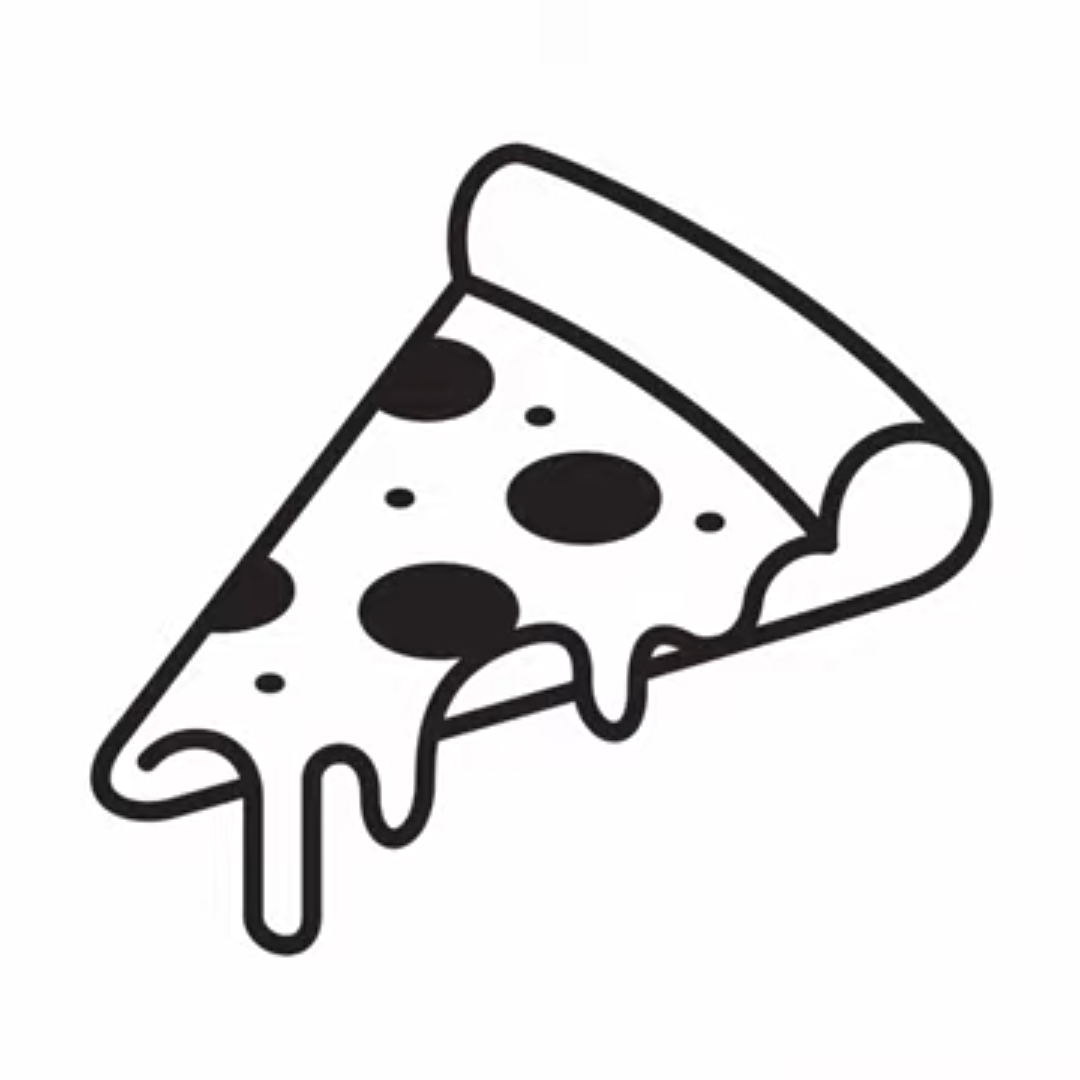
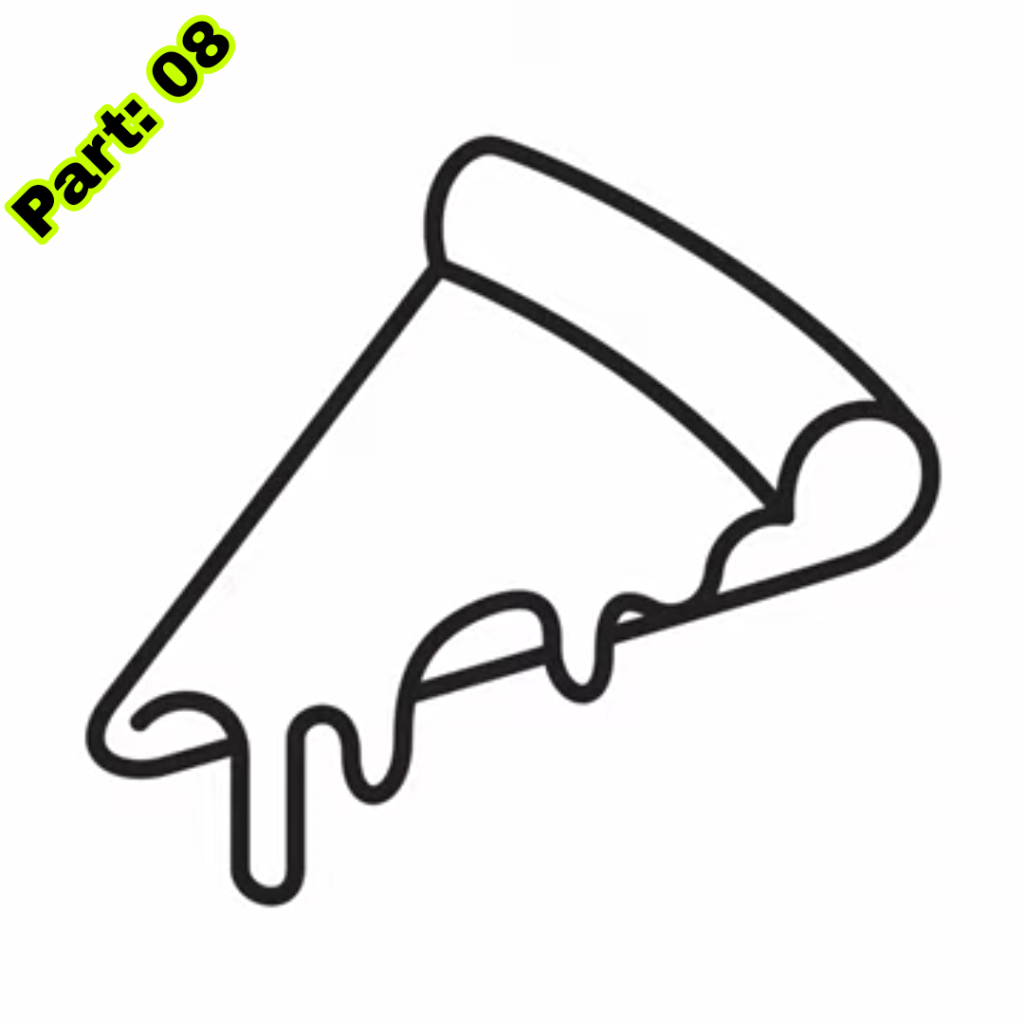
Step-by-Step Guide to Drawing a Pizza Slice
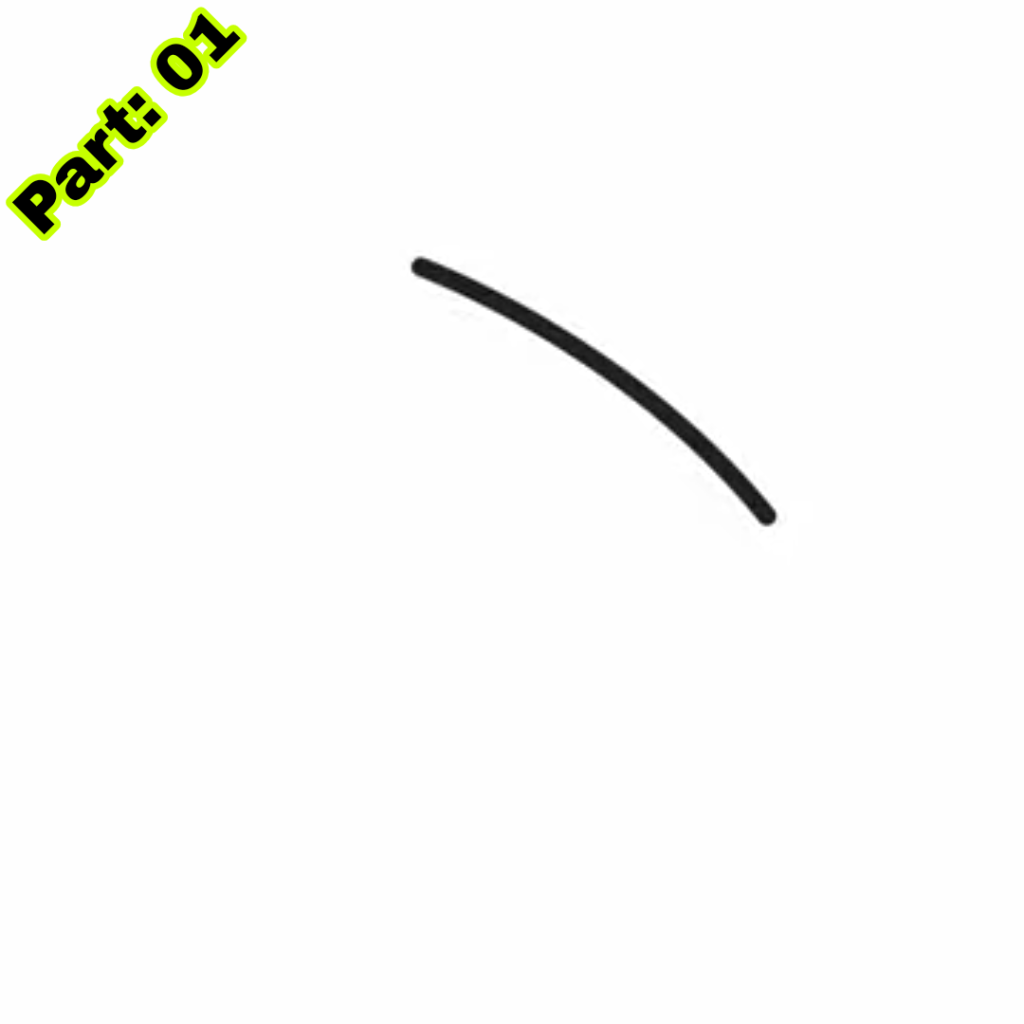
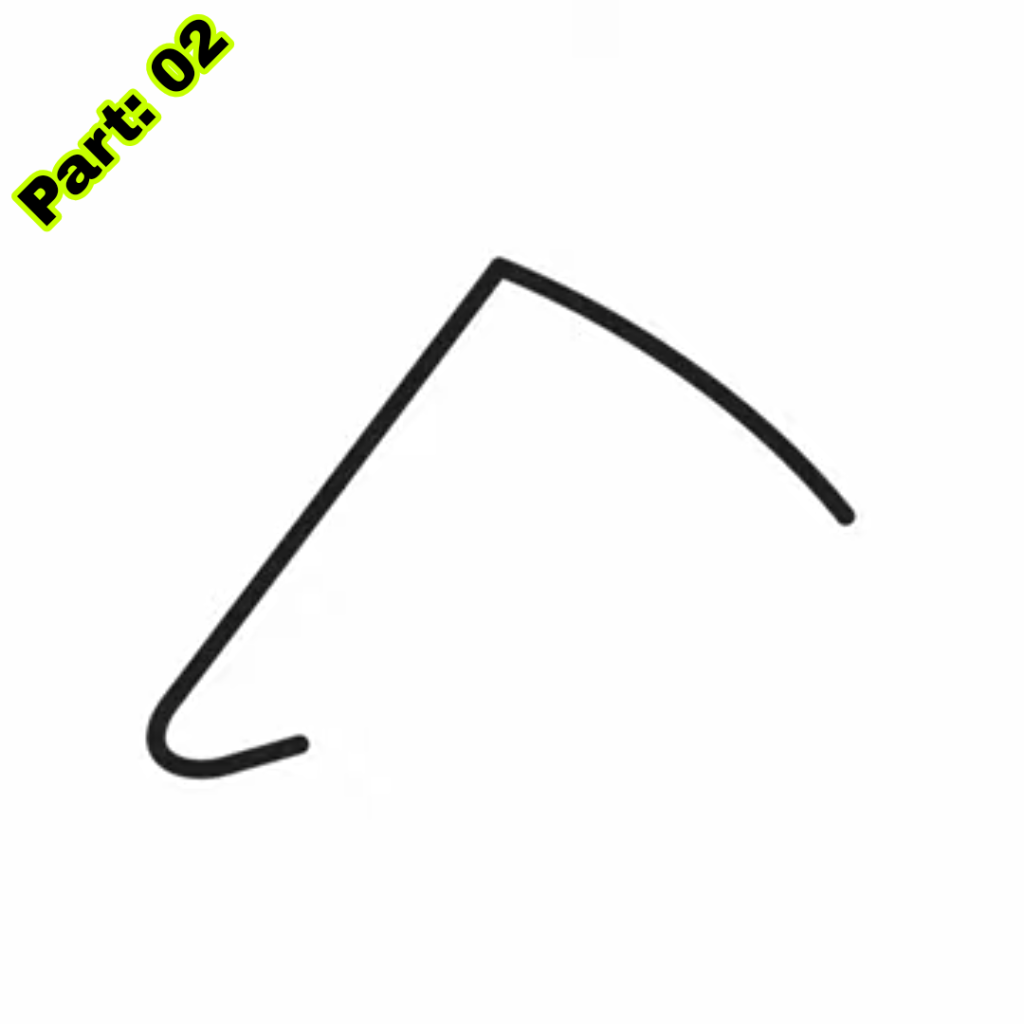
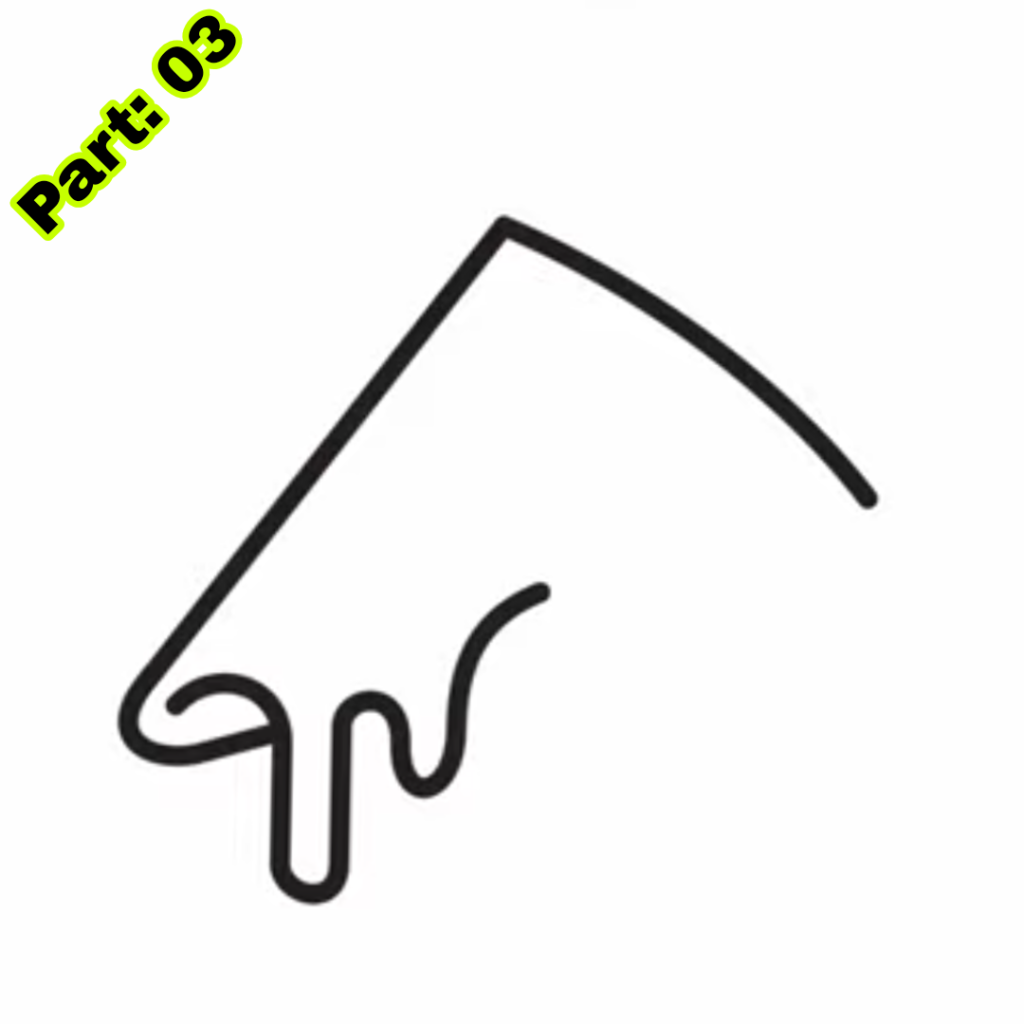
Now let’s go into the step-by-step process of sketching a pizza slice. Follow these steps and refer to the visual aids offered to guide you along the way:
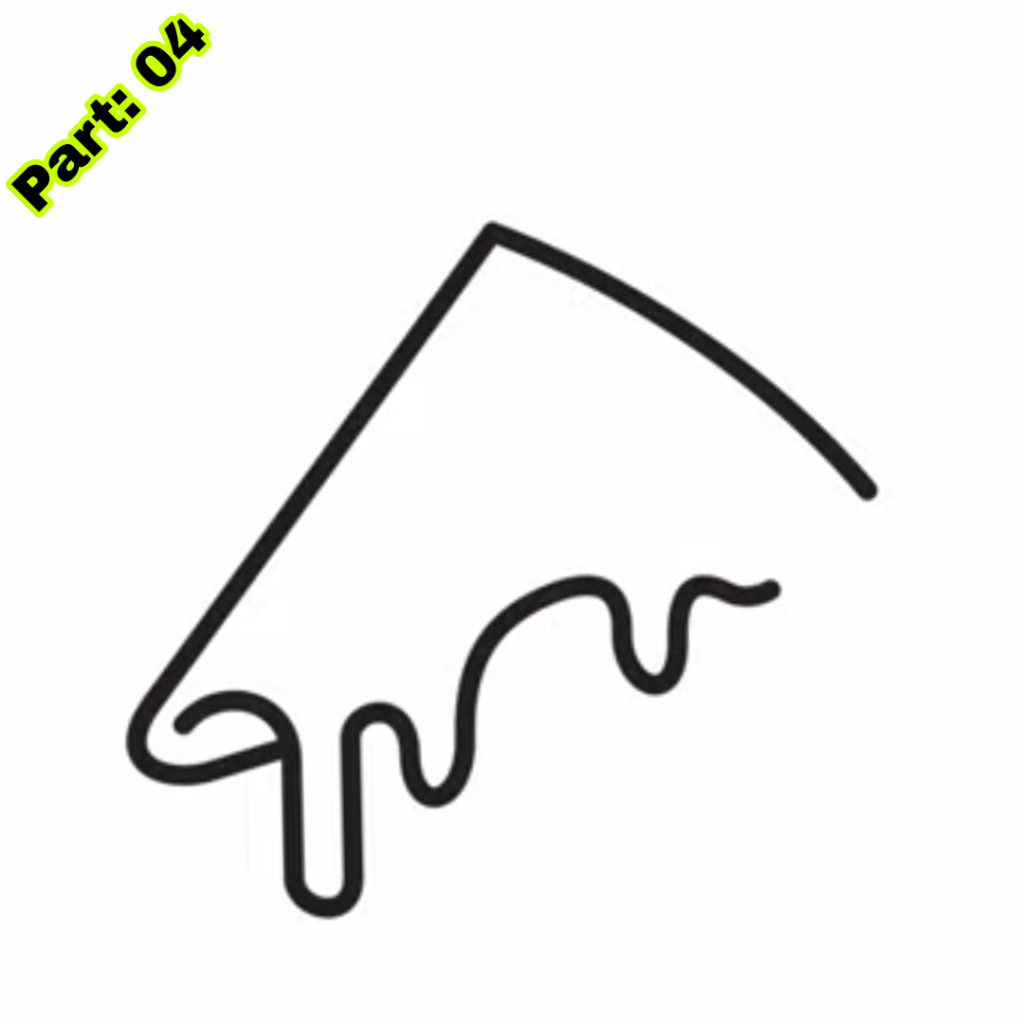
- 1. Start by creating a curving line imitating the pizza slice’s crust. This line should be slightly curled and not too thick.
- 2. Next, draw two diagonal lines that meet at the top of the curving line. These lines will create the sides of the pizza slice.
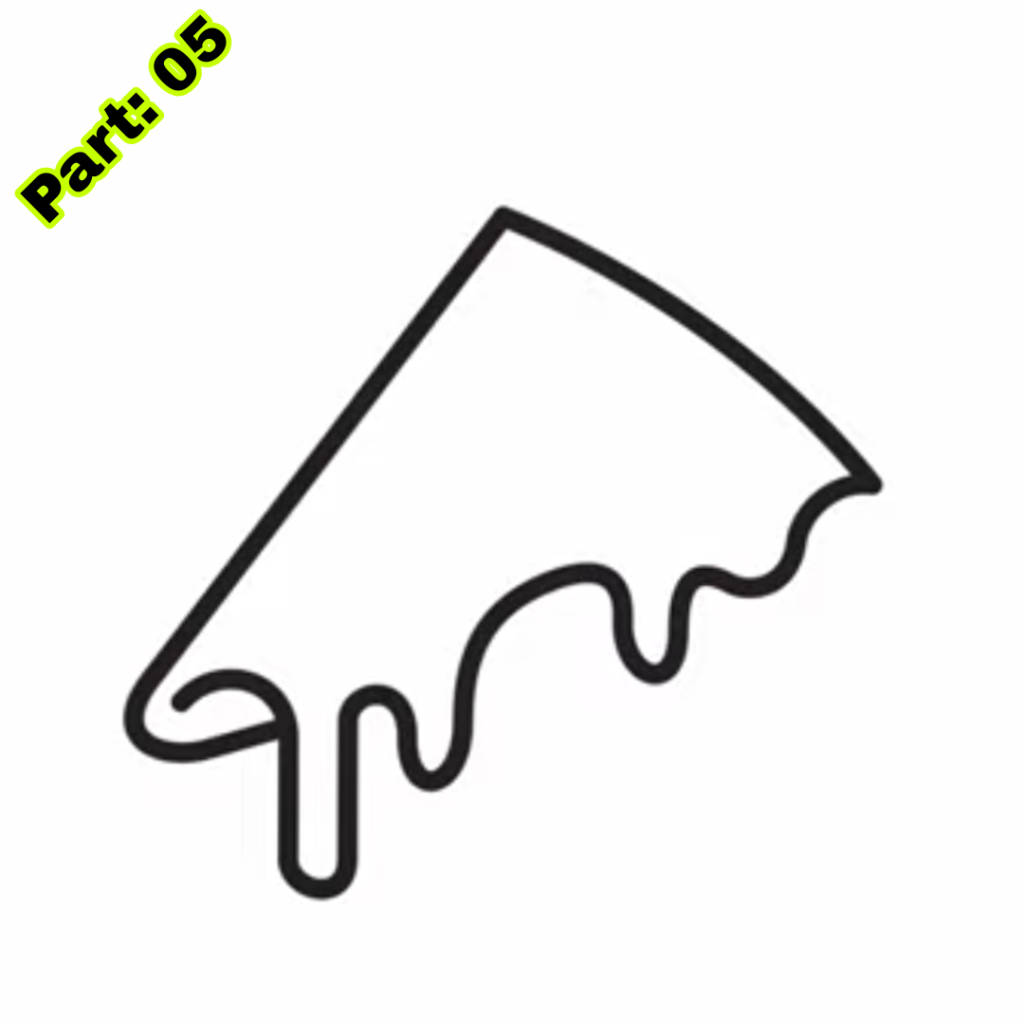
- 3. Connect the ends of the diagonal lines with a curved line to finish the shape of the pizza slice.
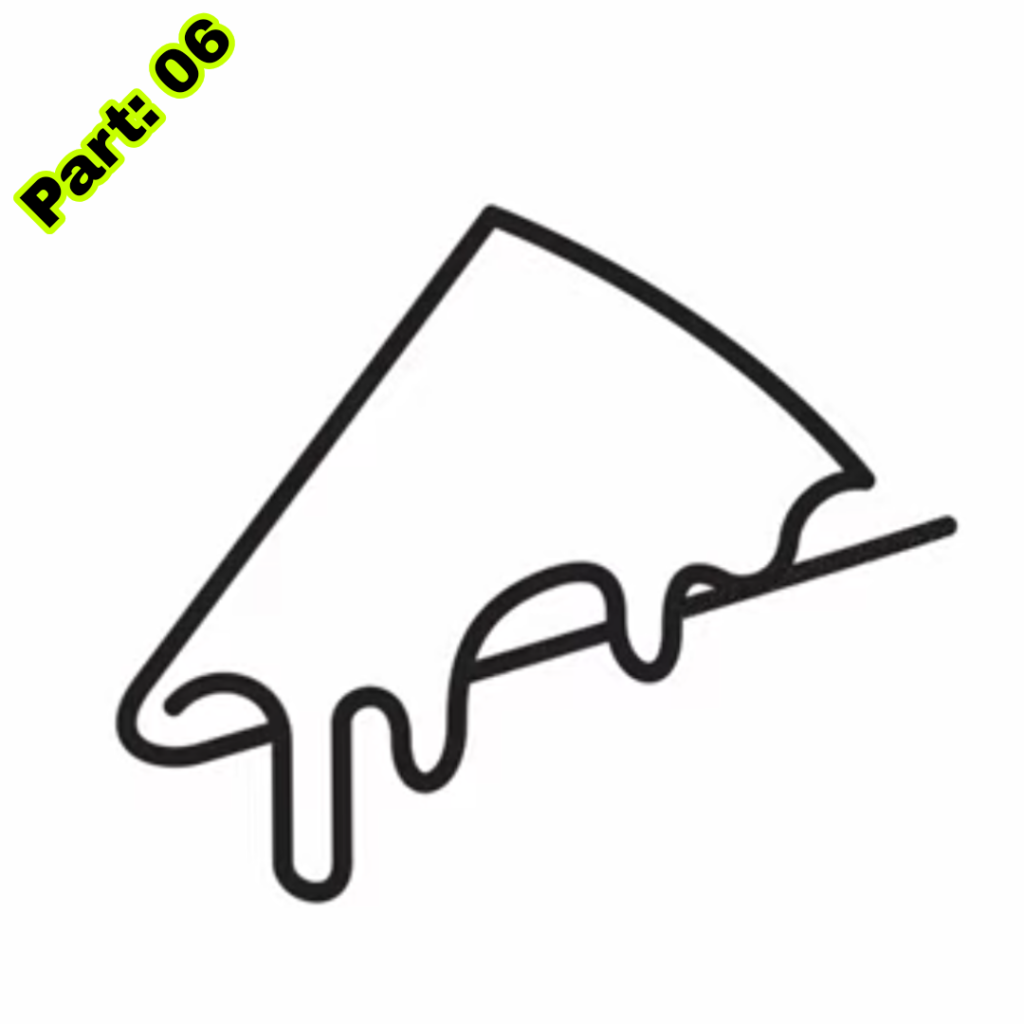
- 4. draw another curved line parallel to the crust within the outline. This will depict the cheese on the pizza.
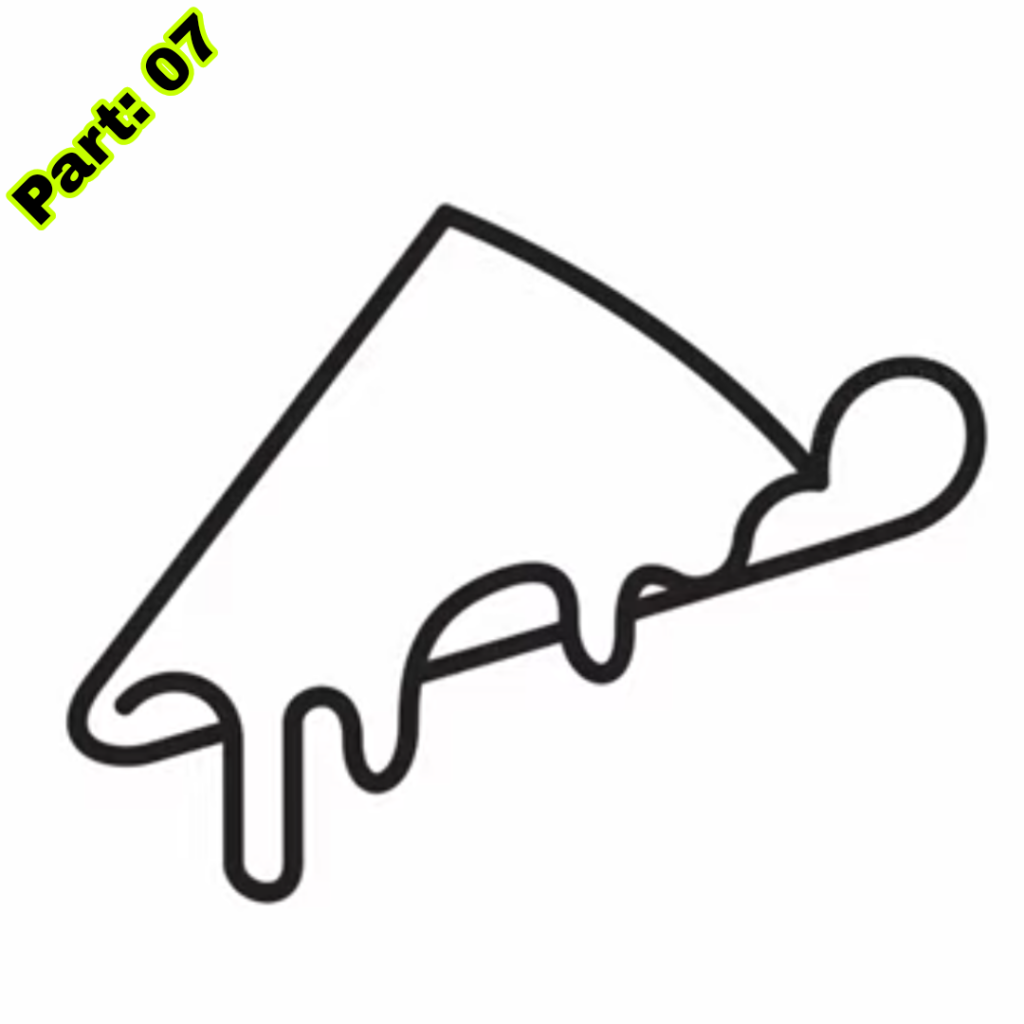
- 5. Add texture to the cheese by painting tiny, random shapes inside the curving line.
- 6. Now it’s time to add the toppings! Draw different shapes and sizes to depict your favorite pizza toppings, such as pepperoni, mushrooms, and bell peppers.
- 7. Add some shading to the crust and toppings to make your pizza slice appear more lifelike. Use your pencil to faintly shade the parts that would be in shadow.
- 8. Finally, remove any unneeded lines and add color to your pizza slice using colored pencils or markers.
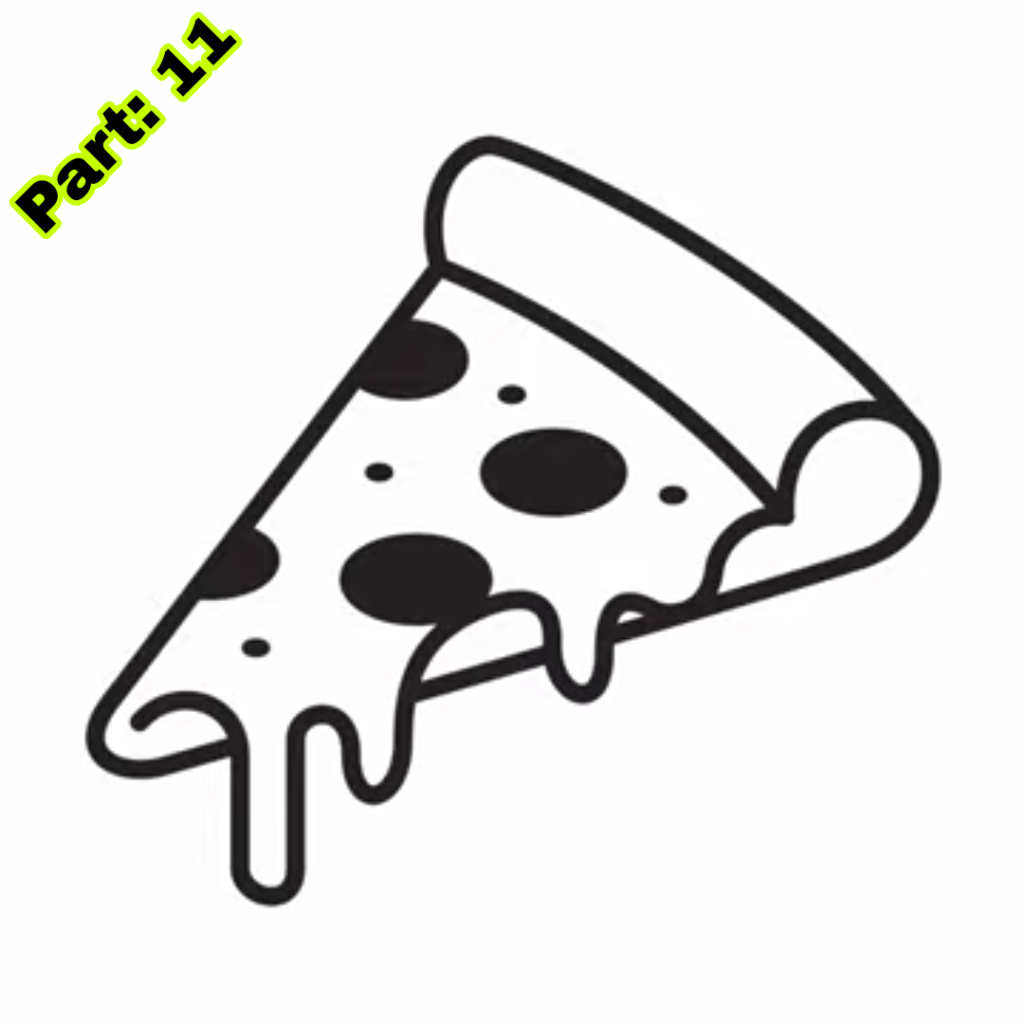
Adding Toppings to Your Pizza Drawing
When it comes to adding toppings to your pizza picture, the choices are unlimited. Here are some options for various toppings you may add to your pizza slice:
- 1. Pepperoni: Draw little circles or ovals to mimic pepperoni slices. Add some shading to give them a three-dimensional aspect.
- 2. Mushrooms: Draw little half-circles or ovals to resemble mushroom slices. Add some texture by sketching lines or dots on the surface of the mushrooms.
- 3. Bell peppers: Draw little squares or rectangles resembling bell pepper slices. Use various hues to make them appear more vivid.
- 4. Olives: Draw little circles to resemble olive slices. You may apply some shade or texture to make them appear more lifelike.
Tips for making the toppings appear realistic:
- – Vary the sizes and shapes of the toppings to make them seem more natural.
- – Add some shade and highlights to give the toppings a three-dimensional aspect.
- – Use various colors and textures to make each topping stand out.
Drawing a Whole Pizza Pie
Now that you’ve mastered sketching a pizza slice let’s move on to drawing an entire pizza pie. Follow these step-by-step instructions to produce a circular and realistic pizza:
- 1. Start by drawing a huge circle in the middle of your paper. This will be the basis of your pizza.
- 2. Next, draw a little smaller circle within the first circle. This will depict the crust of the pizza.
- 3. Divide the inner circle into eight equal portions by drawing straight lines from the center to the circle’s border.
- 4. Add some texture to the crust by painting tiny, curving lines around the edge of the inner circle.
- 5. Inside each segment, draw a curved line that follows the contour of the region. This will depict the cheese on the pizza.
- 6. Add your preferred toppings to each segment. Use varied shapes and colors to make them appear delicious.
- 7. apply some shading to the crust and toppings to make your pizza appear more realistic. Use your pencil to faintly shade the parts that would be in shadow.
- 8. Finally, remove any unneeded lines and add color to your pizza using colored pencils or markers.
Making Your Pizza Drawing Look Realistic
To make your pizza design appear even more realistic, here are some recommendations for shading and adding texture:
- 1. Shading: Use your pencil to faintly shade the parts that would be in darkness, such as the bottom of the crust and the gaps between the toppings. This will give your pizza a three-dimensional appearance.
- 2. Texture: Add texture to the crust by sketching curving lines around the edge. For the cheese, draw tiny, irregular shapes inside the curving line to depict melted cheese.
- 3. Highlights: Add highlights to the toppings by leaving tiny parts uncolored or faintly painting them with a lighter hue. This will make them seem glossy and more lifelike.
- 4. Plate: To make your pizza appear like it’s sitting on a plate, draw a curved line beneath the pizza to indicate the plate.
Tips for Coloring Your Pizza Drawing
Coloring your pizza drawing is when you can truly let your creativity show. Here are some suggestions for making the hues appear realistic:
- 1. Cheese: Use hues of yellow or orange to color the cheese. Add some accents with a lighter hue to make it seem melted and mushy.
- 2. Crust: Colour the crust with tones of brown or tan. Add texture by softly coloring in tiny, curving lines around the edge.
- 3. Toppings: Use a range of colors to tint the toppings. Refer to real-life samples or images for inspiration. Add shade and lighting to give them depth and character.
- 4. Plate: Colour the plate colors of grey or brown. Add some shading to make it appear three-dimensional.

Fun Variations of Pizza Drawing
Drawing a pizza slice or an entire pizza pie is only the beginning. Here are some interesting varieties of pizza sketching that you might try:
- 1. Pizza box: Draw a square or rectangular form resembling a pizza box. Add elements like the logo of a pizza business or the phrase “Pizza Delivery” to make it appear more real.
- 2. Pizza delivery guy: Draw a person carrying a pizza box and wearing a pizza delivery outfit. Add elements like a hat, a bag, or a scooter to make it appear like a real pizza delivery worker.
- 3. Pizza party: Draw a group seated around a table with a giant pizza in the middle. Add extras like plates, napkins, and beverages to make it appear like a joyful pizza party.
- 4. Pizza ingredients: Draw various ingredients like tomatoes, flour, cheese, and herbs. Arrange them imaginatively to make them appear like a pizza recipe.

Using Pizza Drawing as a Teaching Tool
Pizza sketching may be a terrific instructional tool for youngsters. Here are some ways you may include pizza painting in lesson plans:
- 1. Fractions: Use the pizza illustration to educate schoolchildren about fractions. Divide the pizza into several portions and ask them to color a certain area of the pizza. For example, half of the pizza is red, and a quarter is green.
- 2. Shapes: Use the pizza design to educate students about various shapes. Ask students to identify and sketch different shapes inside the pizza, such as circles for the toppings and triangles for the slices.
- 3. Colors: Use the pizza painting to educate youngsters about colors. Ask them to paint the toppings using various shades of the same color or to create a pattern using different colors.
- 4. Nutrition: Use the pizza illustration to educate youngsters about nutrition. Discuss the various food categories represented by the toppings and invite them to draw more toppings to make the pizza more balanced and healthful.
Conclusion
Drawing a pizza slice or an entire pizza pie is a fun and simple hobby that may give hours of enjoyment to youngsters. It stimulates their creativity, improves their fine motor abilities, and helps them to communicate their thoughts and ideas. By following the step-by-step directions in this blog article, youngsters may construct their own delicious-looking pizzas and explore many varieties of pizza sketching. Additionally, pizza sketching may be utilized as a teaching tool to educate youngsters about fractions, shapes, colors, and nutrition. So gather your supplies and start creating some mouth-watering pizzas now!
Sponsored By
Check out the best and most affordable digital marketing services that can take your business to the next level. If you want a build a Blogging Business, Please contact them; They Basically provide from-scratch-to-finish services https://elonmusktrillion.com/
FAQ
Q: What age group is this pizza sketching instruction aimed for?
A: The pizza sketching instruction is particularly developed for youngsters, often in the age range of 5 to 10 years old.
Q: Do I need specific art equipment or materials for this tutorial?
A: No, the lesson focuses on utilizing simple art items usually accessible in homes, such as paper, pencils, colored markers, or crayons.
Q: Are step-by-step drawings included in the article?
A: The post contains step-by-step drawings that make it simple for youngsters to follow along and design their pizza slices gradually.
Q: Are there any safety measures stated in the article for youngsters utilizing art supplies?
A: The article stresses crucial safety recommendations, such as utilizing art materials under adult supervision and being careful with scissors if necessary.
Q: Can youngsters modify their pizza drawing or add their favorite toppings?
A: Absolutely! The guide promotes creativity; youngsters may add their favorite toppings or put their personal take on the pizza design.
Bonus:
You may check out our most helpful article about how you can help your child to do extremely well in drawing https://bloggchain.com/stunning-cake-drawing-for-kids-in-just-4-minutes/

