
Introduction
Simple Pumpkin Drawing is a crucial exercise for youngsters as it helps them develop their fine motor skills, creativity, and imagination. It helps them express themselves and explore their thoughts graphically. Drawing also helps youngsters develop their hand-eye coordination and attention. One fun and easy sketching exercise for kids is drawing a pumpkin. Pumpkins are a famous emblem of autumn and Halloween, making them a perfect subject for youngsters to sketch. In this post, we will present step-by-step guidance on how to draw a pumpkin, along with ideas on making it appear realistic and adding features.

Materials Required for Simple Pumpkin Drawing
To design a pumpkin, you will need the following materials:
- 1. Paper: Choose a blank piece of paper suited for drawing. It may be any size, based on your desire.
- 2. Pencil: A pencil is needed for drawing and outlining the pumpkin form. Make sure it is crisp for exact lines.
- 3. Eraser: An eraser is important for removing errors or smudges when sketching.
- 4. Colored pencils or markers: These are optional but may be used to add color to your pumpkin drawing.
Gift:
Claim our premium worksheet practice book For Free (Only for you):
Step-by-Step Guide to Simple Pumpkin Drawing
Follow these step-by-step instructions to draw a pumpkin in under 5 minutes:
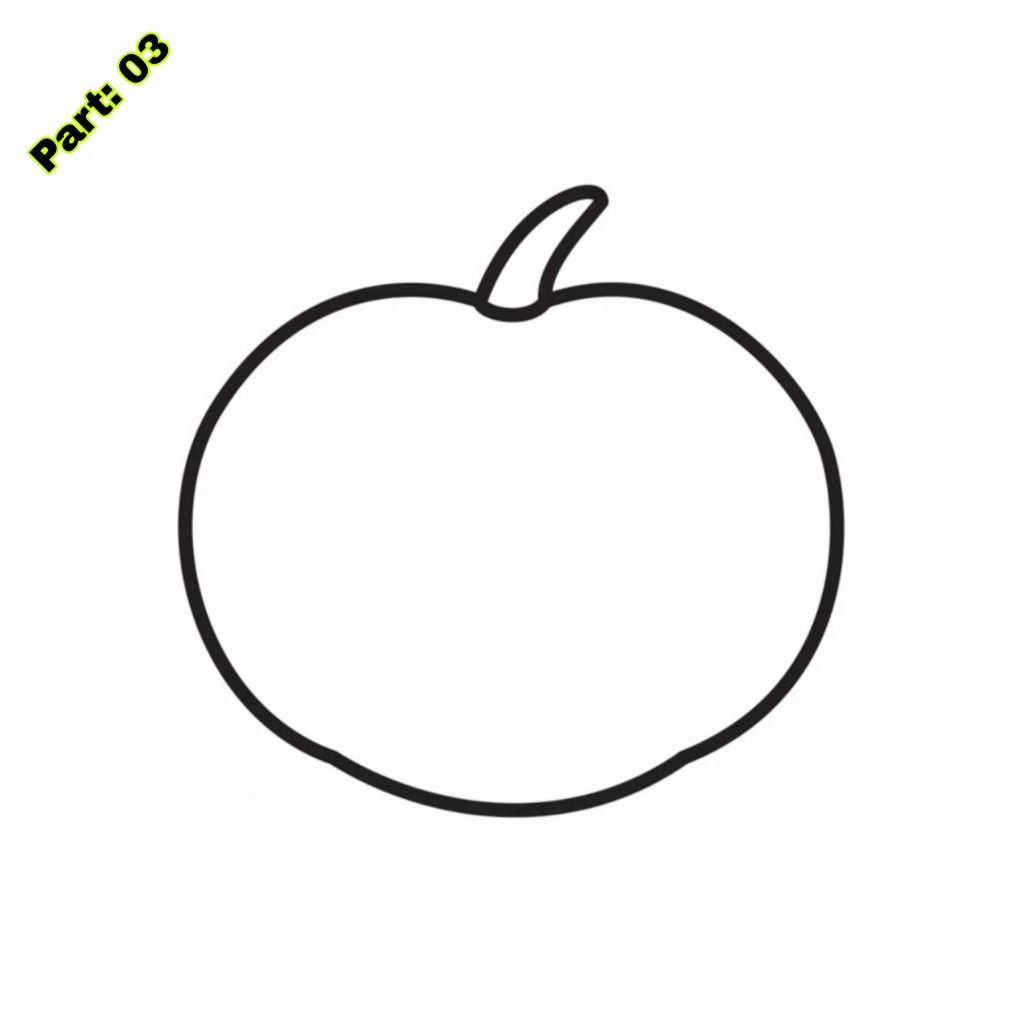
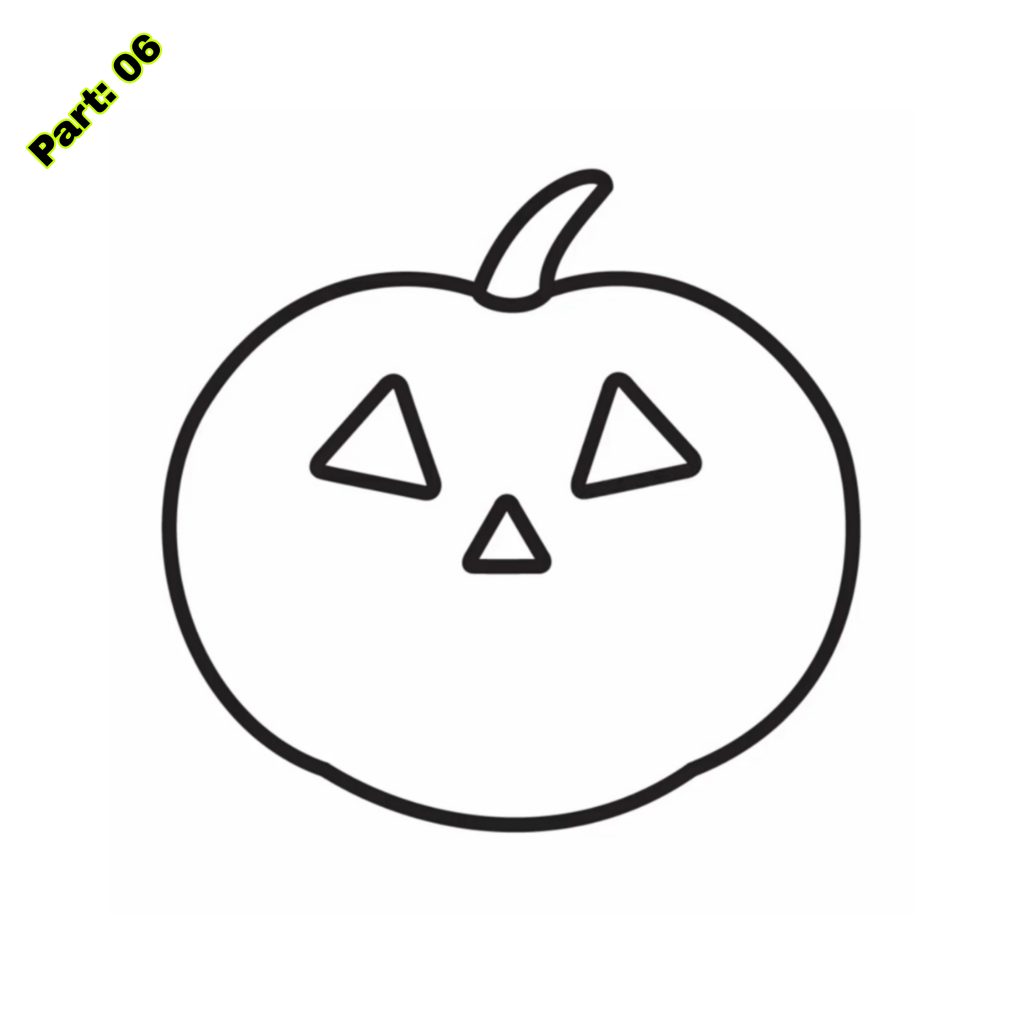
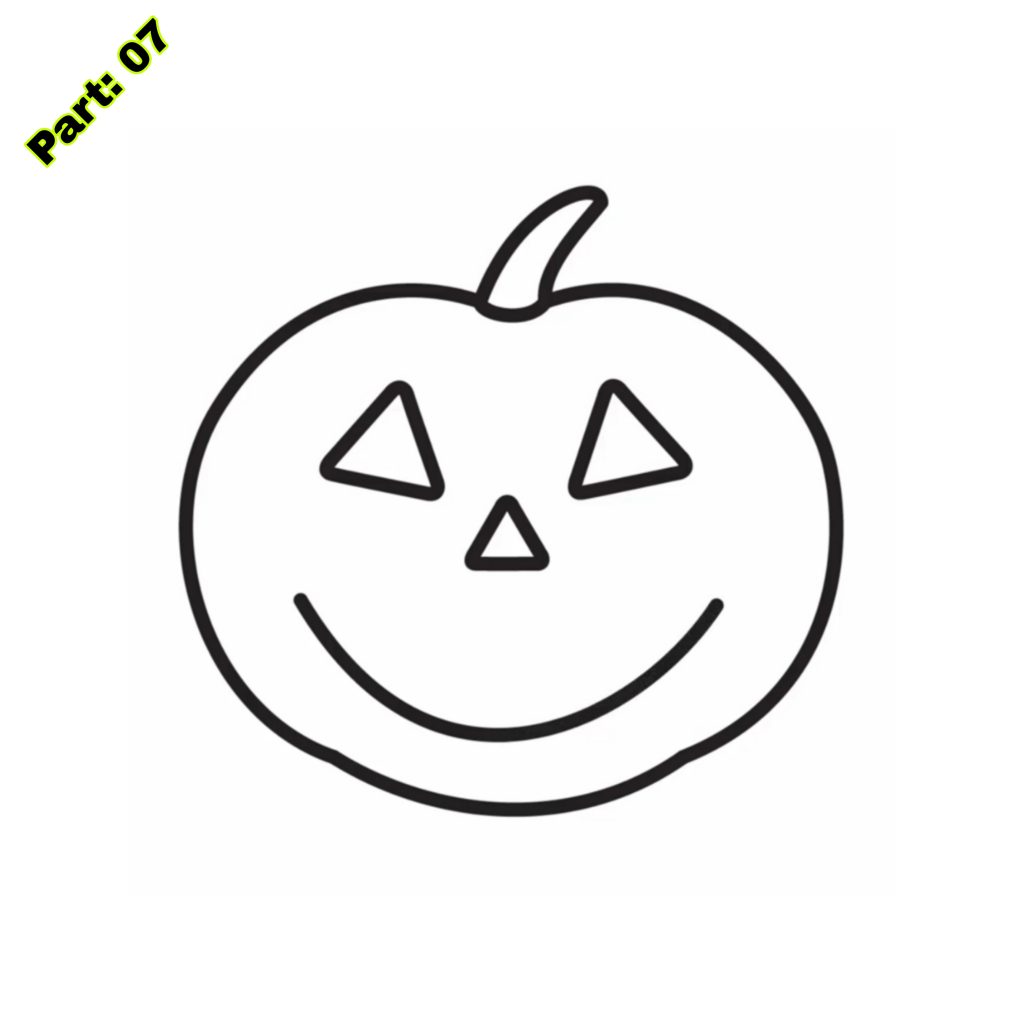
- 1. Start by sketching a huge oval shape in the middle of your page. This will be the primary body of the pumpkin.
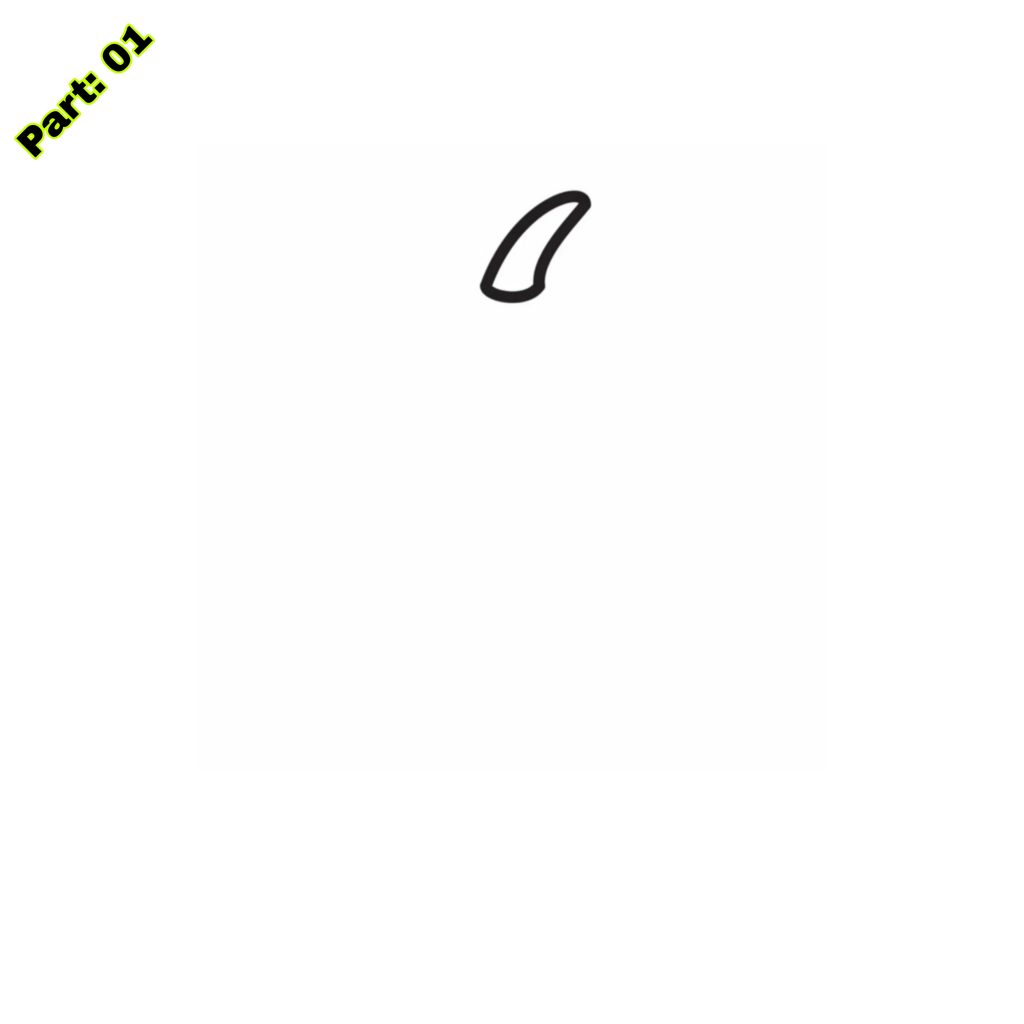
- 2. Next, draw a curved line at the top of the oval to make the pumpkin’s stem.
- 3. Add two little curved lines at the bottom of the oval to depict the base of the pumpkin.
- 4. Draw vertical lines over the pumpkin’s body to form the ridges. These lines should be uniformly spaced and gently bent.
- 5. Erase any unwanted lines and smudges; your pumpkin design is complete!
Tips for Making Your Simple Pumpkin Drawing Look Realistic
To make your pumpkin drawing seem more realistic, use these tips:
- 1. Add shading: Use your pencil to softly shade the regions of the pumpkin that would be in shadow. This will give it depth and dimension.
- 2. Highlighting: Use an eraser to brighten select pumpkin sections to produce highlights gradually. This will make it appear more three-dimensional.
- 3. Blending: Use your finger or a blending tool to mix the shading and highlighting, providing a seamless transition between bright and dark parts.
Adding Details to Your Simple Pumpkin Drawing
To add extra details to your pumpkin painting, try the following suggestions:
- 1. Stem: Add texture to the stem by sketching little lines or dots to depict the rough surface.
- 2. Leaves: Draw a few curving lines extending from the top of the stem to indicate the pumpkin’s leaves. You may even add veins to the leaves for extra realism.
- 3. Texture: Draw thin curved lines or dots over the surface to make your pumpkin seem more textured. This will give it a rough look.
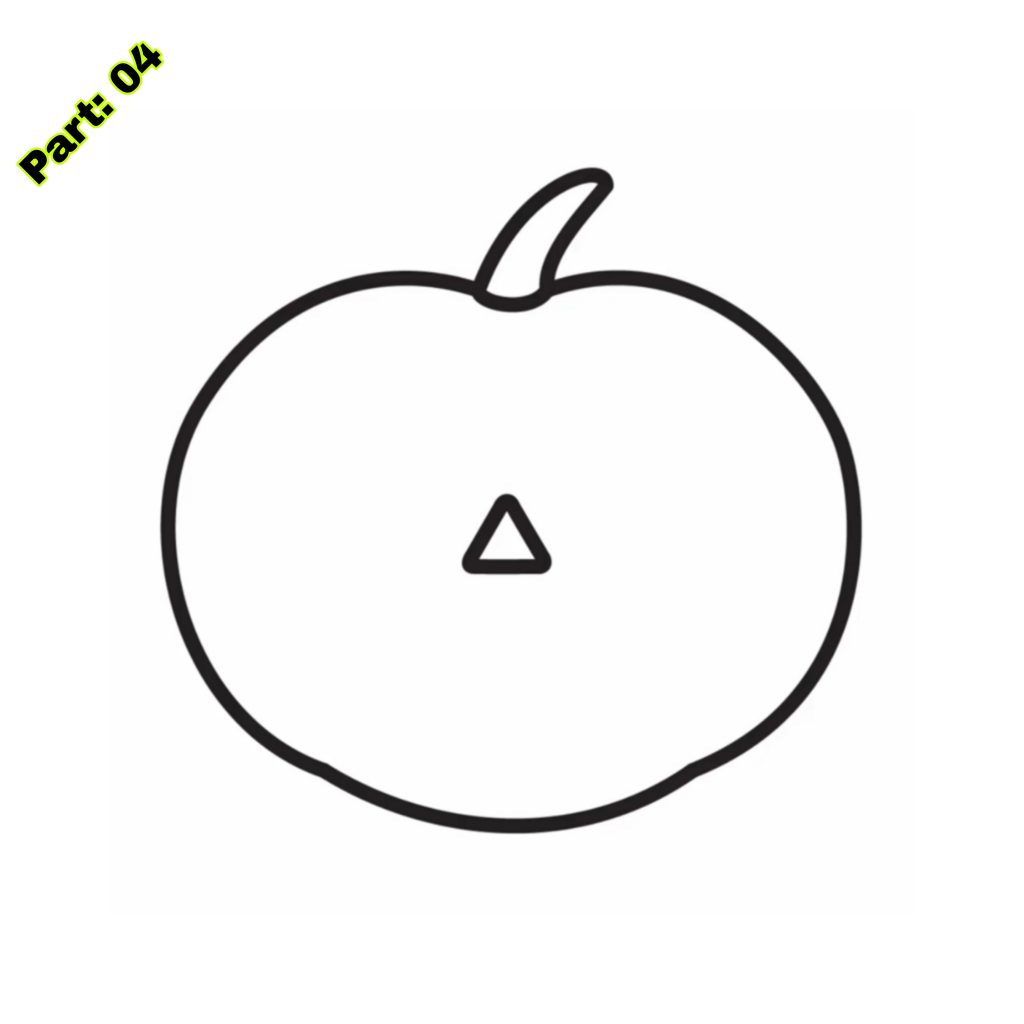
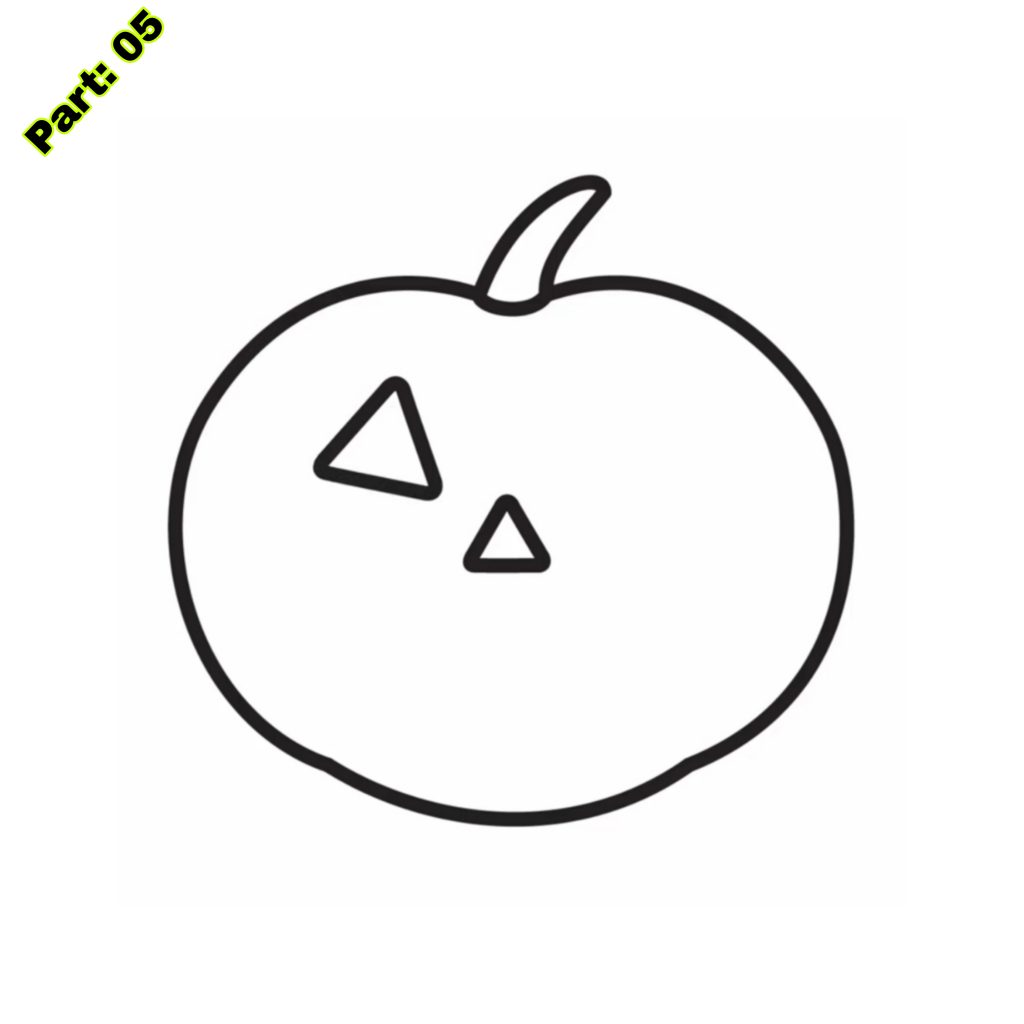
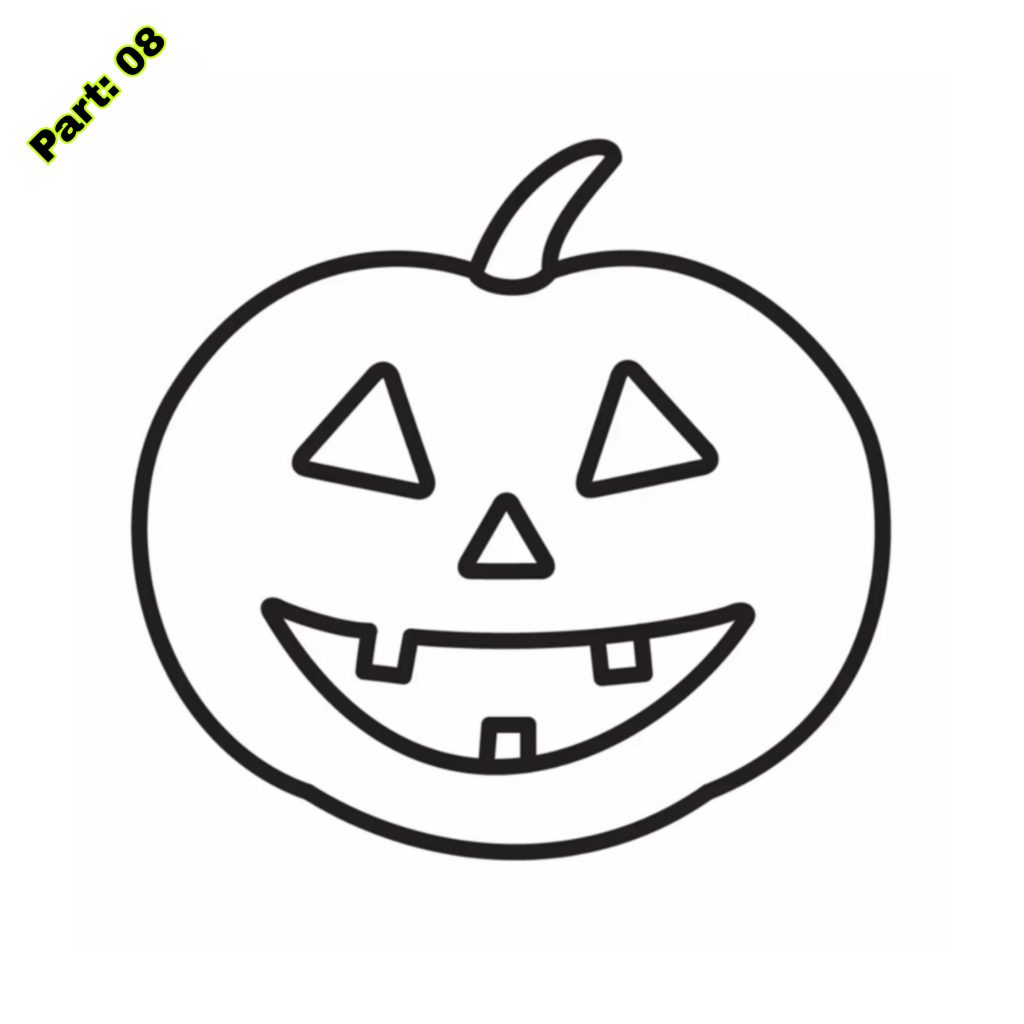
- 4. Personalization: Get creative and add distinctive touches to the drawing. You may sketch a face on the pumpkin, carve out a pattern, or add accessories like a hat or scarf.
Coloring Your Simple Pumpkin Drawing
If you prefer to color your pumpkin drawing, consider the following suggestions:
- 1. Color theory: Learn about color theory and how various colors interact together. Choose colors that complement each other and create a beautiful arrangement.
- 2. Shades of orange: Use multiple shades of orange to paint the pumpkin’s body, providing depth and texture.
- 3. Stem and foliage: Color the stem and leaves with colors of brown and green, respectively, to make them stand out.
- 4. Experiment with various mediums: Use colored pencils, markers, or watercolors to add color to your drawing. Each material will give a distinct impression.
Common Mistakes to Avoid While Drawing a Pumpkin
Here are some frequent errors youngsters make when sketching a pumpkin and recommendations on how to prevent them:
- 1. Uneven proportions: Make sure the pumpkin’s body, stem, and base are proportional to each other. Use reference photographs or items for advice.
- 2. Overcomplicating the ridges: Keep the ridges basic and uniformly spaced. Avoid overloading them or making them too complicated.
- 3. Heavy-handed shading: Start with mild shading and progressively enhance the darkness. This will avoid the drawing from seeming too dark or untidy.
- 4. Lack of details: Pay attention to the little features, such as the texture of the stem and leaves. Adding these elements will make your drawing more lifelike.
Fun Ways to Use Your Simple Pumpkin Drawing
Once you have created your pumpkin design, there are many interesting ways to utilize it:
- 1. space decoration: Hang your pumpkin painting on the wall or put it on a shelf to give a festive touch to your space.
- 2. Halloween card: Use your pumpkin artwork as a design for a Halloween card. Write a creepy note inside and gift it to a friend or family member.
- 3. Pumpkin carving template: Use your pumpkin design as a template for carving a real pumpkin. Transfer the pattern onto the pumpkin and gently cut it out.
- 4. Digital sharing: Take a picture or scan your pumpkin artwork and share it on social media or with friends and family online.
Benefits of Simple Pumpkin Drawing for Kids
Drawing has various advantages for youngsters, including:
- 1. Fine motor skills: Drawing helps youngsters improve their fine motor abilities, which are crucial for writing, tying shoelaces, and using utensils.
- 2. Creativity and imagination: Drawing helps youngsters to express their creativity and imagination. It helps kids to think beyond the box and produce innovative ideas.
- 3. Concentration and focus: Drawing demands concentration and focus, helping youngsters increase their ability to remain concentrated on a topic for a long time.
- 4. Problem-solving skills: Drawing requires making judgments and addressing difficulties, such as depicting an item or generating a specific impact. This helps youngsters improve their problem-solving abilities.
Conclusion
Simple Pumpkin Drawing is a fun and easy pastime that may profoundly benefit a child’s development. It helps increase fine motor abilities, creativity, and imagination. Following this article’s step-by-step tutorial and advice, youngsters may produce their pumpkin artwork in only a few minutes. Adding features and color to the drawing helps them to customize it and make it distinctive. The advantages of sketching extend beyond simply the aesthetic sphere, as it helps youngsters acquire abilities that may be applied to various aspects of life. So gather your stuff and start sketching your pumpkin masterpiece now!
Sponsored By
Check out the best and most affordable digital marketing services that can take your business to the next level. If you want to build a Blogging Business, Please contact them; They Basically provide from-scratch-to-finish services https://elonmusktrillion.com/
FAQ
Q1: Can my youngster accomplish this pumpkin artwork in only 5 minutes?
A1: The article includes step-by-step directions for rapid and simple completion, making it attainable for youngsters within the stated time period.
Q2: What materials do we need to produce the simple pumpkin drawing?
A2: The article likely specifies the needed supplies, such as paper, pencils, erasers, and colored markers. Following the prescribed supplies will increase the drawing experience.
Q3: Are there any particular age suggestions for this tutorial?
A3: While the article may not state precise age limitations, the sketching instructions are likely geared for younger kids, ages 5 to 10, who are starting to explore their creative talents.
Q4: Is this pumpkin drawing appropriate for beginners, or does it require previous drawing experience?
A4: The instruction is likely meant to be beginner-friendly, utilizing basic shapes and simple lines. It’s aimed at youngsters who are new to sketching or seeking to build their creative confidence.
Q5: Can we personalize the simple pumpkin drawing with our creative touches?
A5: Absolutely! While the article includes step-by-step guidance, students are urged to add imagination to the artwork. This might involve adding distinct facial expressions, patterns, or colors to make each pumpkin memorable.
Bonus:
You may check out our most helpful article about how you can help your child to do extremely well in drawing https://bloggchain.com/easy-to-draw-butterfly-for-kids-in-just-3-minutes/


Pingback: Easy & Simple Wave Drawing For Kids in 2023 - Bloggchain