Introduction
Easy Snowflake Drawing is a fantastic hobby for youngsters to show their creativity and ideas. It helps kids improve fine motor skills, hand-eye coordination, and focus. Snowflake sketching is a fun and engaging exercise that may be enjoyed by children of all ages. In this post, we will investigate the materials required for snowflake drawing, present a step-by-step tutorial on how to draw a snowflake, provide advice for making the drawing appear fantastic, and discuss several methods to add color and make the picture distinctive. We will also examine how snowflake sketching may be utilized for winter projects and discuss the advantages of drawing for youngsters.
Materials Needed for Easy Snowflake Drawing
To start snowflake sketching, you will need a few basic supplies.
- 1. Paper: Choose a durable paper that will endure sketching and coloring. You may use plain white paper or colorful paper for increased visual flair.
- 2. Pencil: A pencil is required for drawing and outlining your snowflake design. Make careful you use a pencil with a fine tip for exact lines.
- 3. Eraser: An eraser is helpful for fixing errors or smudges in your artwork. Look for a gentle eraser that won’t harm the paper.
- 4. Ruler: A ruler is important for establishing straight lines and measuring equal distances between the branches of your Snowflake.
- 5. Fine-tip markers or colored pencils are optional but may add color and complexity to your snowflake artwork.
Gift
Claim our premium worksheet practice book For Free (Only for you):
Step-by-Step Guide to Easy Snowflake Drawing
Now that you have collected your supplies let’s dig into the step-by-step process of sketching a snowflake:
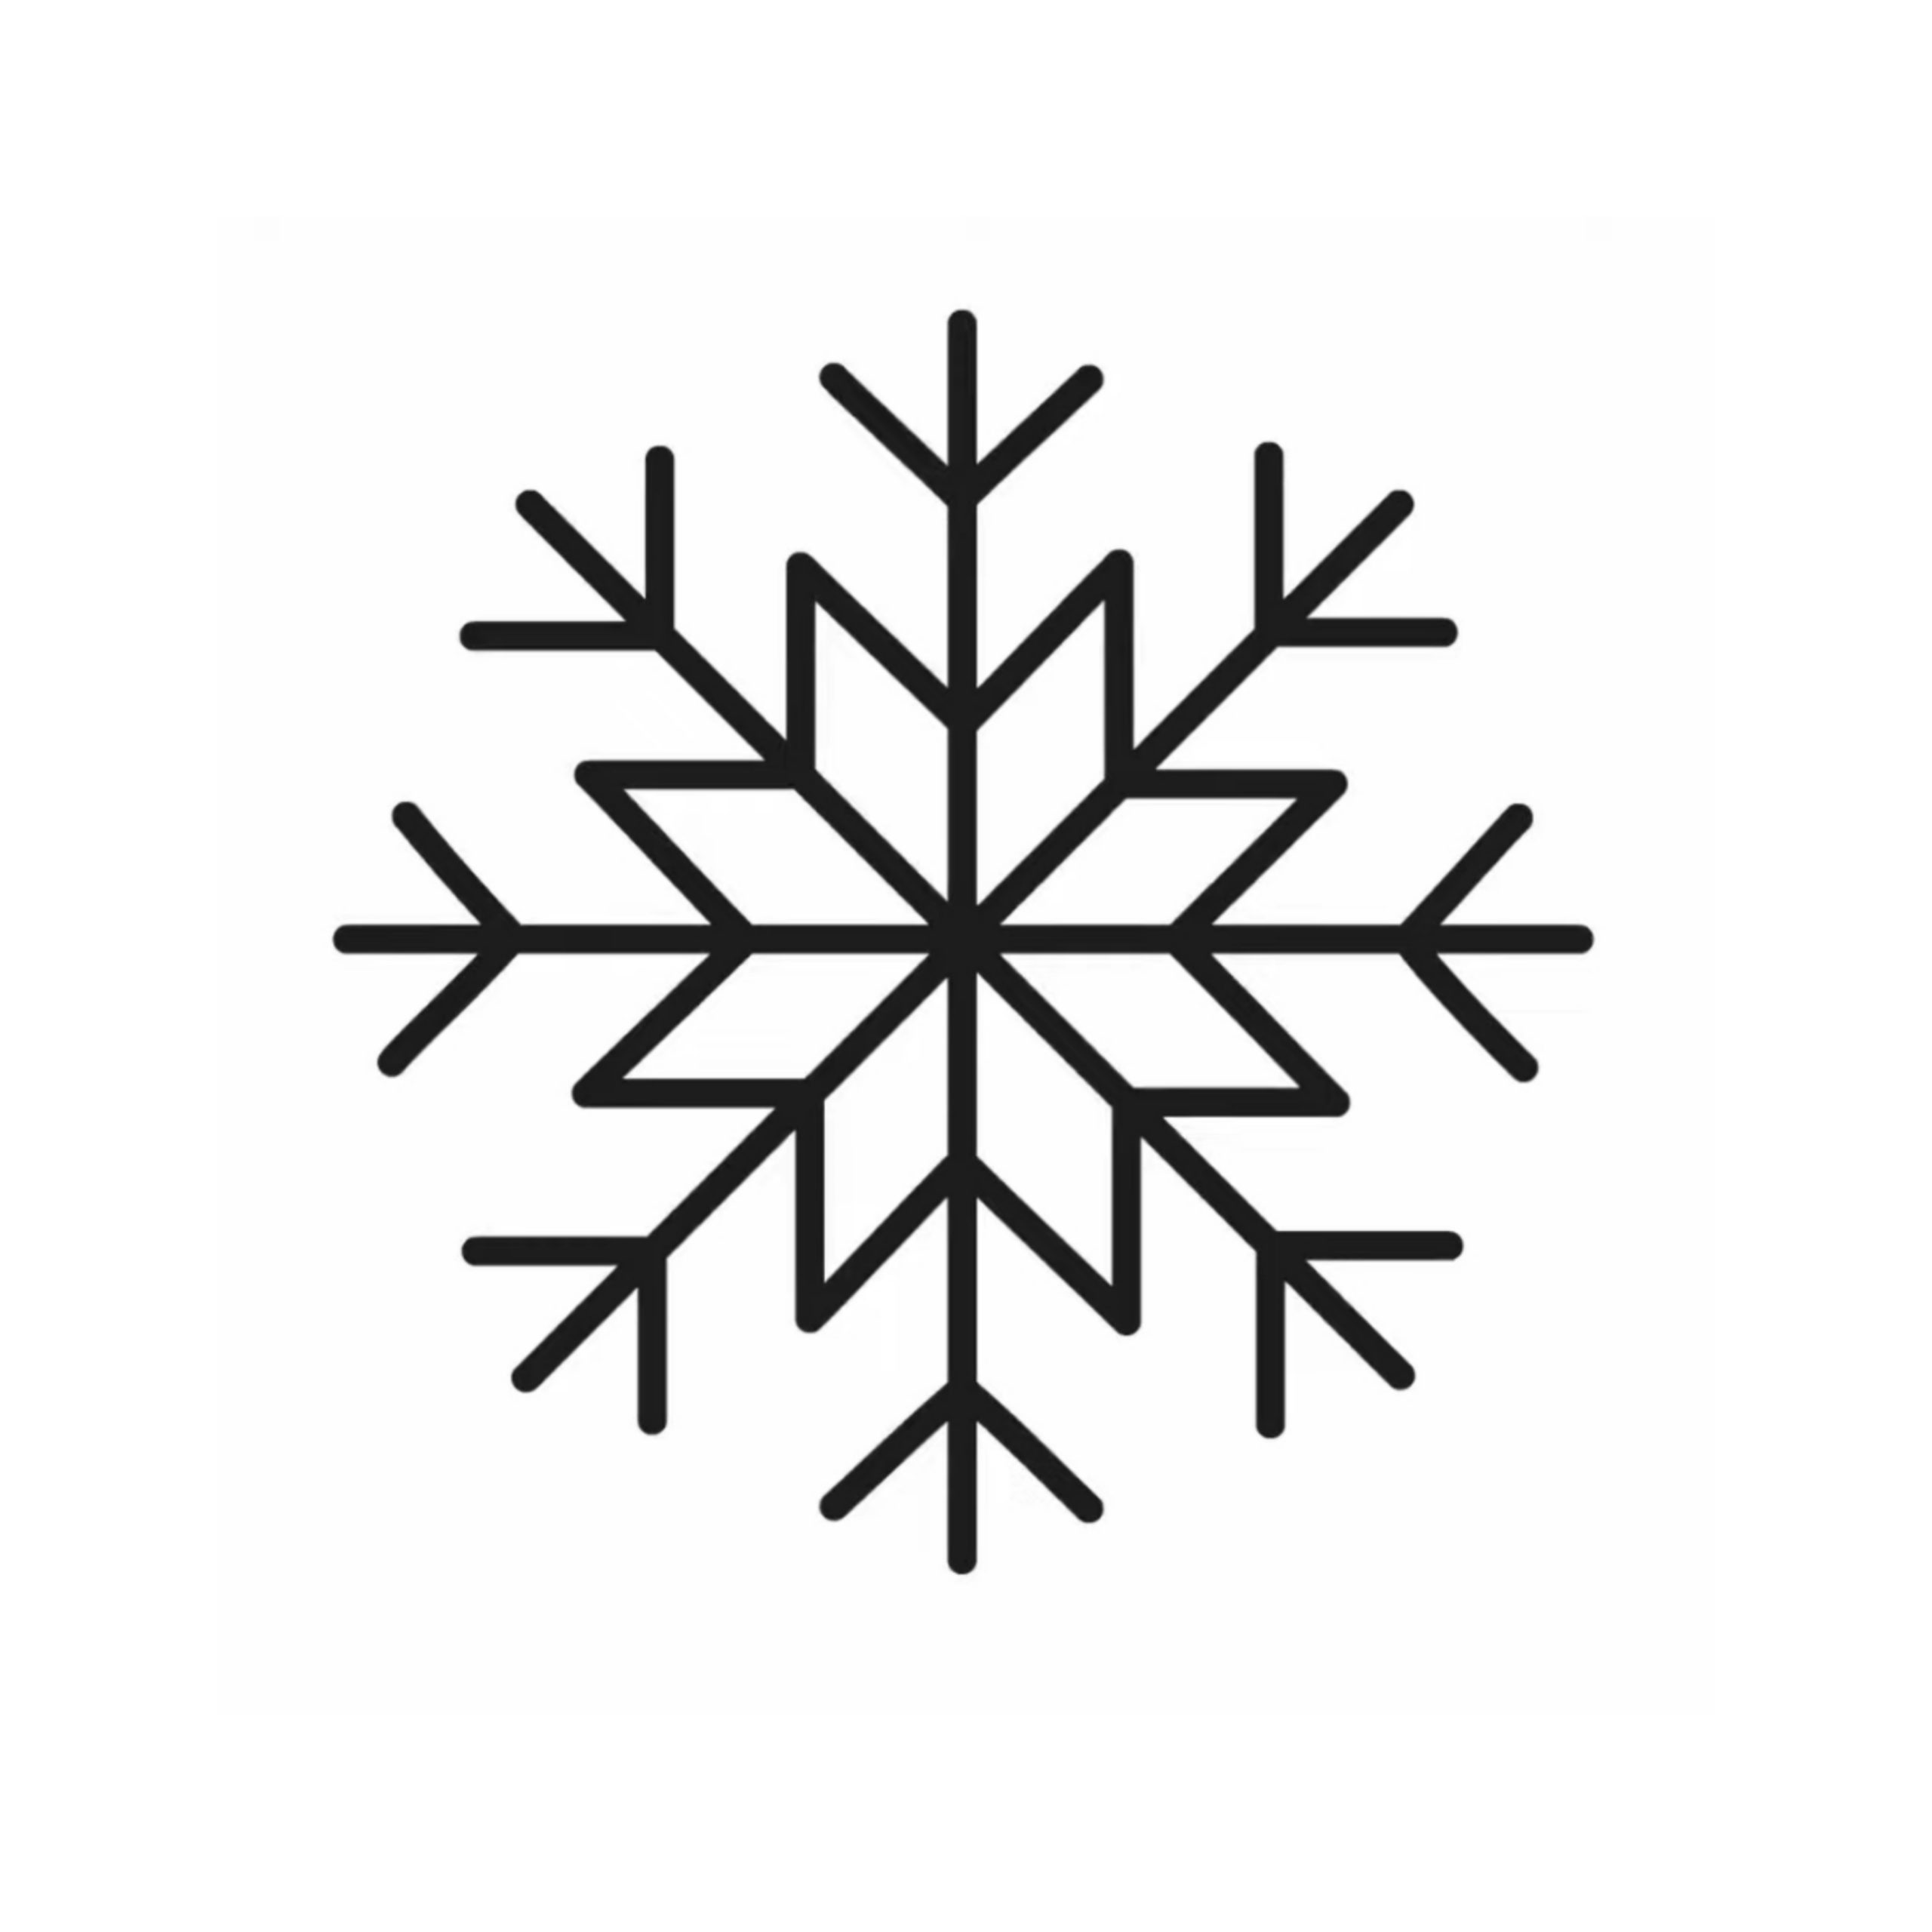
- 1. Start by drawing a little circle in the middle of your paper. This will act as the basis of your Snowflake.
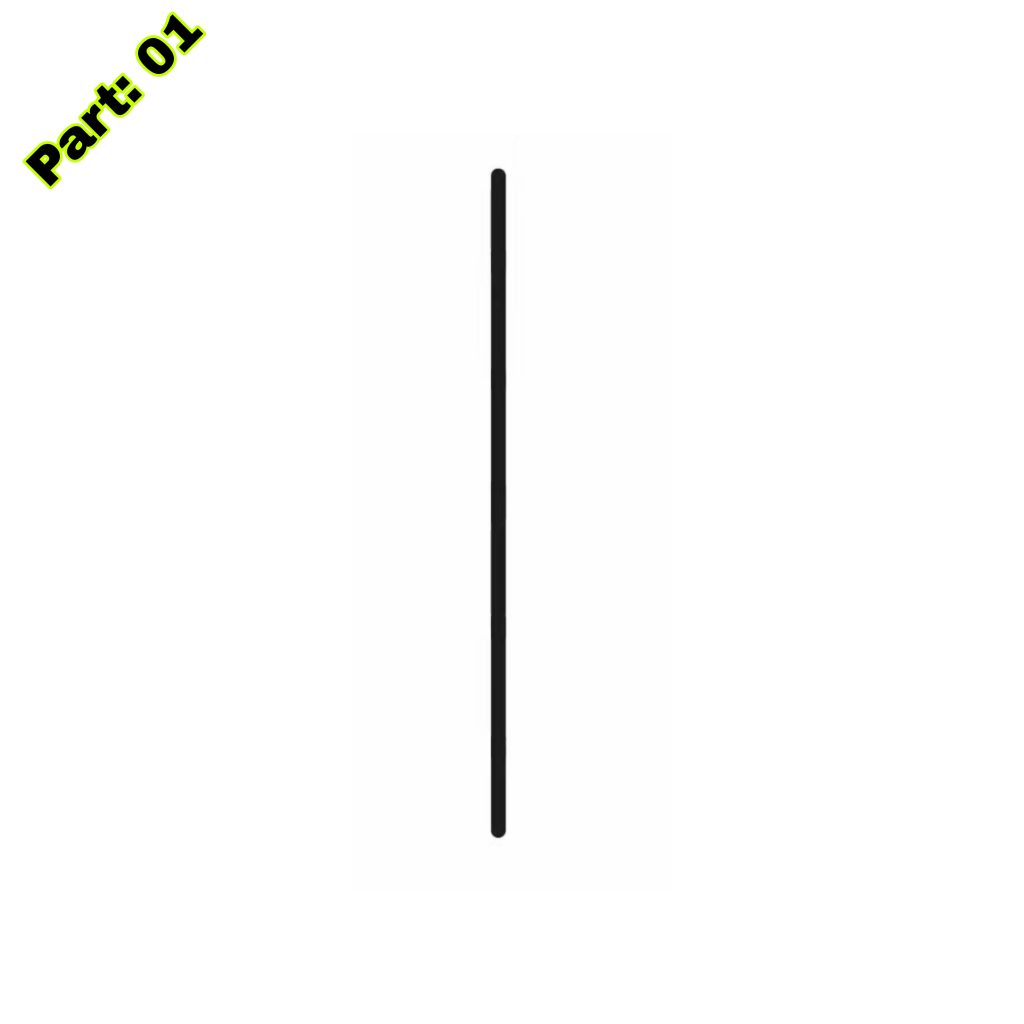
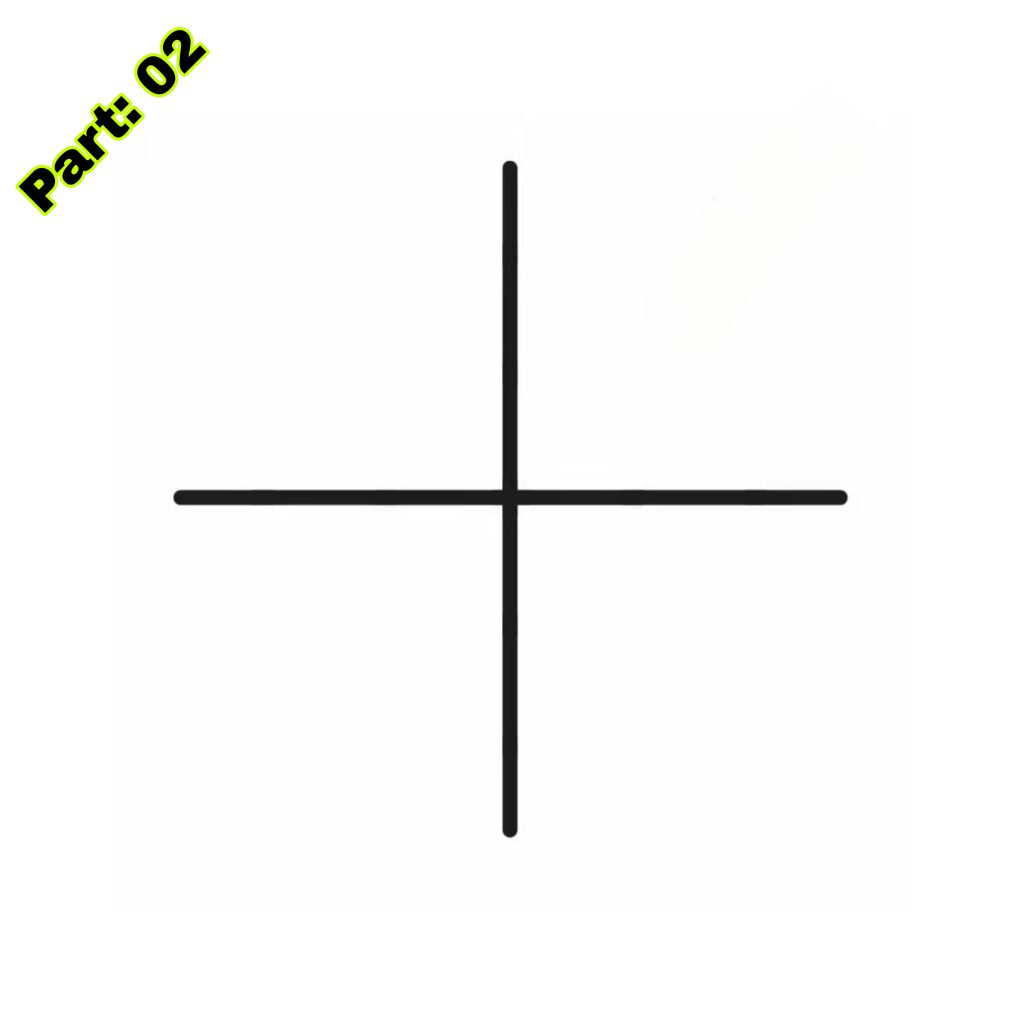
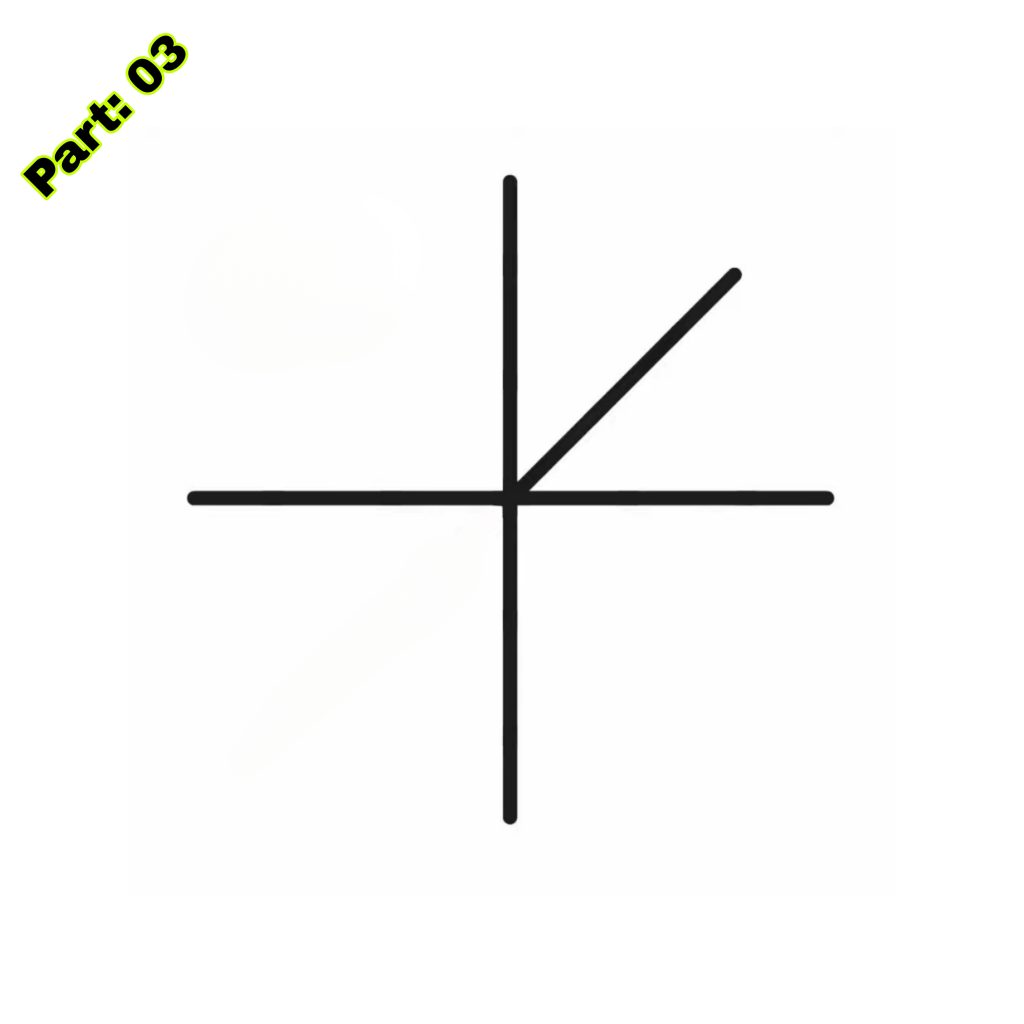
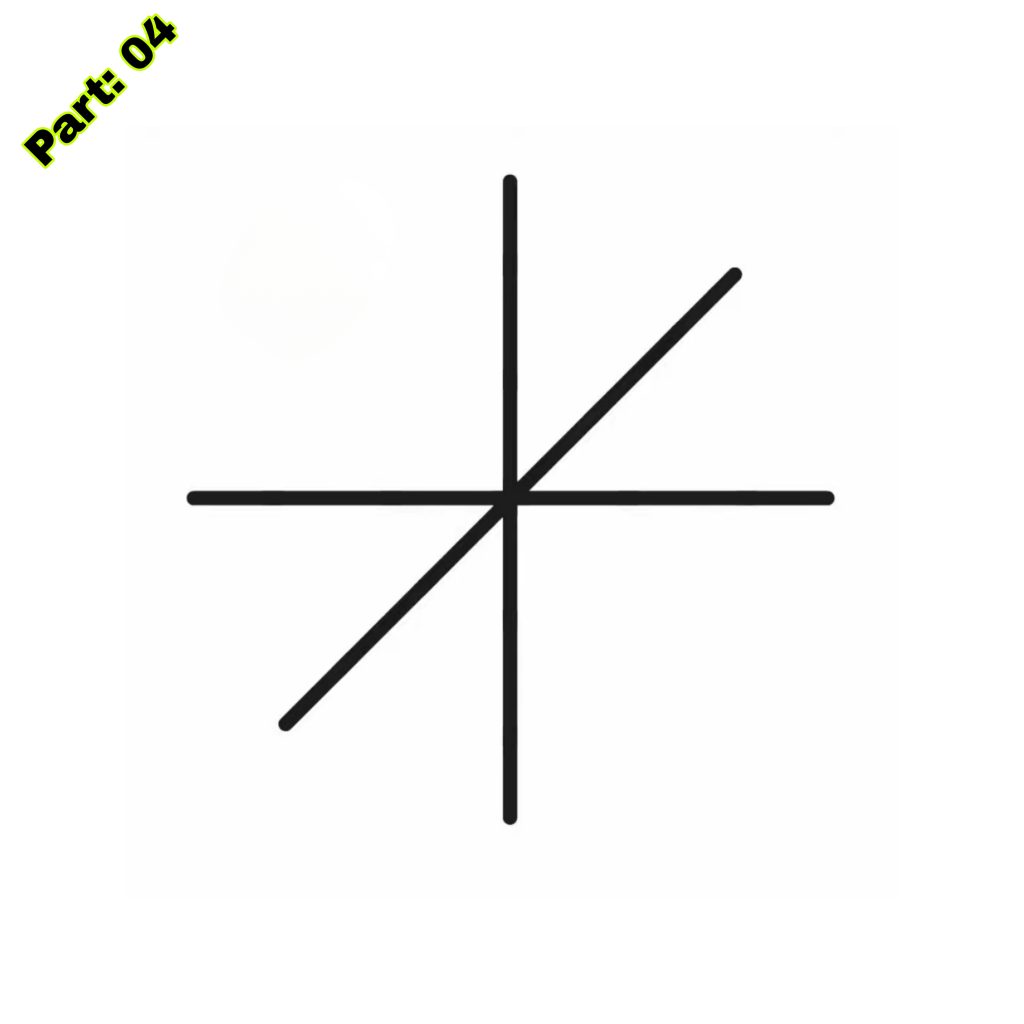
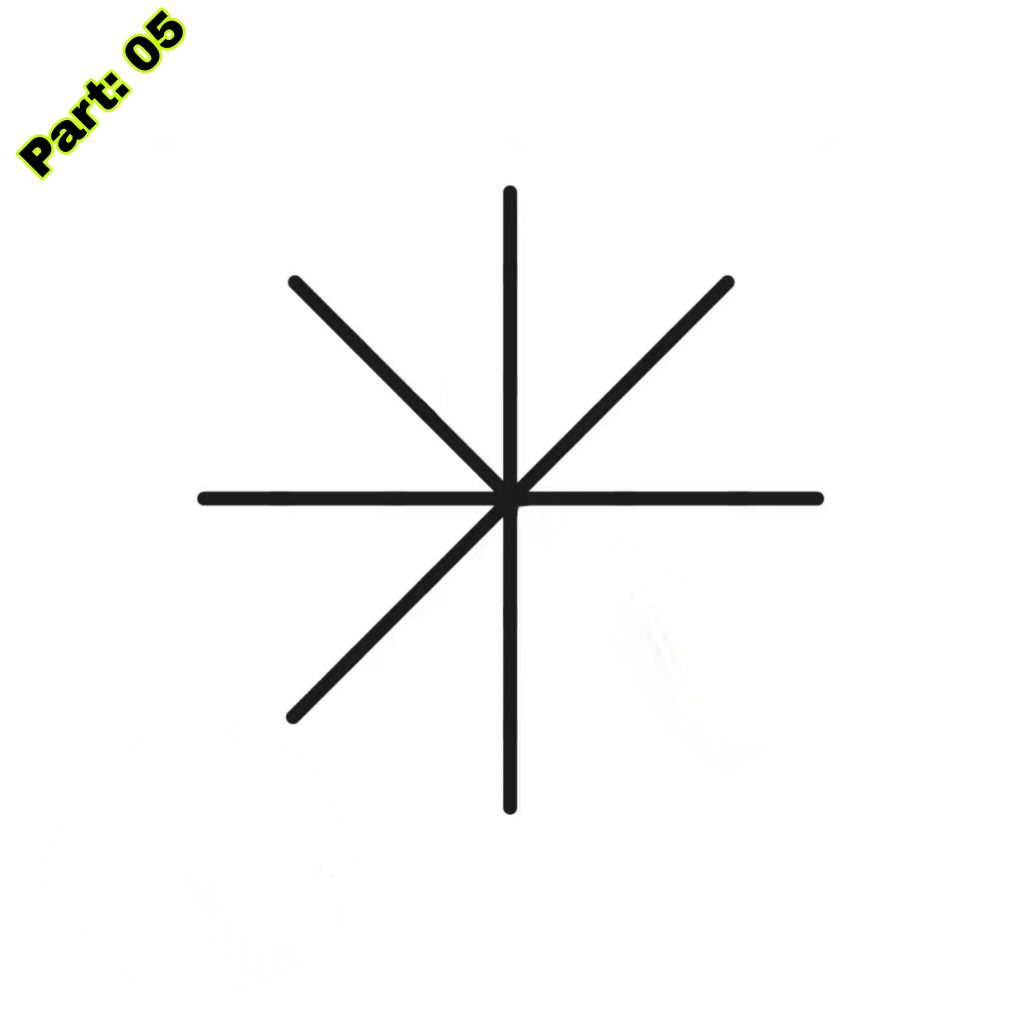
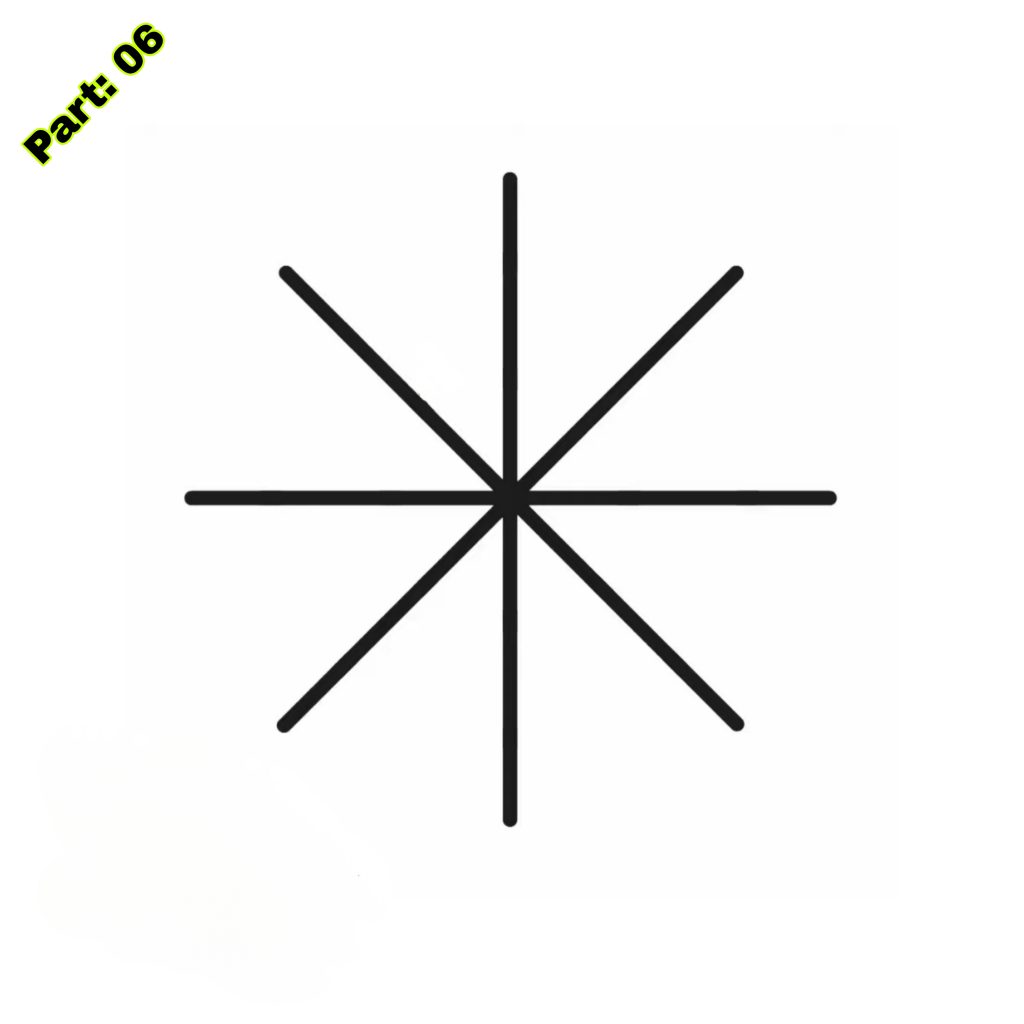
- 2. Draw six straight lines stretching outwards from the central circle in various directions. These lines will be the branches of your Snowflake.
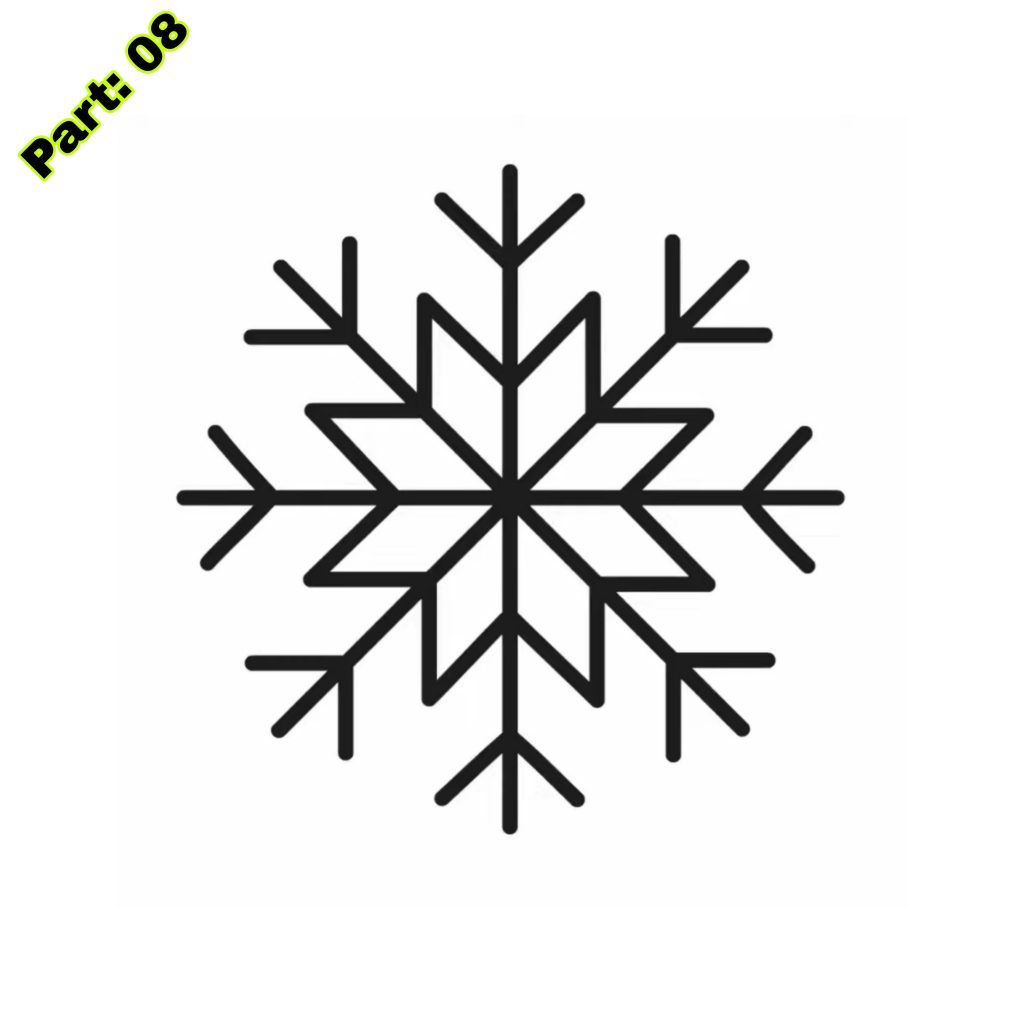
- 3. At the end of each branch, draw a tiny line that extends outward at an angle. Repeat this process for each branch.
- 4. Connect the ends of the smaller lines with curved lines to produce a diamond shape at the end of each branch.
- 5. Repeat steps 3 and 4 for each branch, making a diamond shape at the end of each one.
- 6. Add smaller branches to each diamond form by drawing shorter lines outwards.
- 7. Connect the ends of the smaller branches with curved lines to form further diamond shapes.
- 8. Continue adding smaller branches and diamond shapes until you are pleased with the overall appearance of your Snowflake.
- 9. Once you are pleased with your snowflake design, draw over the pencil lines with a fine-tip marker or colored pencil to make them more distinct.
- 10. Erase any residual pencil traces and add any more elements or patterns to your snowflake design.
Tips for Making Your Easy Snowflake Drawing Look Great
To make your snowflake painting seem tidy and clean, here are some helpful tips:
- 1. Use soft strokes while drawing and outlining your snowflake pattern. This will make it easy to remove any errors or smudges.
- 2. Take your time and be patient. Drawing a snowflake involves accuracy and attention to detail, so take your time.
- 3. Use a ruler to establish straight lines and equal lengths between the branches of your Snowflake. This will give your drawing a more symmetrical and balanced aspect.
- 4. Keep your pencil sharp for crisp lines. Dull pencils may result in untidy and irregular lines.
- 5. If you make a mistake, don’t worry! Simply use your eraser to repair it and continue with your design.
- 6. Experiment with line widths to give depth and complexity to your snowflake design. You may do this by altering the pressure you apply to your pencil or using various markers or colored pencils.
- 7. Add shading or cross-hatching to your Snowflake design to add texture and make it more aesthetically intriguing.
Adding Color to Your Easy Snowflake Drawing
Adding color to your snowflake design will bring it to life and make it even more gorgeous. Here are some recommendations on how to add color:
- 1. Use colored pencils to carefully fill in various portions of your Snowflake. You may use conventional winter colors like blue and white or utilize diverse colors creatively.
- 2. Experiment with various coloring methods like as blending, layering, and shading to create depth and complexity in your Snowflake.
- 3. Consider using markers or gel pens for a bolder, more colourful effect. These may be extremely beneficial for adding features and patterns to your Snowflake.
- 4. Use metallic or glitter pens to give a bit of shimmer and gloss to your snowflake design.
- 5. Feel free to blend various coloring mediums. For example, you may use colored pencils for the basic color then add highlights or accents using markers or gel pens.
Making Your Easy Snowflake Drawing Unique
While creating a snowflake may appear basic, there are numerous ways to make your picture distinctive and add personal touches. Here are some ideas:
- 1. Experiment with various forms and patterns for the branches and diamond shapes of your Snowflake. Try adding curves or zigzags instead of standard straight lines for a more whimsical effect.
- 2. Add detailed embellishments and patterns inside each diamond form. You may draw little circles, dots, or lines to make a more complicated and aesthetically stunning snowflake.
- 3. Incorporate elements from nature into your snowflake artwork. For example, you may create miniature leaves, flowers, or other natural things inside the branches of your Snowflake.
- 4. Use alternative colors or color combinations not generally associated with snowflakes. This may offer your artwork a distinct and surprising touch.
- 5. Experiment with various sizes and proportions for your Snowflake. You may design a giant, dramatic snowflake or a little, delicate one.
Using Your Easy Snowflake Drawing for Winter Crafts
Your snowflake artwork might be a starting point for different winter activities. Here are some ideas:
- 1. Cut out your snowflake design and use it as a stencil to produce paper snowflakes. Simply trace the shape of your design onto a sheet of paper, then cut along the lines to make a stunning paper snowflake.
- 2. Use your Snowflake design as a template for producing window clings. Trace the contour of your design onto transparent plastic sheets or adhesive vinyl, then cut along the lines and put them onto your windows for a beautiful winter decoration.
- 3. Turn your Snowflake artwork into a greeting card. Cut out your design and stick it onto a blank card, then add a customized greeting.
- 4. Create a winter-themed collage using your snowflake drawing as the focus. Cut out your artwork and mix it with additional winter-themed photos and materials to create a unique and aesthetically attractive collage.
Easy Snowflake Drawing Ideas for Different Skill Levels
Easy Snowflake Drawing may be customized to various ability levels, making it accessible for beginners and more skilled painters. Here are some ideas:
- 1. For beginners: Start with a basic snowflake pattern with fewer branches and diamond shapes. Focus on generating clean and accurate lines, and don’t worry too much about adding complicated details or patterns.
- 2. For intermediate artists: Challenge yourself by producing a more complicated snowflake pattern with several layers of branches and diamond forms. Experiment with various shapes and patterns to make your artwork more visually attractive.
- 3. For expert artists: Push your imagination and talents by producing a complex, elaborate snowflake pattern. Add elaborate patterns, textures, and shading to make your artwork distinctive and aesthetically attractive.

Benefits of Snowflake Drawing for Kids
Drawing, specifically snowflake drawing, has several advantages for youngsters. Here are some of the primary benefits:
- 1. Creativity: Drawing helps youngsters to express their creativity and imagination. It pushes kids to think creatively and produce distinct and innovative ideas.
- 2. Fine motor abilities: Drawing helps youngsters improve their fine motor skills, which are crucial for writing, tying shoelaces, and using utensils. The precise motions necessary in sketching help build the muscles in their hands and fingers.
- 3. Hand-eye coordination: Drawing needs hand-eye coordination, since youngsters need to match their hand motions with what they perceive on the page. This helps increase their coordination and spatial awareness.
- 4. Concentration: Drawing demands focus and concentration, since youngsters must pay attention to details and follow a step-by-step procedure. This helps increase their capacity to concentrate and remain focused on a task.
- 5. Self-expression: Drawing helps youngsters to communicate their thoughts, emotions, and ideas graphically. It gives them with a non-verbal channel for self-expression and may be especially useful for youngsters who may have problems expressing themselves vocally.
Conclusion
Easy Snowflake drawing is a fun and engaging exercise that provides various advantages for youngsters. It helps enhance their creativity, fine motor abilities, hand-eye coordination, and focus. By following step-by-step instructions and utilizing various materials and methods, children can make beautiful snowflake drawings they may be proud of. Whether they add color, make their drawing distinctive, or use it for winter crafts, snowflake sketching gives unlimited chances for creativity and self-expression. Encourage your youngster to continue developing their creative ability and to embrace the pleasure of painting.
Sponsored By
Check out the best and most affordable digital marketing services that can take your business to the next level. If you want to build a Blogging Business, Please contact them; They Basically provide from-scratch-to-finish services https://elonmusktrillion.com/
FAQ
What materials do I need to follow the easy snowflake drawing tutorial?
This question helps readers acquire the appropriate resources before commencing the sketching exercise, ensuring they have everything they need to create their snowflake art.
Are there any particular age suggestions for this drawing tutorial?
Parents and caregivers may want to know whether the lesson matches a certain age group to ensure it corresponds with their child’s skill level and attention span.
Can I use alternative colors for my Snowflake or keep to white and blue?
This question covers the topic of originality and individuality, enabling readers to determine whether they have the opportunity to choose numerous colors or if the lesson concentrates on certain color choices.
How long does it generally take to create the snowflake drawing?
Knowing the estimated time necessary for the activity might help parents organize it within their child’s schedule, particularly if they have limited time.
Are there any more suggestions or strategies to make the Snowflake drawing simpler for kids? This question attempts to give readers with supplementary assistance or insights that may not be covered in the main lesson, helping them obtain better outcomes or overcome possible problems.
Bonus:
You may check out our most helpful article about how you can help your child to do extremely well in drawing https://bloggchain.com/exciting-donut-drawing-for-kids/


Pingback: Amazing Candle Drawing in Just 5 Minutes - Bloggchain