Introduction
Hat Drawing is a vital exercise for youngsters as it helps develop their creativity, imagination, and fine motor abilities. It helps them to express themselves and explore their own unique thoughts. Drawing hats particularly may be a fun and interesting pastime for youngsters, enabling them to play with various forms, colors, and patterns. In this post, we will discuss the step-by-step method of designing a hat and give ideas on making your hat drawing more realistic and distinctive.
Summary:
Hat Drawing may be good for youngsters in various ways. Firstly, it helps enhance their hand-eye coordination and fine motor abilities. As kids grip the pencil and make precise motions to construct the shape of the hat, they develop their hand muscles and increase their control over the pencil. Secondly, sketching headgear stimulates creativity and imagination. Kids may play with various forms, sizes, and designs, helping them to think outside the box and produce new ideas. Lastly, sketching caps might increase a child’s confidence and self-esteem. When students view their final drawing, they experience a feeling of satisfaction and pride in their work.
Gift:
Claim our premium worksheet practice book For Free (Only for you):
Materials Needed for a Hat Drawing
Before we begin sketching a hat, let’s collect the essential materials. Following is a compilation of essential materials required:
- 1. Paper: Choose a blank piece of paper suited for drawing. It may be whatever size you desire, but a typical 8.5×11 inch paper works best.
- 2. Pencil: A ordinary graphite pencil will do the job. Make sure it is sharpened so you can produce exact lines.
- 3. Eraser: An eraser is useful for fixing errors or modifying your artwork.
- 4. Ruler: A ruler may assist construct straight lines or measure dimensions.
- 5. Coloring supplies (optional): If you wish to add color to your hat drawing, use-colored pencils, markers, or crayons.
Each medium has a distinct role in the drawing process. The paper gives a surface for sketching, while the pencil enables you to make lines and forms. The eraser is used to repair any errors or make modifications to your artwork. The ruler helps generate straight lines and guarantees proper proportions. Lastly, coloring supplies may give richness and dimension to your hat design.
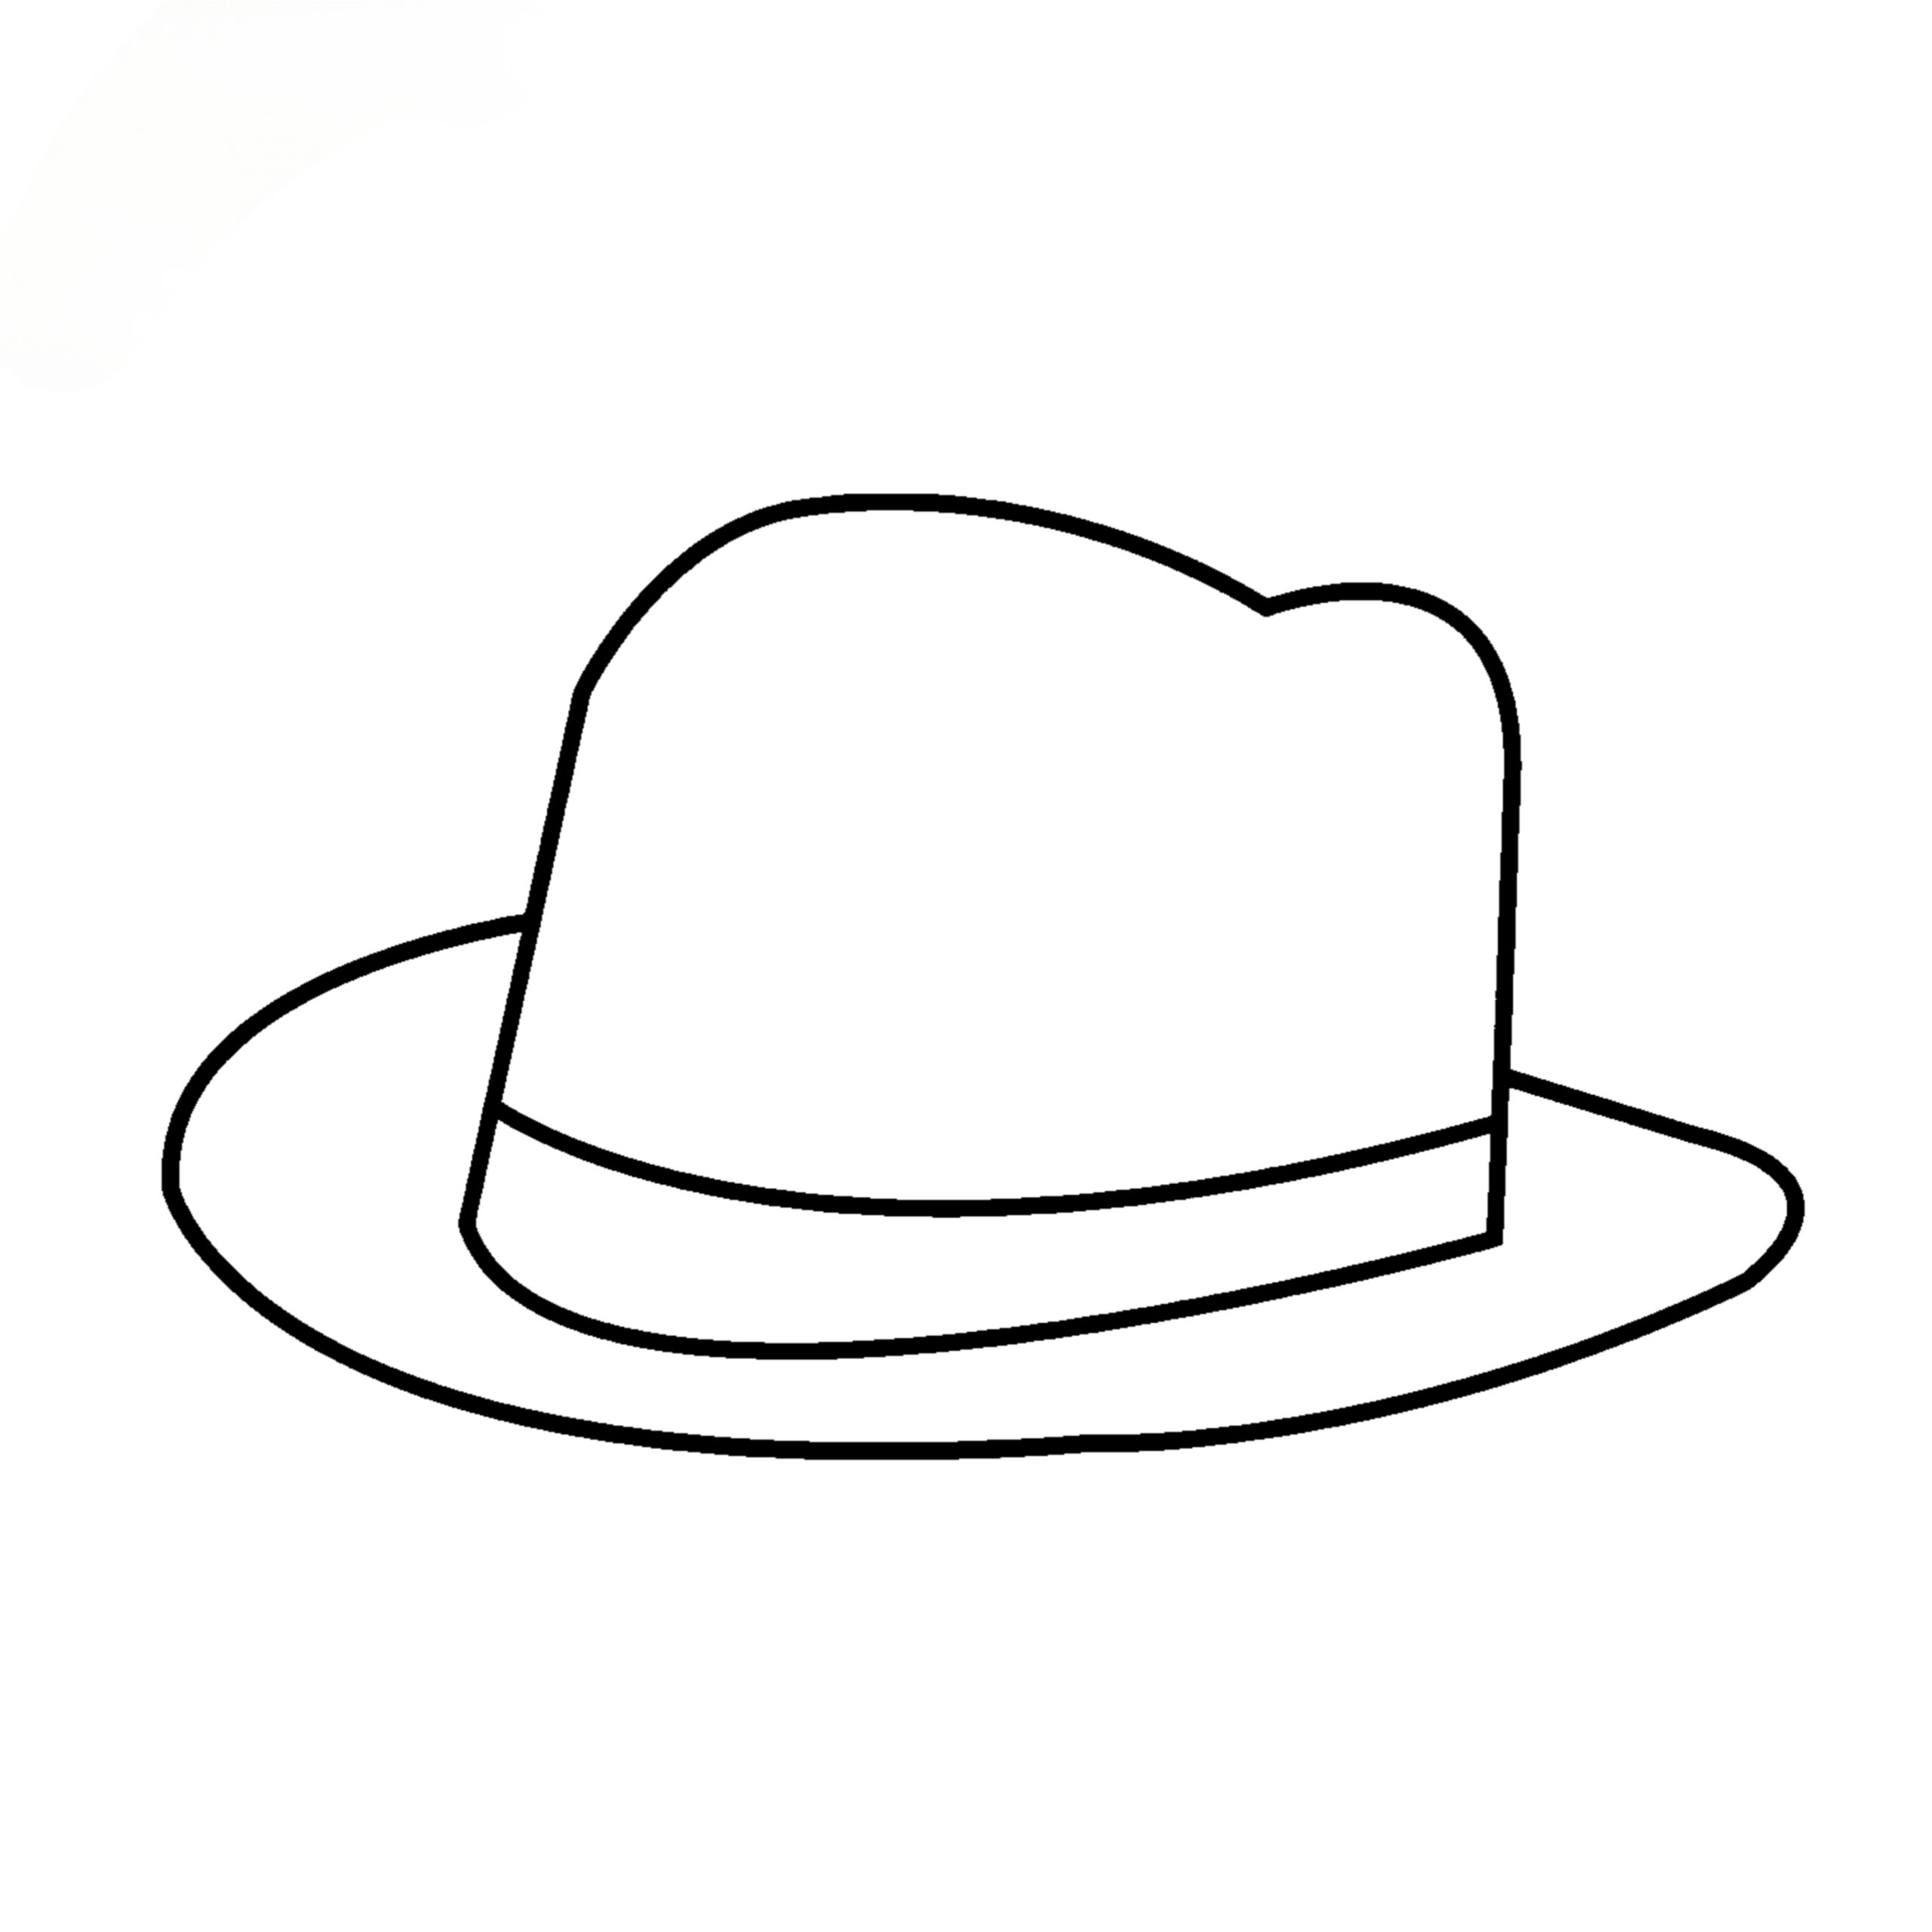
Step-by-Step Guide to a Basic Hat Drawing
Now that we have our supplies set let’s sketch a simple hat. Follow these step-by-step instructions:
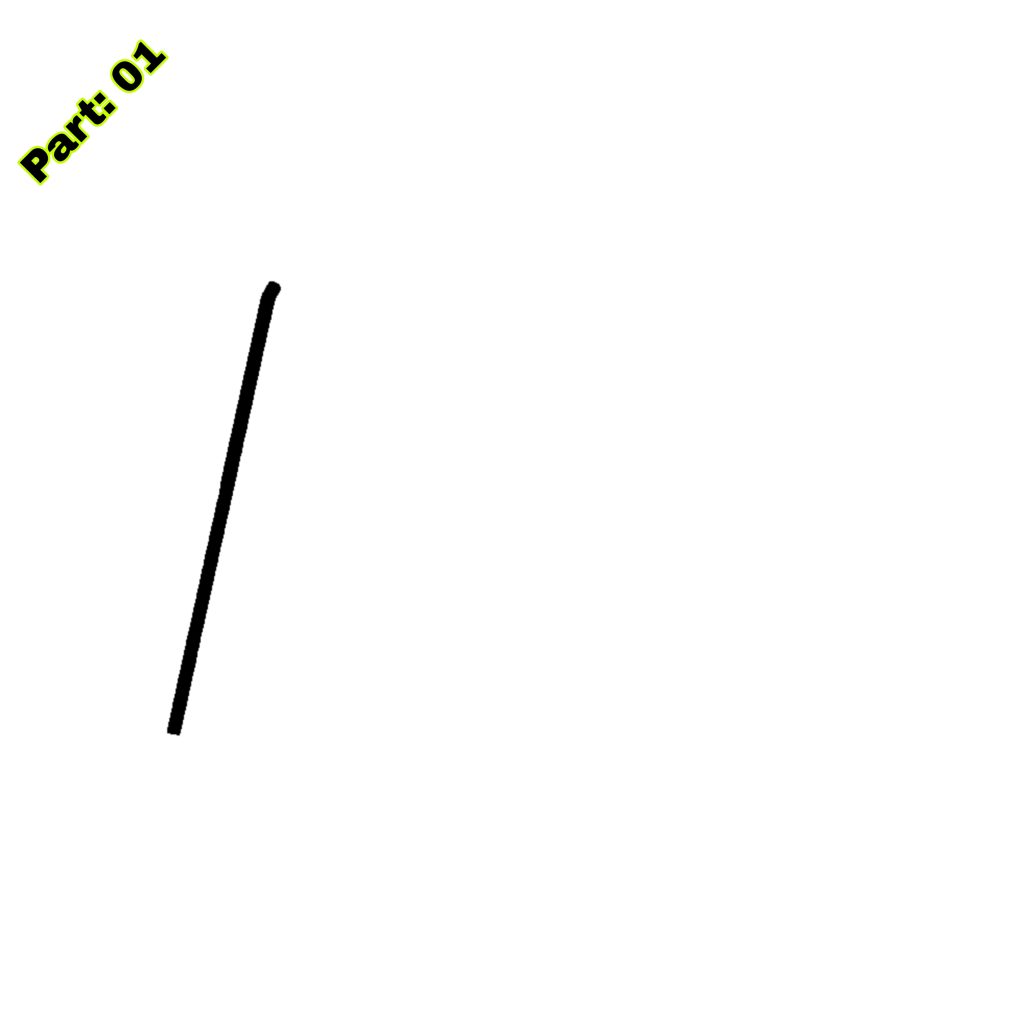
- 1. Start by drawing a horizontal line towards the top of your page. This will act as the basis of your hat.
- 2. From the ends of the horizontal line, draw two diagonal lines that intersect at a position above the line. This will form the triangular shape of the hat.
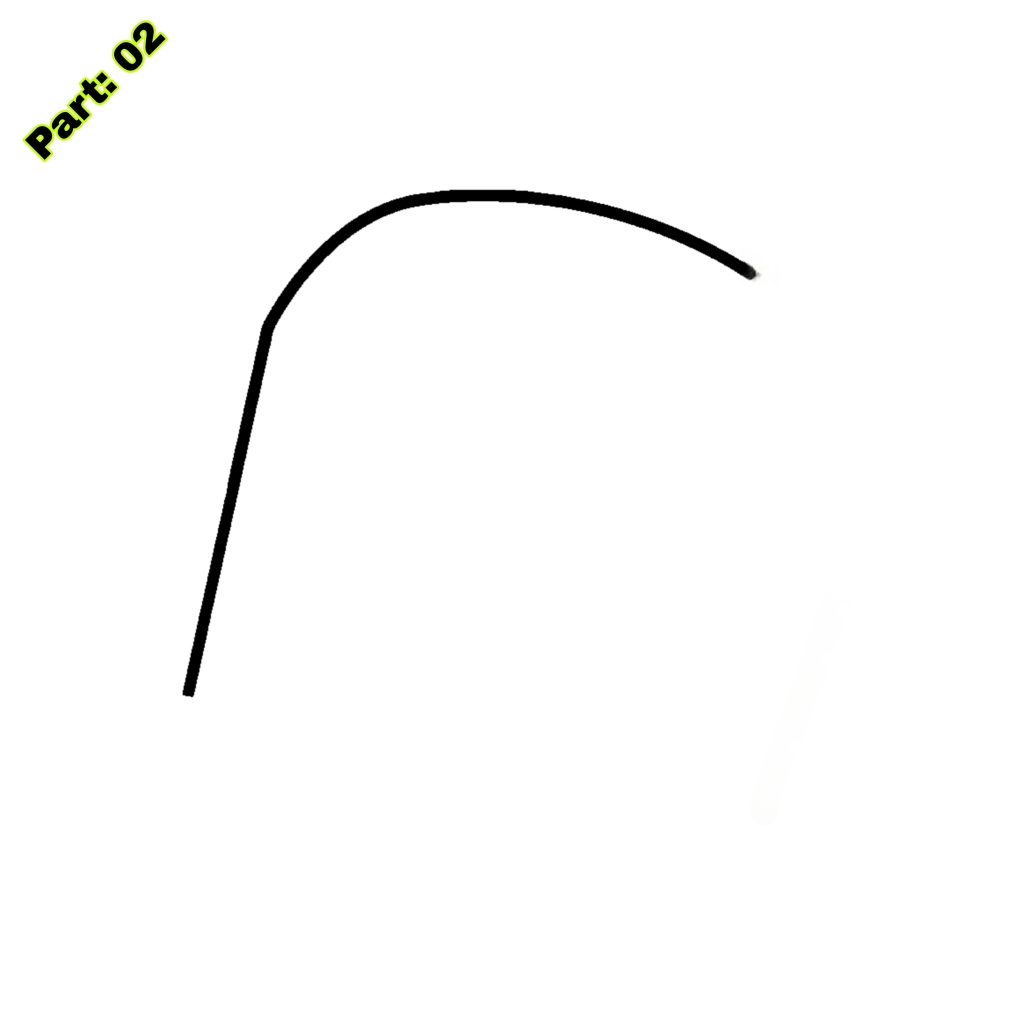
- 3. Connect the ends of the diagonal lines with a curved line to finish the shape of the hat.
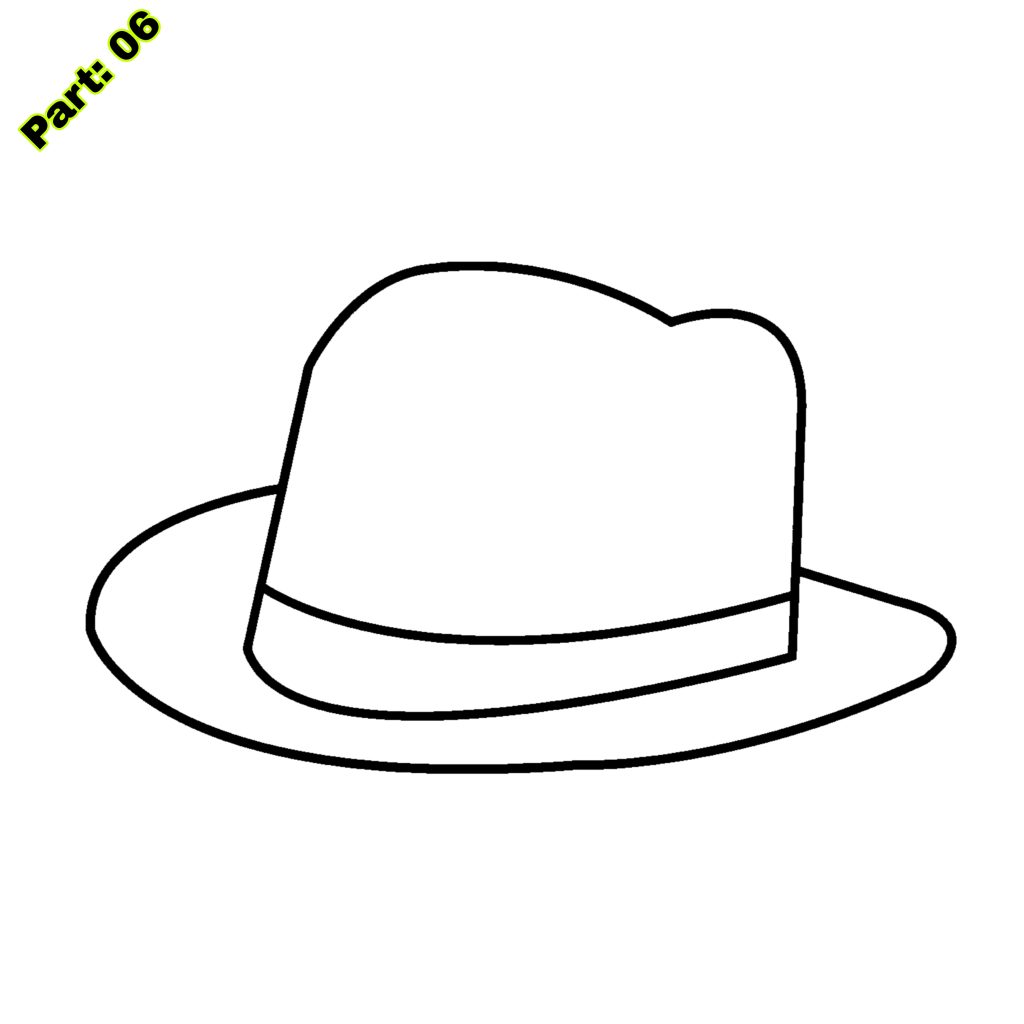
- 4. Add a band around the base of the hat by drawing a curved line parallel to the horizontal line.
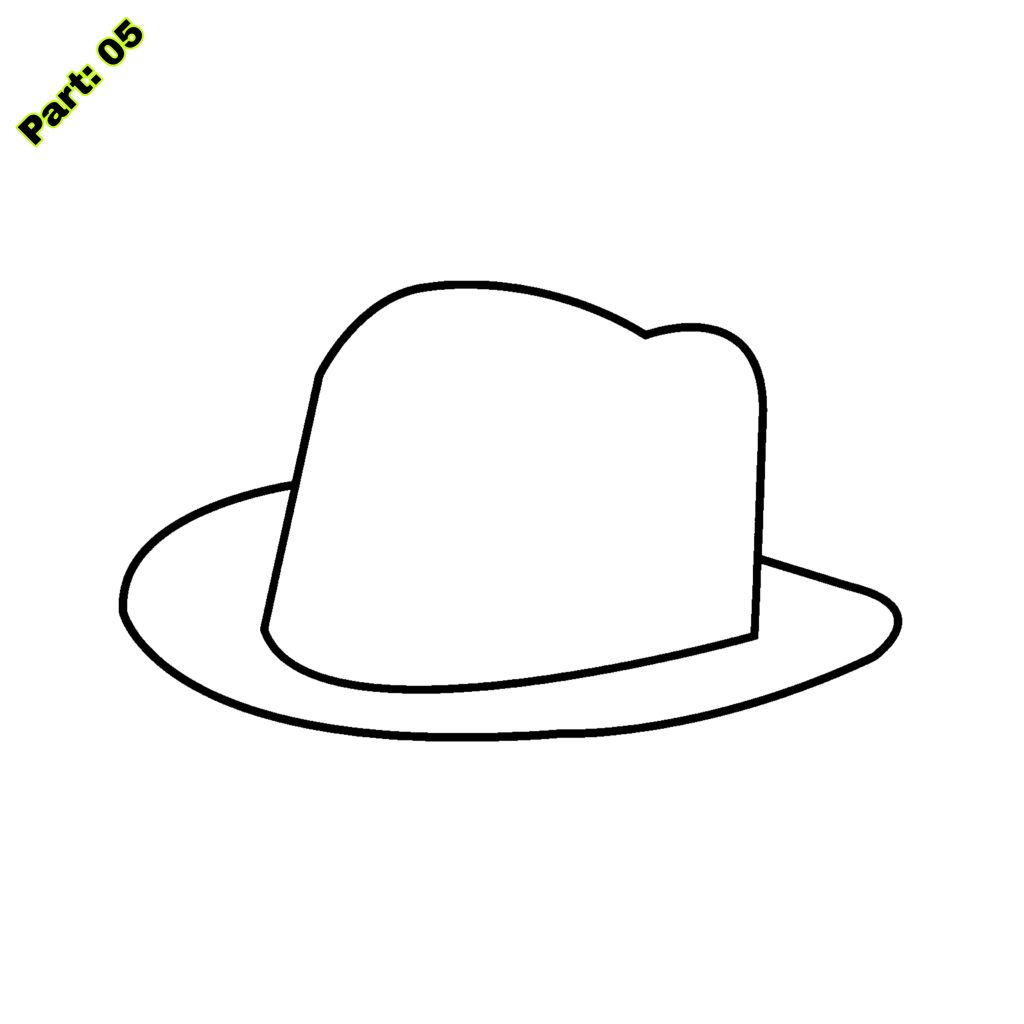
- 5. To give depth to your hat, draw another curving line within the outline of the hat, following its contour.
- 6. Erase any extraneous lines and tweak the form of your hat.
- 7. If you wish to add color to your hat, use your coloring tools to fill in the various portions.
Visual aids might be beneficial for youngsters to follow up with the instructions. You may supply them with a printed or drawn sample of each stage, so they can refer to it while they create their own hat.
Adding Details to Your Hat Drawing
To make your hat drawing more attractive, you may add numerous embellishments. Here are some recommendations on how to do so:
- 1. Add a ribbon or bow: Draw a ribbon or bow around the base of the hat to give it a decorative touch.
- 2. Draw patterns or designs: Use your pencil to make patterns or designs on the surface of the cap. This may be stripes, polka dots, or any other pattern you choose.
- 3. Add texture: Use shading methods to build texture on the headwear. For example, you may use cross-hatching to produce a woven texture or stippling to create a textured pattern.
- 4. Include embellishments: Draw decorations such as feathers, flowers, or buttons on the hat to make it more aesthetically attractive.
By adding these features, you may make your hat drawing more distinctive and individualized.
Tips for Making Your Hat Drawing Look Realistic
If you want to make your hat drawing appear more realistic, here are some suggestions to consider:
- 1. Pay attention to proportions: Make sure the size of the hat is appropriate to the head or figure you are designing. Take notice of the size and location of the brim, crown, and other elements.
- 2. Use shading: Shading is a crucial method in producing depth and dimension in your artwork. Use your pencil to add shade to other regions of the hat, such as the brim’s underside or the fabric’s wrinkles.
- 3. Study genuine hats: Look at reference photographs or real hats to see how light and shadow interact with various materials and forms. This will help you learn how to appropriately portray these components in your artwork.
- 4. Experiment with various materials: Try using different kinds of pencils or shading tools to get different results. For example, a softer pencil may generate deeper and smoother shading, while a firmer pencil can make brighter, more defined lines.
By implementing these suggestions, you may take your hat drawing to the next level and make it more realistic.

Drawing Different Types of Hats
Now that you have mastered sketching a basic hat let’s learn how to draw other styles of hats. Here are a few examples:
- 1. Baseball hat: Start by sketching a curved line for the brim of the cap. Then, draw two curved lines that meet at a position above the brim to make the crown of the cap. Add elements such as the button on top and any logos or graphics on the front.
- 2. Sun hat: Draw a wide circle for the hat’s brim. Then, draw a smaller circle within the first to make the hat’s crown. Add a ribbon or bow around the base of the hat for adornment.
- 3. Top hat: Draw a rectangle shape for the hat’s crown. Then, draw a tiny rectangle on top of it for the brim. Add decorations like as a band around the base of the hat and a ribbon or bow.
Visual aids might be beneficial for youngsters to follow up with the instructions. You may supply them either printed or drawn samples of each sort of hat, so they can refer to them while they create their own.
Using Colors to Enhance Your Hat Drawing:
Color to your headwear, making it more colorful and aesthetically attractive. Here are some pointers on how to utilize colors effectively:
- 1. Choose a color scheme: Consider selecting a color scheme that compliments the style and atmosphere of your hat artwork. For example, a pastel color scheme may provide a delicate and feminine image, while a strong and vibrant color scheme might create a more lively and dynamic design.
- 2. Use shading and blending: Experiment with various approaches to give depth and complexity to your colorful hat design. Use brighter and darker hues of the same color to create highlights and shadows.
- 3. Consider texture: Use several coloring methods to add texture on your hat design. For example, you may use cross-hatching or stippling to create a textured pattern on the surface of the hat.
- 4. Add details using colored pencils or markers: Use colored pencils or markers to add features such as patterns, motifs, or accessories to your hat drawing. This may make it more aesthetically fascinating and distinctive.
By applying colors correctly, you may improve your hat drawing and bring it to life.
Creating a Hat Design of Your Own
Once you have mastered sketching several sorts of hats, you may start making your own hat designs. Here are some recommendations on how to do so:
- 1. Experiment with various forms: Play with different shapes and proportions to create unique and fascinating hat designs. Combine different parts from several styles of headwear to create something unique.
- 2. Add your own details: Consider what elements you want to put in your hat design. Add accessories, patterns, or textures that represent your style and hobbies.
- 3. Use your creativity: Don’t be scared to think beyond the box and allow your imagination run wild. Create hats that are fanciful, imaginative, or entirely odd. The sky’s the limit!
You may build genuinely one-of-a-kind hat designs using your creativity and imagination.
Fun Hat Drawing Activities for Kids
Drawing hats may be a fun and interesting hobby for youngsters. Here are some exercises students may perform to develop their hat-drawing skills:
- 1. Hat fashion show: Have a hat fashion show where youngsters may sketch various sorts of hats and present their creativity. Encourage them to come up with imaginative and original hat designs.
- 2. Hat coloring contest: Organize a coloring contest where youngsters may color pre-drawn hat templates. Provide them with a range of coloring supplies and let their creativity flourish.
- 3. Hat collage: Cut out photographs of various sorts of hats from publications or print them from the internet. Have youngsters construct a collage by arranging and pasting the photographs onto paper.
- 4. Hat-themed tale: Have youngsters produce a story or comic strip incorporating characters wearing various hats. They can sketch the people and their headgear, as well as create a brief tale to go along with it.
These exercises enable students to develop their hat-drawing abilities and inspire creativity, imagination, and narrative.
Conclusion
Hat Drawing may be a fun and helpful hobby for youngsters. It helps enhance their creativity, inventiveness, and fine motor abilities. By following the step-by-step directions and ideas in this article, youngsters may learn how to design various hats and add distinctive characteristics. They may also experiment with colors and shading methods to improve their hat designs. Through hat drawing exercises, youngsters may express themselves, increase their confidence, and have fun exploring their own creative ideas. So take your pencils and paper, and start creating some hats!
Sponsored By
Check out the best and most affordable digital marketing services that can take your business to the next level. If you want to build a Blogging Business, Please contact them; They Basically provide from-scratch-to-finish services https://elonmusktrillion.com/
FAQ
Q1: What supplies do I need to design a hat with kids?
A1: The article gives information on the equipment necessary, including paper, pencils, erasers, and colored markers or crayons to make a fun and interesting hat sketching project for youngsters.
Q2: Are there step-by-step directions for sketching a hat in the article?
A2: Yes, the post leads you through a step-by-step process of sketching a hat suited for youngsters. It breaks down the drawing into basic and easy-to-follow phases, making it accessible for young painters.
Q3: Can I alter the hat sketching instructions for various skill levels?
A3: Absolutely. The article includes adaptable instructions that may be altered for different ability levels. It proposes adding more elements and inventiveness for older kids while keeping it basic for smaller ones.
Q4: Does the post include recommendations for making the hat sketching activity entertaining for kids?
A4: The post contains advice and ideas to make the hat sketching activity more pleasurable. It proposes introducing imaginative themes, encouraging youngsters to explore with colors, and building a friendly and creative atmosphere.
Q5: How can I utilize the hat sketching exercise to increase kids’ creativity?
A5: The essay illustrates how the hat sketching exercise may serve as a platform to promote youngsters’ creativity. It invites parents, teachers, or caregivers to ask open-ended questions, let youngsters to express themselves, and develop unique hat designs.
Bonus:
You may check out our most helpful article about how you can help your child to do extremely well in drawing https://bloggchain.com/easy-simple-wave-drawing-for-kids-in-2023/
Pingback: Beautiful Toucan Drawing for Kids in Under 5 Minutes - Bloggchain