Introduction
Shoe Drawings is a fantastic hobby for youngsters as it helps to develop their creativity, imagination, and fine motor skills. It helps students to express themselves and discover their own distinctive style. Shoe drawings are a fantastic place to start, since they are basic but adaptable things that may be quickly identified and copied. Drawing shoes may also be a fun method for youngsters to explore various styles and designs and utilize them as a starting point for fashion design.
Materials needed for shoe drawings
To start sketching shoes, you will need a few basic supplies. These include:
- 1. Paper: Any kind of paper will suffice, however choosing a thicker paper or sketchbook is better to avoid smudge.
- 2. Pencil: A standard graphite pencil is great for drawing out the basic outline of the shoe.
- 3. Eraser: An eraser will come in helpful for fixing any errors or altering your drawing.
- 4. Colored pencils or markers (optional): If you wish to add colour to your shoe drawing, use coloured pencils or markers.
Gift
Claim our premium worksheet practice book For Free (Only for you):
A step-by-step tutorial to sketching an important shoe
Now that you have your supplies available, let’s delve into the step-by-step method of sketching an important shoe:
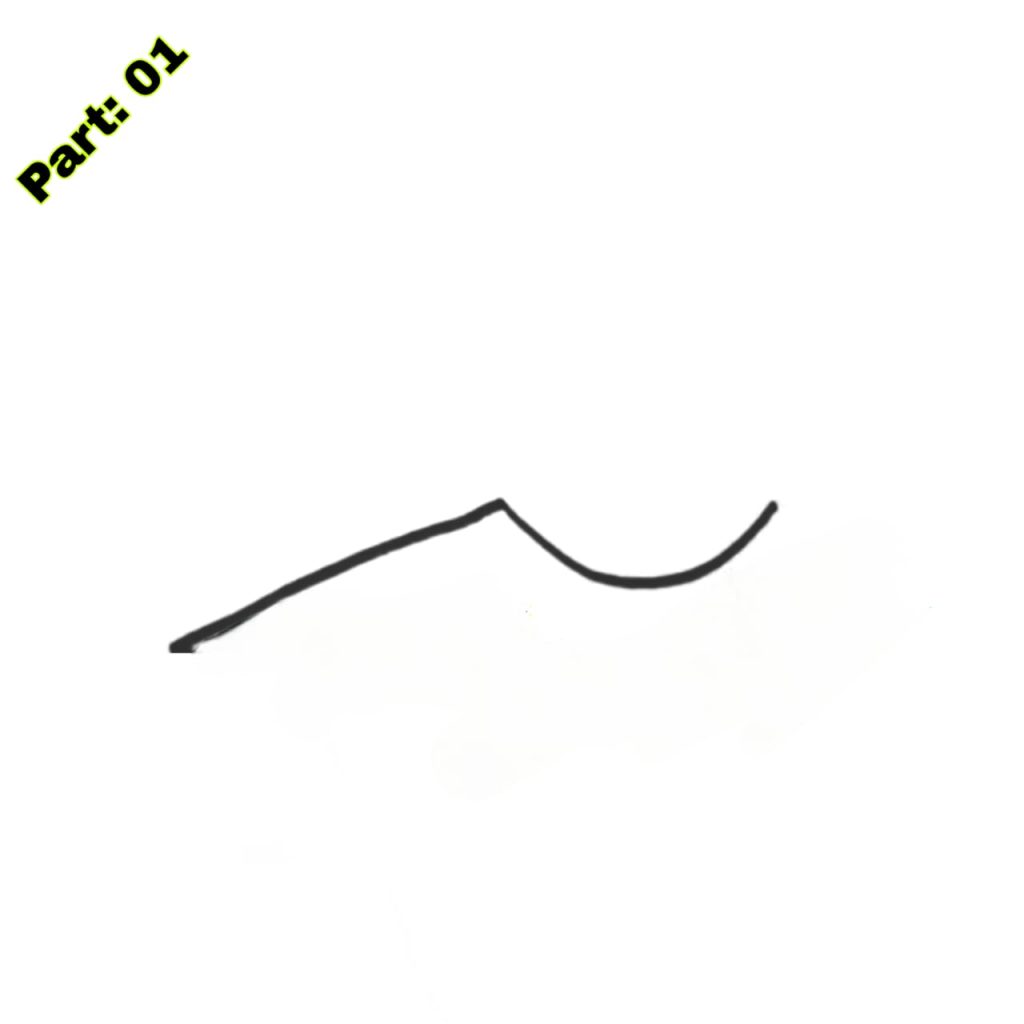
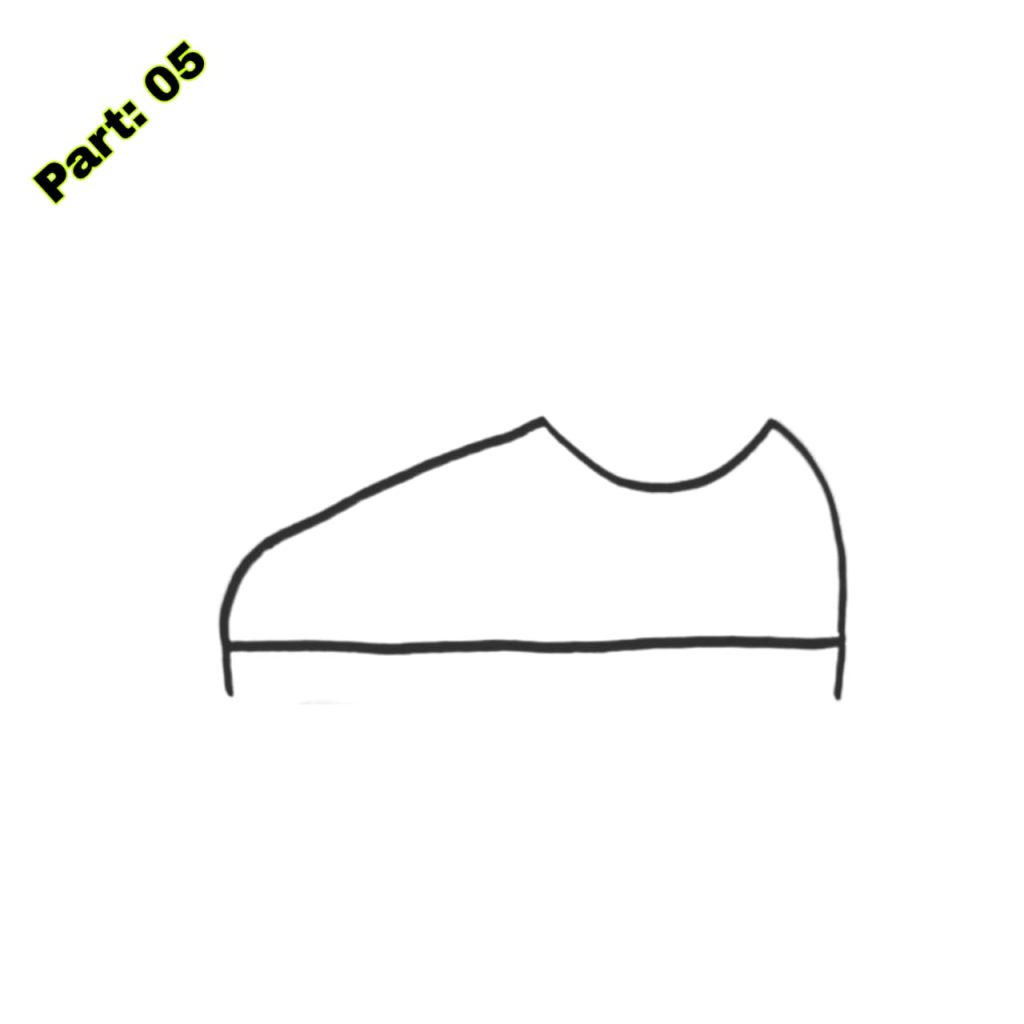
- 1. Start by drawing a horizontal line slightly curled upwards in the centre of your page. This will be the sole of the shoe.
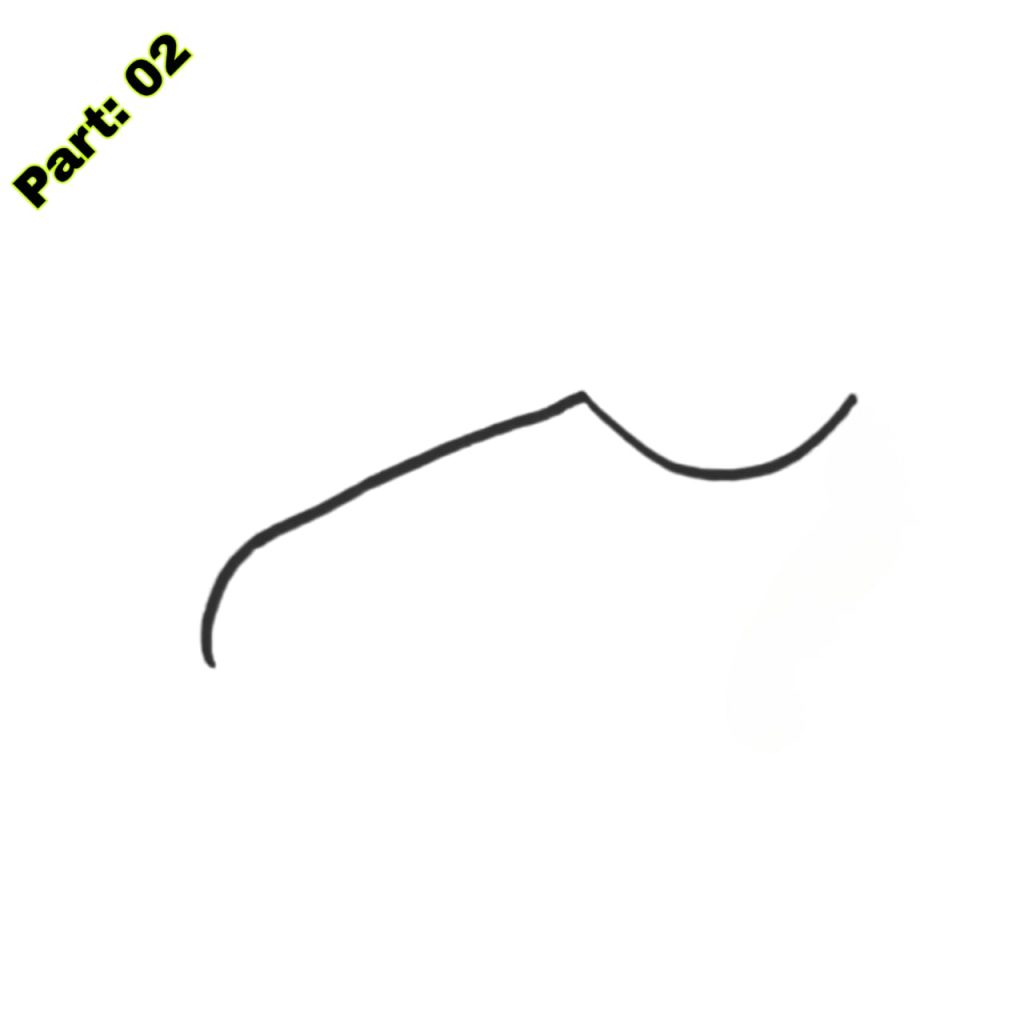
- 2. From the ends of the curving line, draw two straight lines downwards to make the sides of the shoe.
- 3. Draw a curved line connecting the two sides at the front of the shoe. This will be the toe of the shoe.
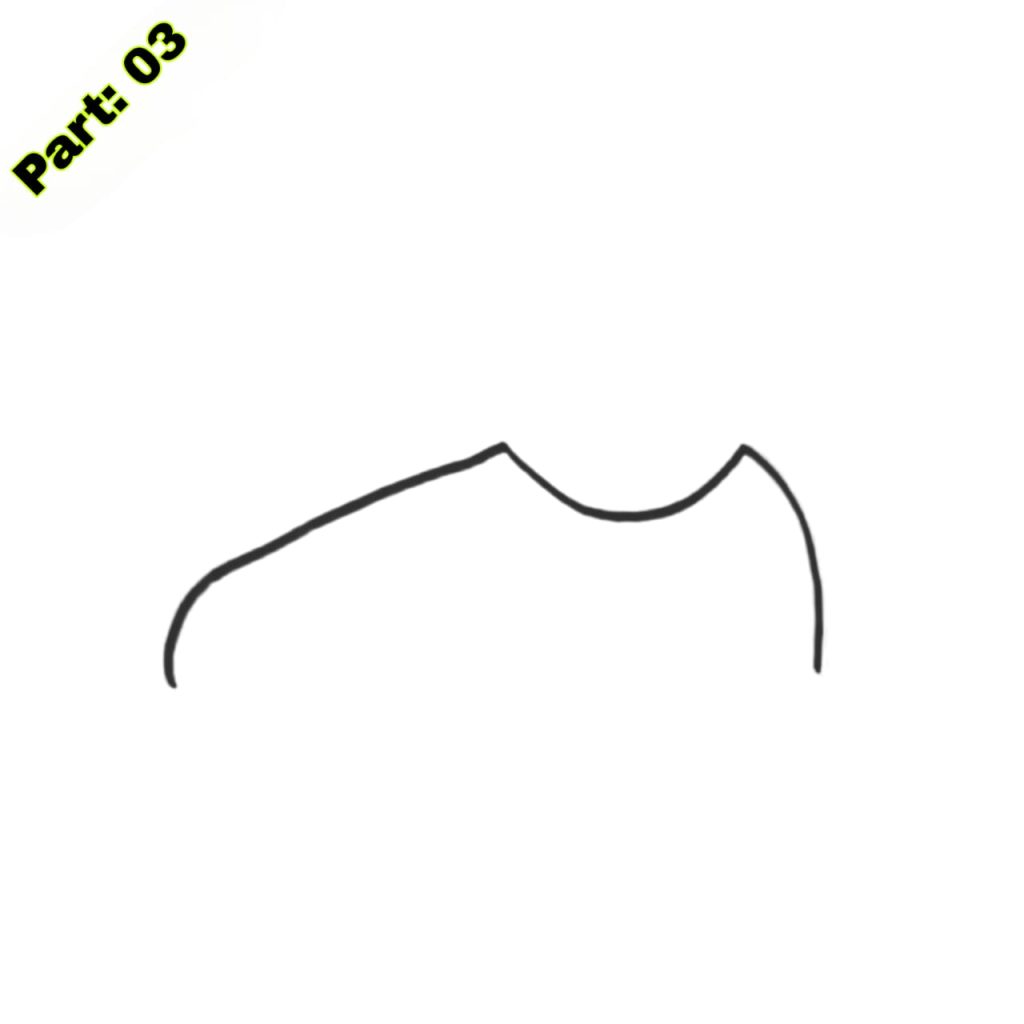
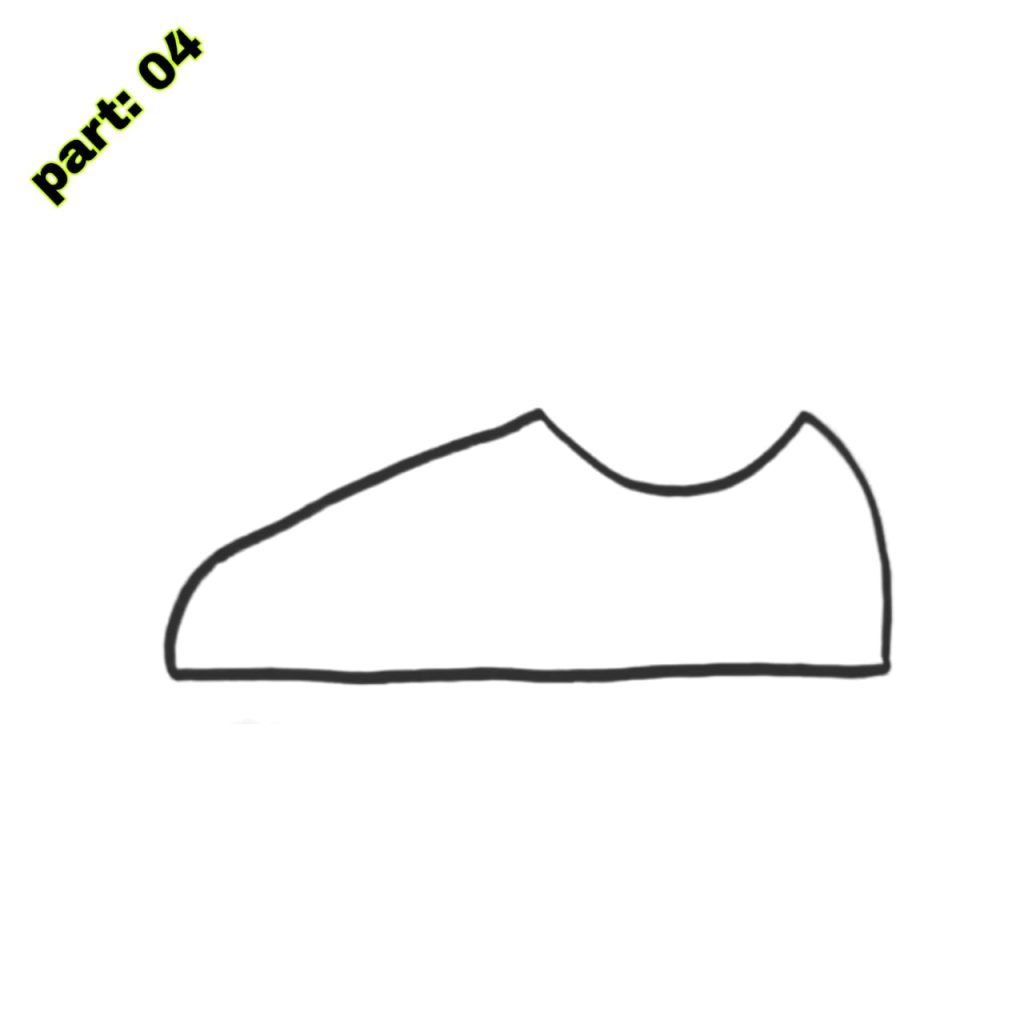
- 4. Next, draw a curved line at the rear of the shoe to make the heel.
- 5. To give depth to the shoe, draw two curving lines on each side of the sole, beginning at the front and finishing at the rear.
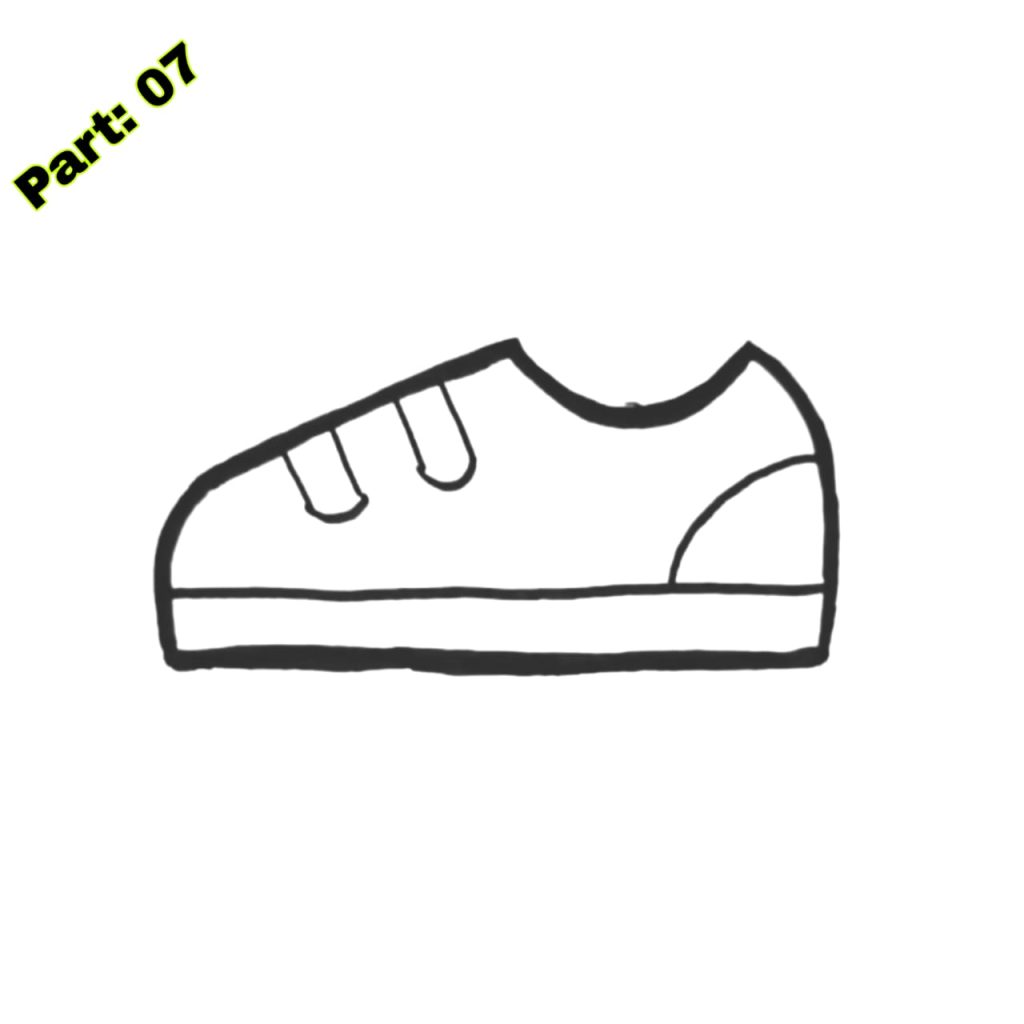
- 6. Now, draw a little rectangle at the rear of the shoe to indicate the opening where the foot enters in.
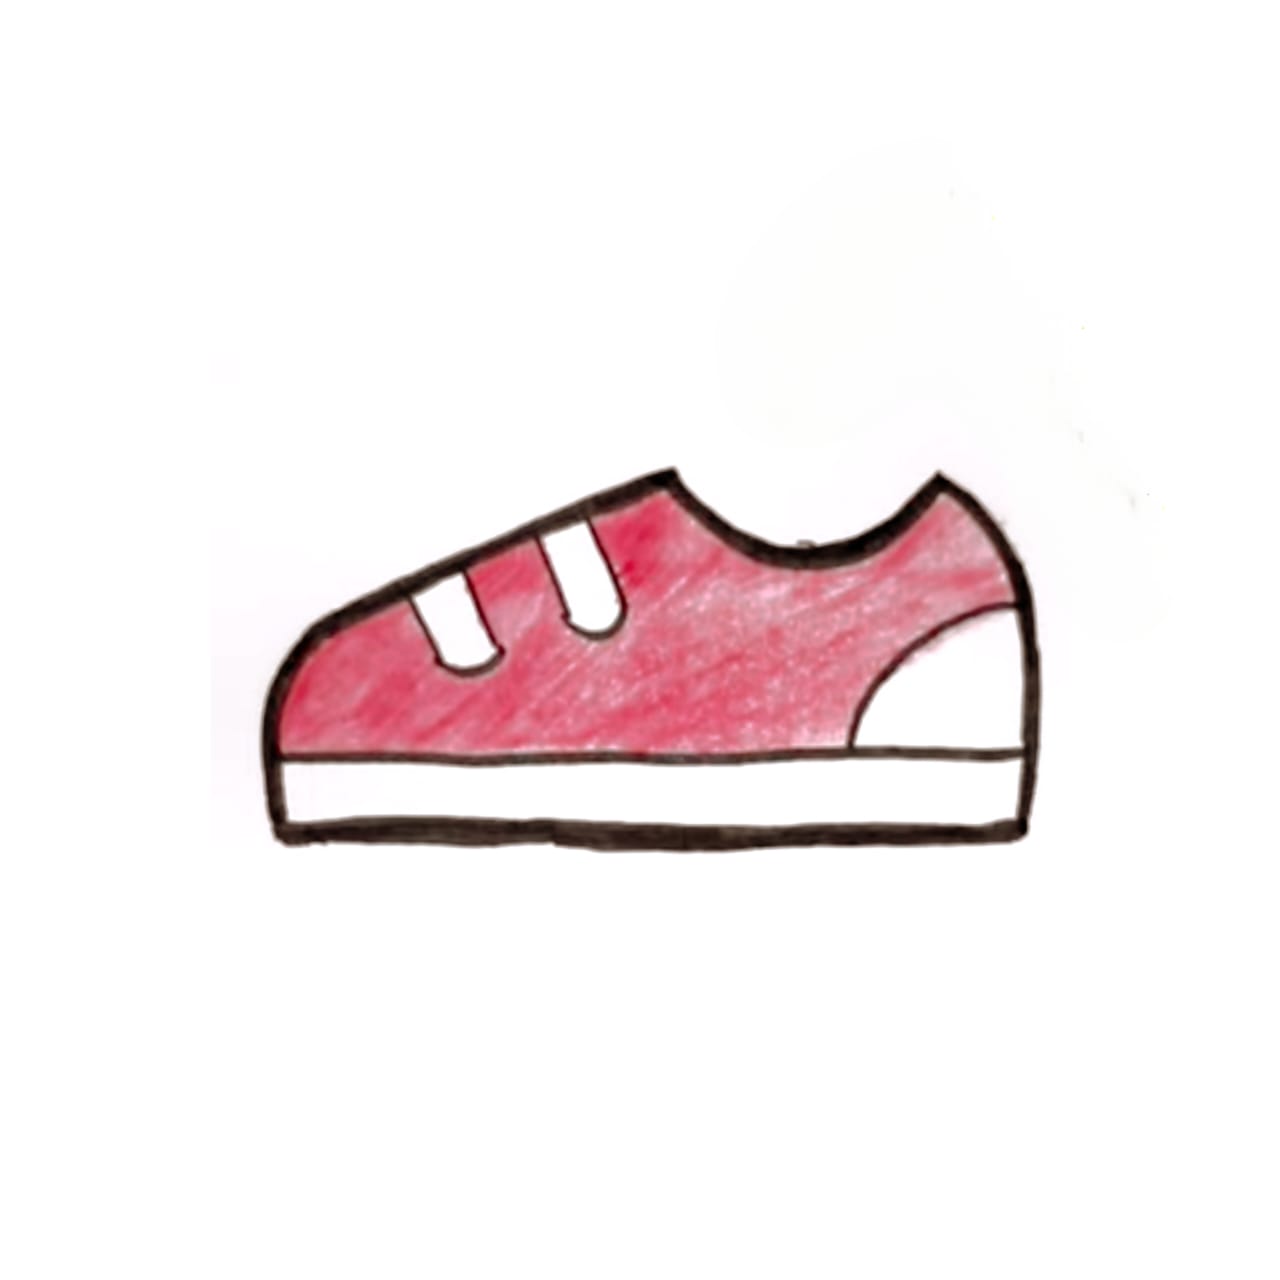
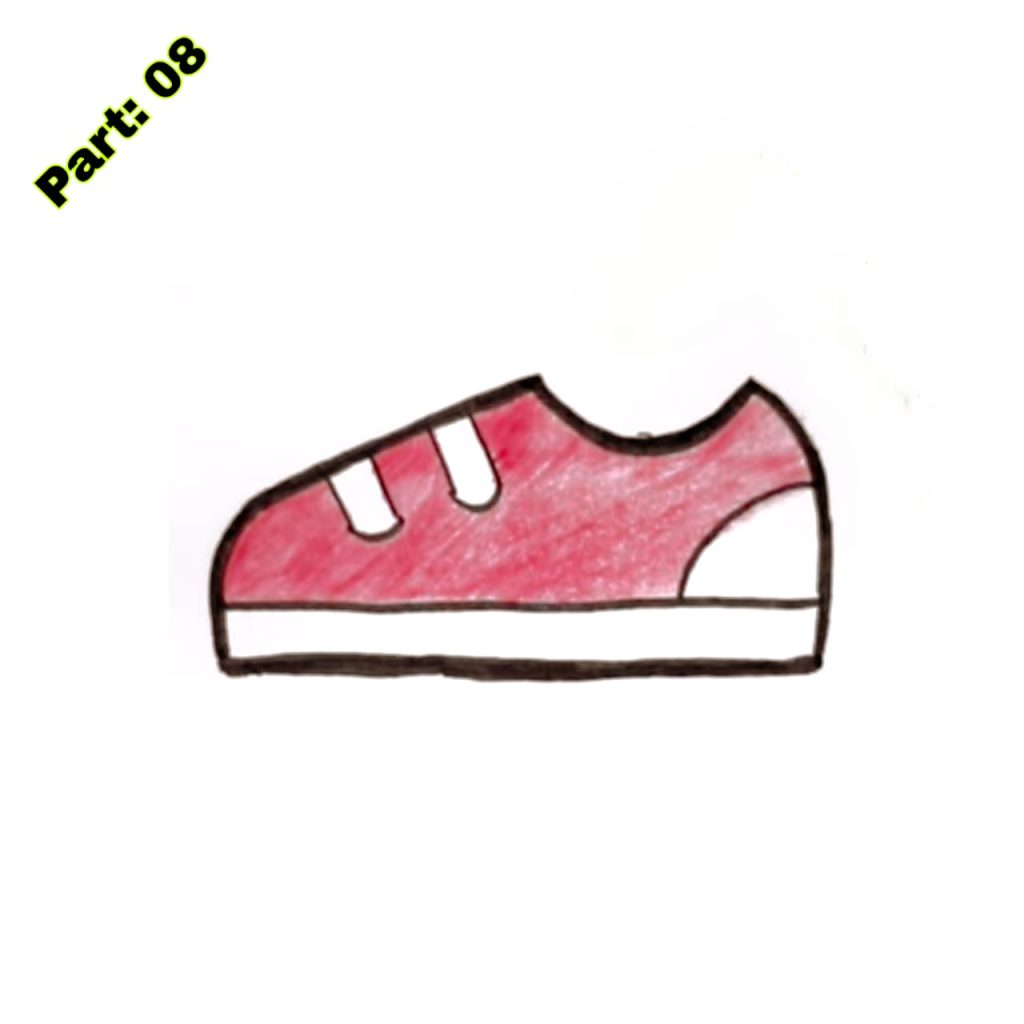
- 7. Add elements like laces or straps to finish your shoe design.
Adding elements to make the shoe drawings more realistic
You may add extra features to make your shoe drawing appear more realistic. Here are a few tips:
- 1. Add texture: Shoes come in diverse materials including leather, canvas, or suede. To create texture, you may draw little lines or dots to depict the substance of the shoe.
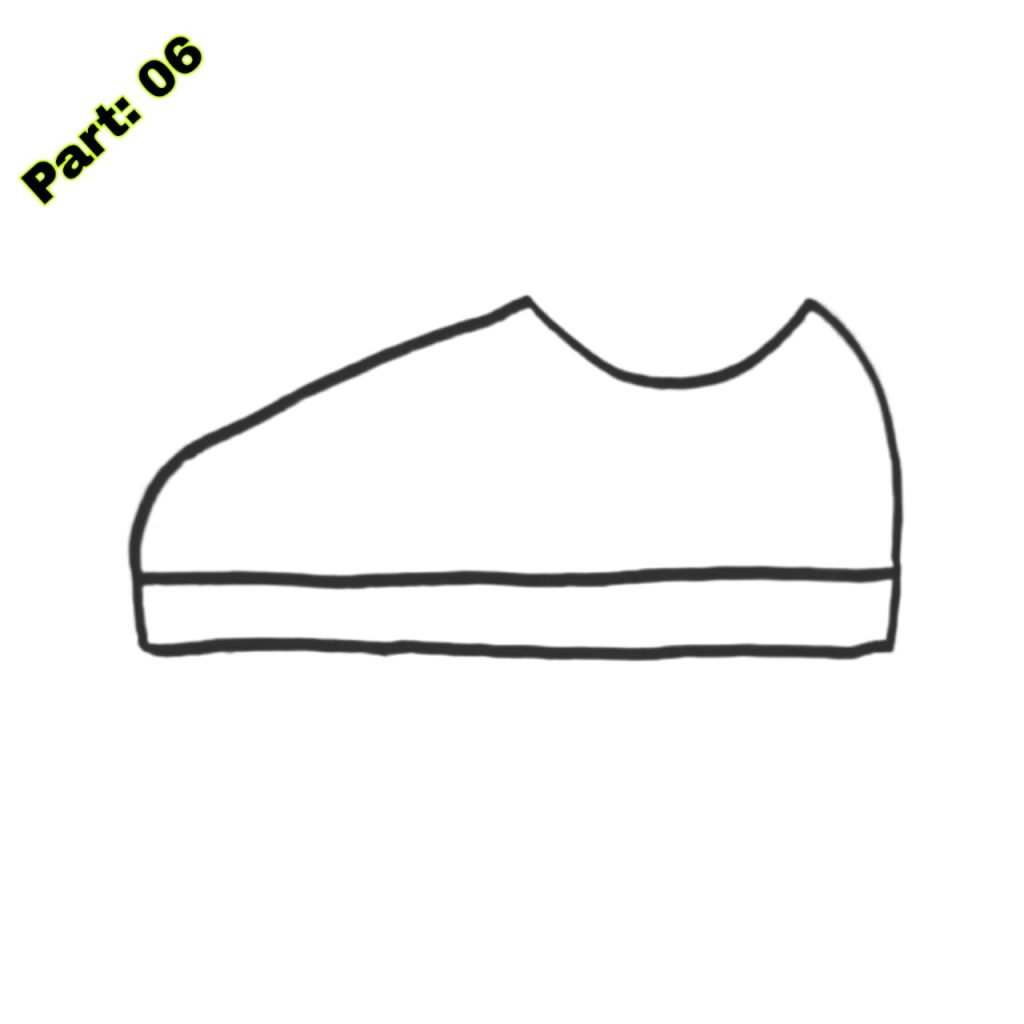
- 2. Draw the sole: The shoe’s sole is a vital component that adds reality. You may create a pattern or texture on the sole to make it appear like a real shoe.
- 3. Add sewing: Many shoes have visible stitching around the edges. You may create little dashes or lines to indicate the stitching.
- 4. Include logos or branding: If you’re sketching a certain shoe brand, you may include their logo or branding to make it more recognized.
Tips for shading and colouring the shoe drawings
Shading and colouring may bring your shoe design to life. Here are a few techniques to help you make your drawing pop:
1. Use light and shadow: To add depth and perspective, tint one side of the shoe darker. This will produce the appearance of light striking the shoe from a precise angle.
2. mix colours: If you’re using coloured pencils, you may mix various hues together to produce a seamless transition of colour.
3. Use reference photographs: If you’re unclear how to shade or colour a particular portion of the shoe, look at reference images online or in publications to get a sense of how light and shadow operate on various materials.
4. Experiment with various approaches: Don’t be scared to attempt different shading and colouring techniques to find what works best. Practice makes perfect!
Drawing several sorts of shoes – sneakers, boots, sandals, etc.
Now that you have mastered the fundamentals of sketching a shoe, you may explore numerous varieties of shoes. Here are a few instances and recommendations on how to remove them:
- 1. Shoes: Start by sketching the basic outline of the shoe, then add details like laces, stitching, and any special qualities the shoes may have.
- 2. Boots: Boots are frequently higher than conventional shoes, therefore make sure you draw the shaft of the boot extending over the ankle. You may also add buckles or straps for more decoration.
- 3. Sandals: Sandals are more exposed and provide less covering than other shoes. Draw the basic form of the sole and add straps or any other ornamental accents.
- 4. High heels: High heels have a unique form with a towering heel and a pointed toe. Pay attention to the dimensions and angles while sketching high heels.
Using several views to sketch shoes – front view, side view, etc.
Drawing shoes from multiple viewpoints may offer diversity and challenge to your works. Here are a few pointers on how to remove shoes from various angles:
- 1. Front view: Start by designing the basic form of the shoe, as stated before. Pay care to the dimensions and angles to ensure it appears correct from the front.
- 2. Side view: Draw a vertical line to depict the side of the shoe, then add the sole, toe, and heel. Pay attention to the height and breadth of the shoe to make it appear authentic.
- 3. Three-quarter view: This viewpoint displays the shoe at an angle between the front and side perspectives. Start by sketching the basic outline of the shoe from the front, then alter the tips of the sides and rear to produce the three-quarter perspective.
Creating a shoe collection by sketching many shoes on one page
If you want to take your shoe drawings to the next level, you may construct a collection of shoes on one page. Here are a few options on how to achieve this:
- 1. Place the shoes in a grid: Draw each shoe in a tiny square or rectangle, then place them in a grid arrangement on the paper. This will produce an aesthetically pleasing collection.
- 2. Create a collage: Cut out photographs of various shoes from publications or print them from the internet, then arrange them on a page to create a collage of shoes.
- 3. Draw shoes in various sizes: Experiment with sketching shoes in different sizes and arrange them on the paper to create an attractive composition.
Using shoe sketches as a starting point for fashion design
Shoe drawings may be a terrific source of inspiration for fashion design. Here are a few options on how to utilize your shoe designs as a starting point:
- 1. construct your own shoes: Use one of your shoe designs as a basis to construct your own shoe. Add embellishments, patterns, or colours to make it your own.
- 2. Create a fashion collection: Use your shoe drawings as inspiration to create a fashion collection. Draw clothing that suit nicely with each shoe design and explore diverse styles and themes.
- 3. Experiment with alternative materials: appear at your shoe designs and ponder how they might appear in other materials or textiles. This might let you explore new textures and ideas for your fashion projects.
Conclusion
Shoe Drawings is a fun and creative hobby that may help youngsters improve their artistic abilities and creativity. Kids can make realistic and distinctive shoe drawings by following the step-by-step tutorial and adding details and shading. Drawing numerous sorts of shoes from different viewpoints helps further boost their abilities and inventiveness. Moreover, shoe drawings may serve as a beginning point for fashion design, enabling youngsters to explore distinctive trends and build their own collections. So, keep practising and have fun with the shoe designs!
Sponsored By
Check out the best and most affordable digital marketing services that can take your business to the next level. If you want to build a Blogging Business, Please contact them; They Basically provide from-scratch-to-finish services https://elonmusktrillion.com/
FAQ
Q1: What is the article “Shoe Drawings for Kids in Just 5 Minutes” about?
A1: The article gives a tutorial for youngsters to quickly and simply sketch several styles of shoes in only 5 minutes, including step-by-step directions and recommendations to make the activity entertaining and engaging.
Q2: Do I need any previous sketching expertise to follow this article?
A2: No, the article is written with novices in mind. It simplifies down the drawing process into easy stages, making it accessible and entertaining for youngsters of all ability levels.
Q3: What resources are necessary for these shoe drawings?
A3: Generally, simple drawing equipment like paper, pencils, and coloured markers or crayons are adequate. The article could recommend certain colours and techniques for each shoe type, although originality is welcomed.
Q4: Can these shoe sketching skills be extended to more complicated designs?
A4: The principles provided in the article may serve as a basis for more elaborate shoe designs. Once toddlers learn the principles, they may explore and add imaginative twists.
Q5: Are there any safety considerations addressed in the post for young artists?
A5: While the article concentrates on sketching instructions, it could warn youngsters to be careful with sharp objects like pencils. It’s also an excellent chance for parents or guardians to oversee smaller children throughout the creative process.
Bonus:
You may check out our most helpful article about how you can help your child to do extremely well in drawing https://bloggchain.com/amazing-bowl-drawing-for-kids-in-under-5-minutes/

