
Introduction
Cake Drawing is a crucial exercise for youngsters as it helps them develop their creativity, imagination, and fine motor skills. It helps them to express themselves and explore their thoughts graphically. In this blog article, we will present a step-by-step lesson on how to draw a cake, a common topic for kids’ drawings. We will also provide advice on how to make the cake sketch seem more realistic, add details, and color it. Additionally, we will explain the advantages of sketching for youngsters and urge them to continue exercising their talents.

Materials Needed for Cake Drawing
To design a cake, you will need the following materials:
- 1. Paper: Use blank paper or a notebook to draw on. Make sure it is big enough to suit the size of the cake you wish to design.
- 2. Pencil: A pencil is the greatest instrument for sketching and outlining your cake picture. It enables you to generate light lines that may be easily erased.
- 3. Eraser: An eraser is useful for fixing errors or modifying your artwork.
- 4. Ruler: A ruler may assist create straight lines and make your cake symmetrical.
- 5. Colored pencils or markers (optional): If you wish to add color to your cake drawing, use colored pencils or markers. This is optional and may be done at the conclusion of the drafting process.
Gift:
Claim our premium worksheet practice book For Free (Only for you) :

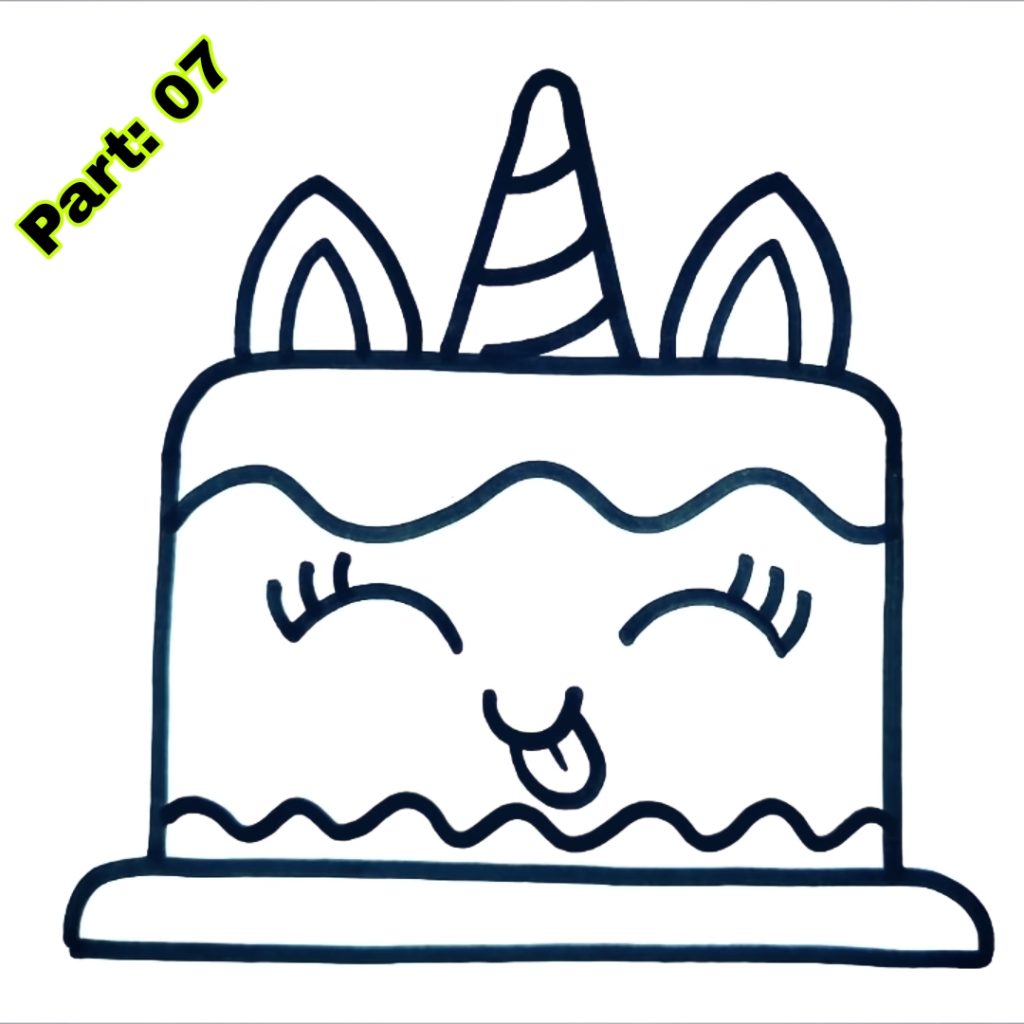
Step-by-Step Guide to Drawing a Cake
Follow these step-by-step instructions to draw a cake in about 4 minutes:
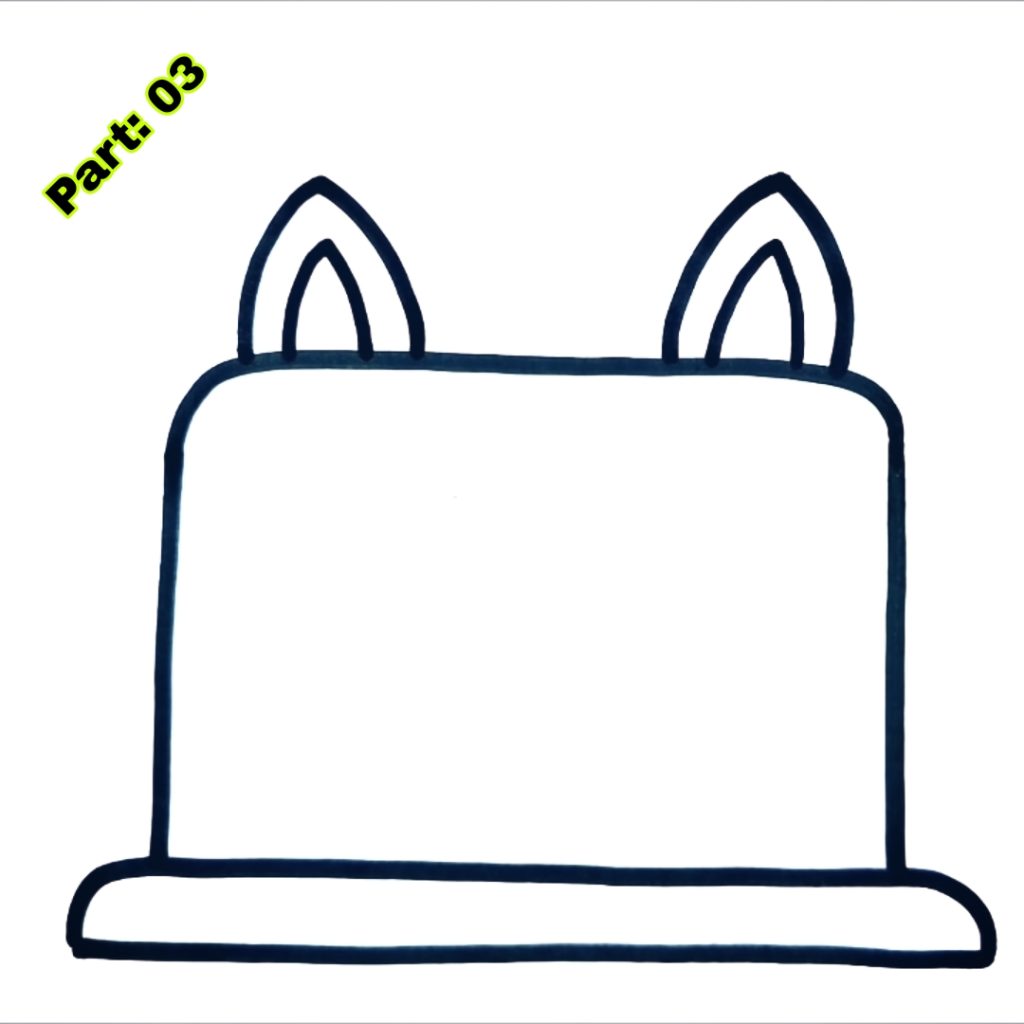
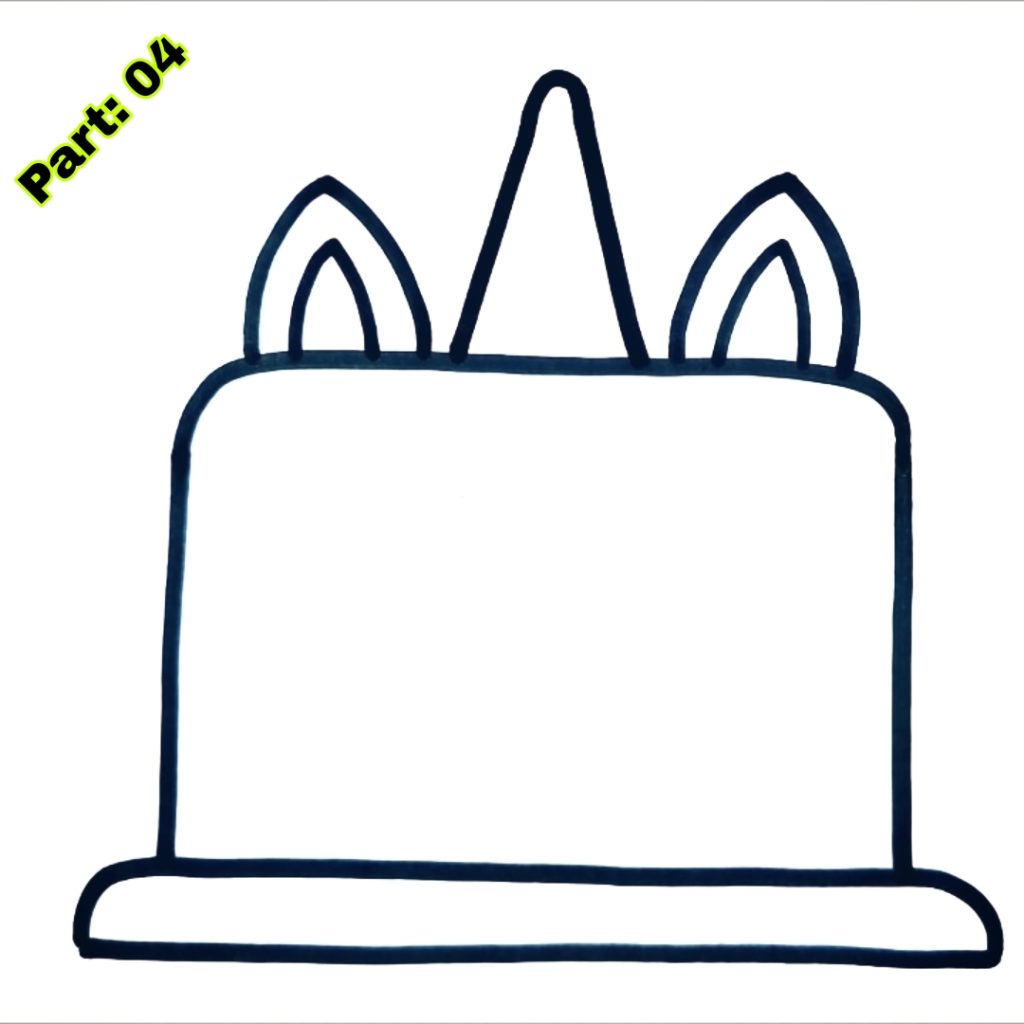
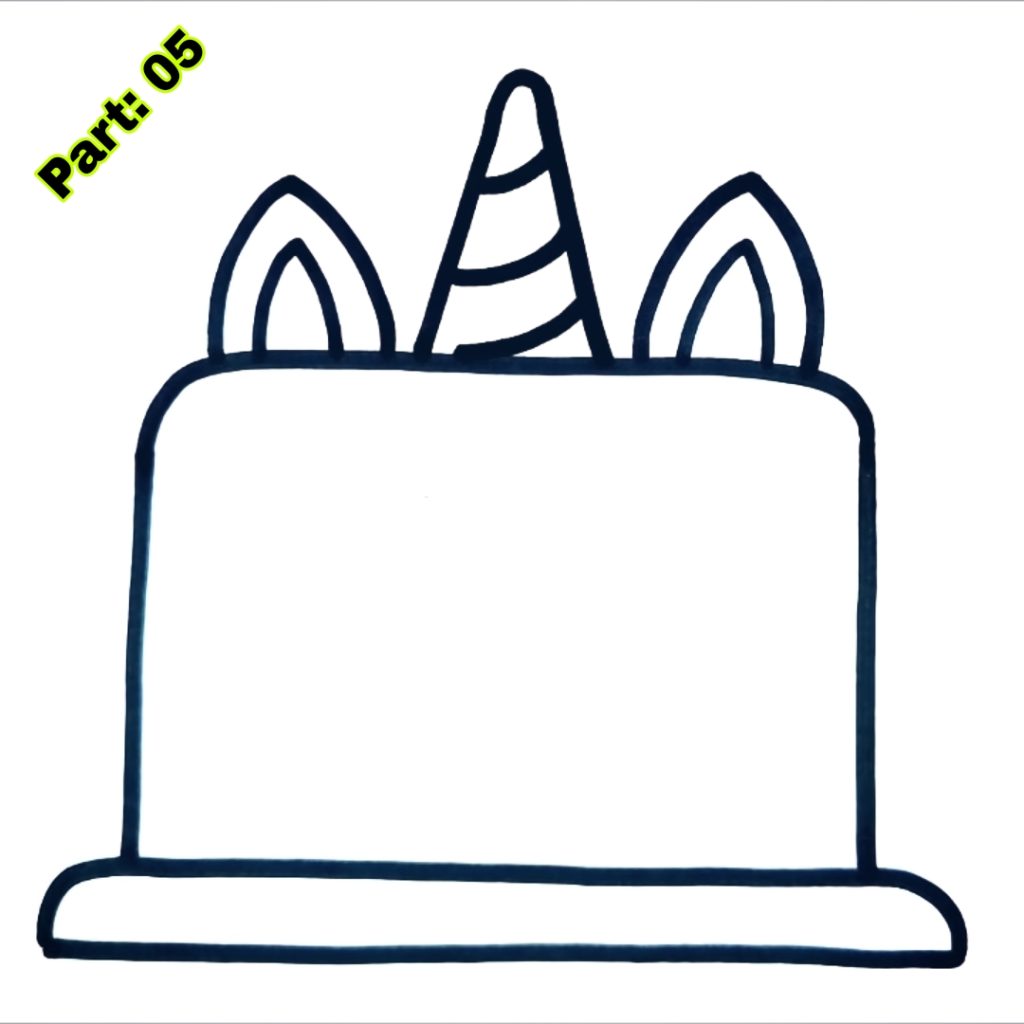
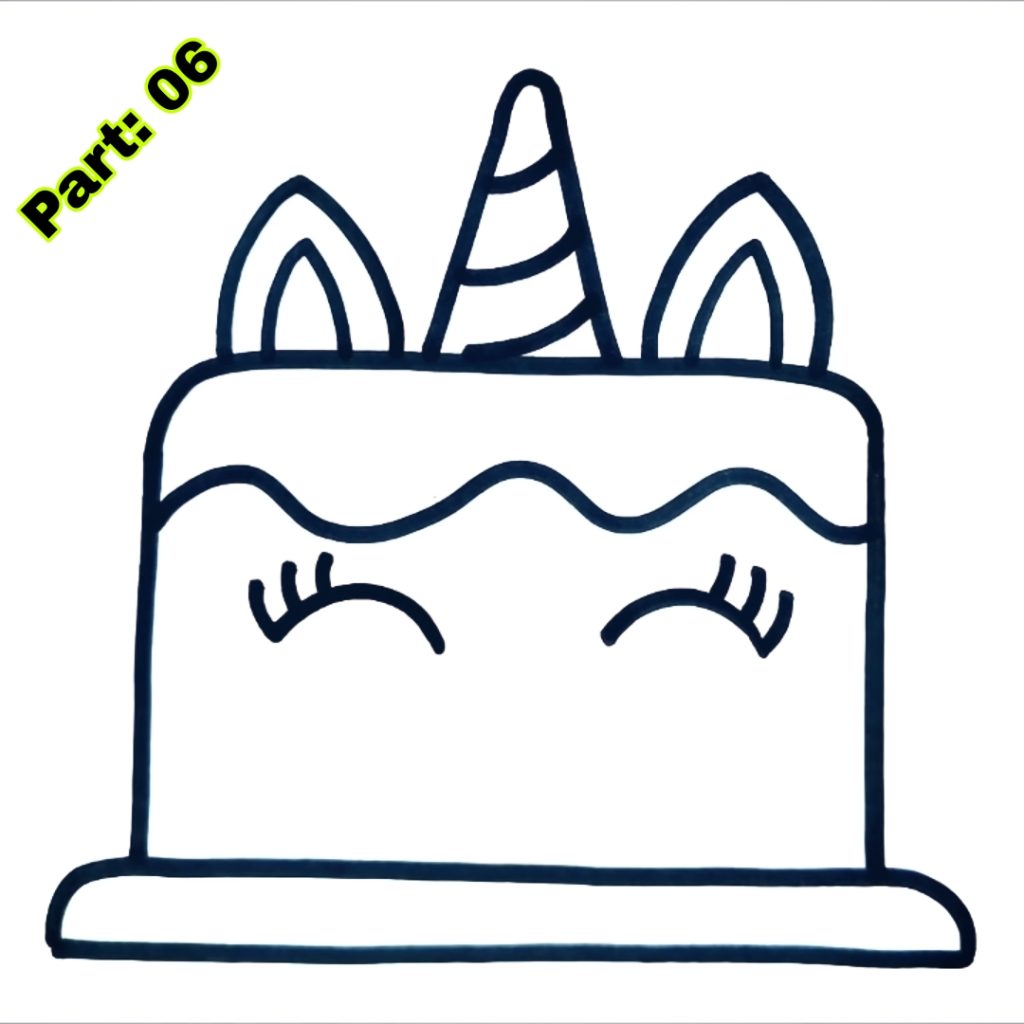
- 1. Start by sketching the foundation of the cake. Draw a horizontal line at the bottom of the page to depict the table or cake stand on which the cake is sitting. Then, draw two vertical lines on each side of the horizontal line to make the sides of the cake.
- 2. Next, sketch the top of the cake. Draw a curved line connecting the two vertical stripes to make the top edge of the cake. Make sure the curvature is smooth and symmetrical.
- 3. Add the icing to the cake. Draw another curving line immediately below the top border of the cake to depict the icing. You may make the icing as thick or thin as you desire.
- 4. Finally, put some embellishments on the cake. Draw lines, dots, or shapes on the frosting to simulate sprinkles, candles, or other decorations.
Visual aids might be beneficial for youngsters to follow up with the instructions. You may supply them with a printed or digital picture of a cake design to reference as they sketch.
Tips for Making the Cake Drawing Look Realistic
To make your cake design seem more realistic, explore the following tips:
- 1. Add shading: Shading is vital for generating depth and dimension in your drawing. Use your pencil to delicately tint the edges of the cake to produce a three-dimensional look. Start with a light shade and gradually increase the darkness as required.
- 2. Create texture: Cakes have a soft and fluffy texture. To portray this in your artwork, use small, curved lines to produce a textured look on the icing. This will make it appear more realistic and enticing.
- 3. Pay attention to dimensions: Make sure that the size and proportions of various cake parts are proper. For example, the height of the cake layers should be constant, and the breadth of the icing should be proportionate to the size of the cake.
Adding Details to the Cake Drawing
To add extra details to your cake design, try the following suggestions:
- 1. Different varieties of cakes: Experiment with sketching different types of cakes, such as a birthday cake with numerous tiers, a wedding cake with detailed patterns, or a cupcake with a cherry on top. This will enable you to explore various shapes and embellishments.
- 2. Decorations: Get imaginative with the decorations on your cake. Draw candles, flowers, ribbons, or any other decorations you desire. You may also include lettering on the cake, such as “Happy Birthday” or the name of the person you are designing the cake for.
- 3. backdrop: Consider adding a backdrop to your cake painting to make it more intriguing. You may sketch a tablecloth, a party setting, or a bakery display case. This will provide depth and context to your picture.
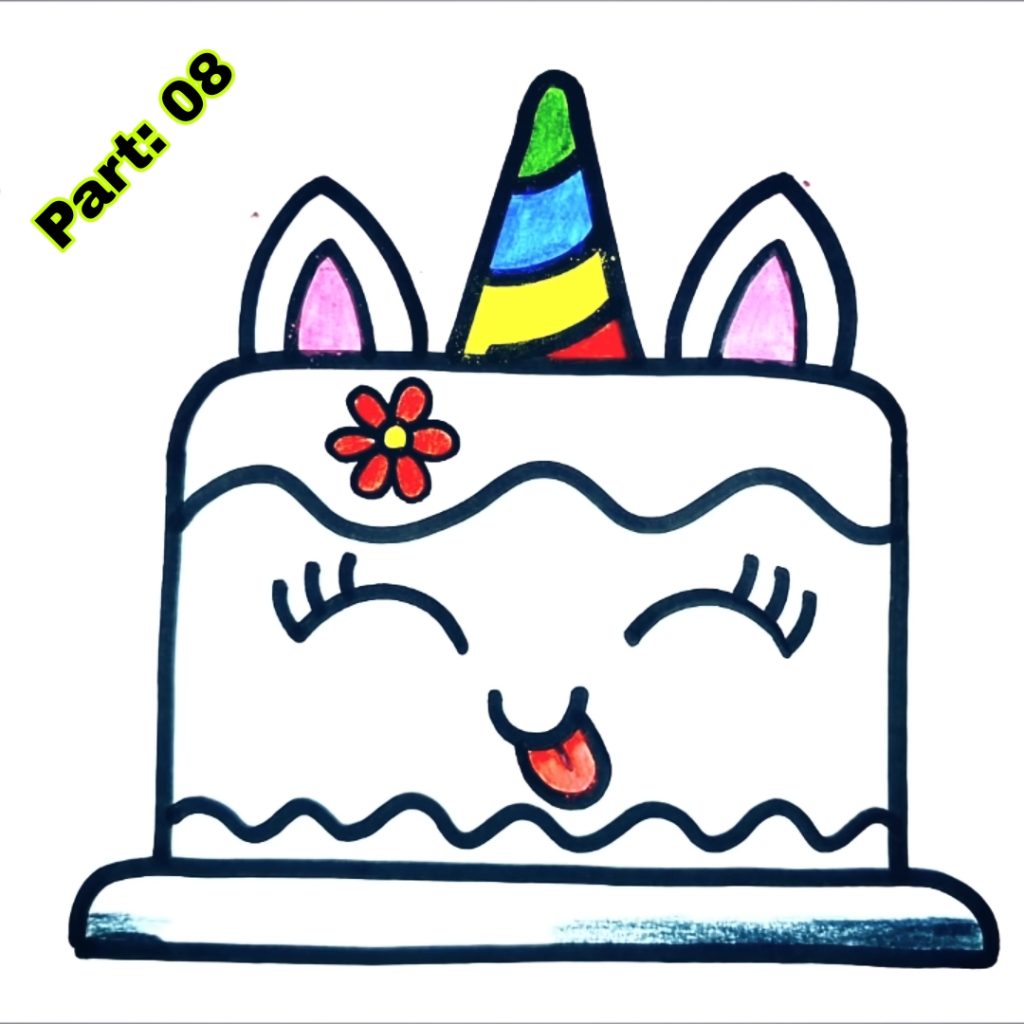
Coloring the Cake Drawing
If you prefer to color your cake drawing, consider the following tips:
- 1. Choose suitable hues: Use realistic colors for a cake, such as tones of brown for the cake layers and white or pastel pastels for the icing. You may also use bright hues for the ornaments to make them stand out.
- 2. Color choices: Experiment with various color combinations to make your cake drawing more aesthetically attractive. Consider utilizing complementary colors (colors opposite each other on the color wheel) or similar colors (colors adjacent to each other on the color wheel).
- 3. mix colors: Use colored pencils or markers to mix hues and create seamless transitions. This will make your coloring appear more professional and finished.
Common Mistakes to Avoid When Drawing a Cake
When sketching a cake, youngsters commonly make the following mistakes:
- 1. Uneven layers: Make sure your cake’s layers are consistently spaced and have consistent heights. This will make your cake seem more realistic and balanced.
- 2. Crooked lines: Pay attention to the straightness of your wires while designing the sides and top of the cake. Use a ruler to verify your lines are straight and proportional.
- 3. Overcrowded decorations: Be cautious of the area available on your cake for embellishments. Avoid cluttering the cake with too many decorations, making it seem sloppy and congested.
To prevent these blunders, take your time and pay attention to the details in your drawing. Practice makes perfect, so keep practicing and learning from your errors.
Variations of Cake Drawing for Kids
To make the cake drawing more hard, try the following variations:
- 1. 3D cake: Instead of a flat patty, try creating a 3D cake that looks to be emerging from the paper. This will need you to employ shading and perspective methods to achieve a realistic look.
- 2. Tiered cake: Draw a tiered cake with numerous levels and embellishments. This will enable you to practice sketching various shapes and sizes.
- 3. Fondant cake: Draw a cake coated in fondant, a silky frosting typically used for special events. This will need you to pay attention to the texture and sheen of the fondant.
Experiment with numerous versions and push yourself to develop your drawing abilities.
Benefits of Drawing for Kids
Drawing has various advantages for youngsters, including:
- 1. Creativity and imagination: Drawing helps youngsters to express their creativity and imagination. It helps kids to think beyond the box and produce innovative ideas.
- 2. Fine motor skills: Drawing helps youngsters develop their fine motor abilities, which are crucial for writing, typing, and playing musical instruments.
- 3. Cognitive development: Drawing encourages cognitive development by boosting problem-solving abilities, critical thinking, and spatial awareness. It also boosts focus and attention to detail.
- 4. Emotional expression: Drawing may be a therapeutic hobby that helps youngsters to express their emotions and feelings safely and artistically. It may help them digest their experiences and articulate their ideas graphically.
Encourage them to continue painting and developing their creativity. Provide them with the opportunity to practice and enhance their talents.
Conclusion
Drawing a cake may be a fun and gratifying hobby for youngsters. By following the step-by-step directions and utilizing the advice offered in this blog article, youngsters may design their own cake drawings that appear realistic and attractive. Graphics provides youngsters various advantages, including creativity, inventiveness, fine motor skills, and cognitive ability. Encourage students to continue developing their sketching skills and explore their creativity via art.
Sponsored By
Check out the best and most affordable digital marketing services that can take your business to the next level. If you want a build a Blogging Business, Please contact them; They Basically provide from-scratch-to-finish services https://elonmusktrillion.com/
FAQ
Q: What age group is this cake sketching instruction targeted for?
A: This cake sketching instruction is created for kids of all ages, making it simple and pleasant to follow.
Q: Do I need particular materials or equipment to create the cake drawing? A: No, this lesson employs simple sketching supplies frequently accessible in most houses, such as paper, pencils, erasers, and colored markers or crayons.
Q: Can I stop and continue the instruction if the drawing takes longer than 4 minutes?
A: Absolutely! The 4-minute timeline is only an estimate for finishing the sketch, but you may stop and restart the instruction at your own speed.
Q: Are there any suggestions or strategies to make the cake sketching even more interesting for kids?
A: Yes, the post contains useful suggestions and methods to add entertaining components to the cake drawing, such as putting colorful sprinkles or a happy face on the cake.
Q: Is there a link to the video lesson in the article?
A: The post could give a link to the 4-minute video lesson, making it simpler for students to follow along visually while sketching the cake.
Bonus:
You may check out our most helpful article about how you can help your child to do extremely well in drawing https://bloggchain.com/amazing-star-drawing-for-kids-in-only-2-minutes/


