Introduction
Fruit Drawing is a creative and pleasant exercise that helps youngsters to show their ideas and artistic talents. It entails sketching different sorts of fruits using various art supplies such as pencils, markers, and coloured pencils. Fruit sketching is not only a pleasant activity but also delivers several advantages for youngsters. It helps strengthen their creativity, fine motor abilities, build hand-eye coordination, and raise their confidence and self-esteem.
Benefits of Teaching Kids to Draw Fruits
- 1. Enhances creativity and imagination: Fruit sketching enables youngsters to think outside the box and generate unique and inventive patterns. They may explore with various colours, forms, and textures to create their own ideas of fruits. This technique helps students to explore their imagination and enhance their creative ability.
- 2. Improves fine motor skills: Drawing fruits needs precise hand motions and precision. As youngsters practice drawing various shapes and lines, they strengthen their fine motor skills, which are crucial for writing, cutting, and tying shoelaces. The repeated actions required in fruit painting help build the muscles in their hands and fingers.
- 3. Develops hand-eye coordination: Fruit sketching encourages youngsters to examine the nuances of fruits and transfer them onto paper. This practice helps enhance their hand-eye coordination as they learn to connect their hand motions with what they observe. It also educates young eyes to concentrate on precise features and proportions, a useful ability in different facets of life.
- 4. enhances confidence and self-esteem: When youngsters see their fruit drawings come to life, it gives them a feeling of achievement and enhances their confidence. They feel pleased of their products and build a concept of self-worth. Fruit sketching helps children to express themselves and demonstrate their distinctive flair, thus increasing their self-esteem.
Gift
Claim our premium worksheet practice book For Free (Only for you):

Basic Materials Needed for Fruit Drawing
You will need a few basic things to start with fruit sketching. Here is a list of vital items:
- 1. Paper: Choose a good-quality drawing paper suited for the art tools you will be utilizing. A heavier-weight piece is advised to avoid smearing and ripping.
- 2. Pencils: Have a selection of pencils with varied lead hardness, such as HB, 2B, and 4B. These will help students to create colours and textures in their fruit designs.
- 3. Erasers: Keep a few erasers accessible for fixing typos and smudges. A kneaded eraser is good for lifting graphite without harming the paper.
- 4. Coloring materials: If your kid wishes to add colour to their fruit drawings, offer them coloured pencils, markers, or watercolour paints. Make careful to use non-toxic and washable choices for smaller children.
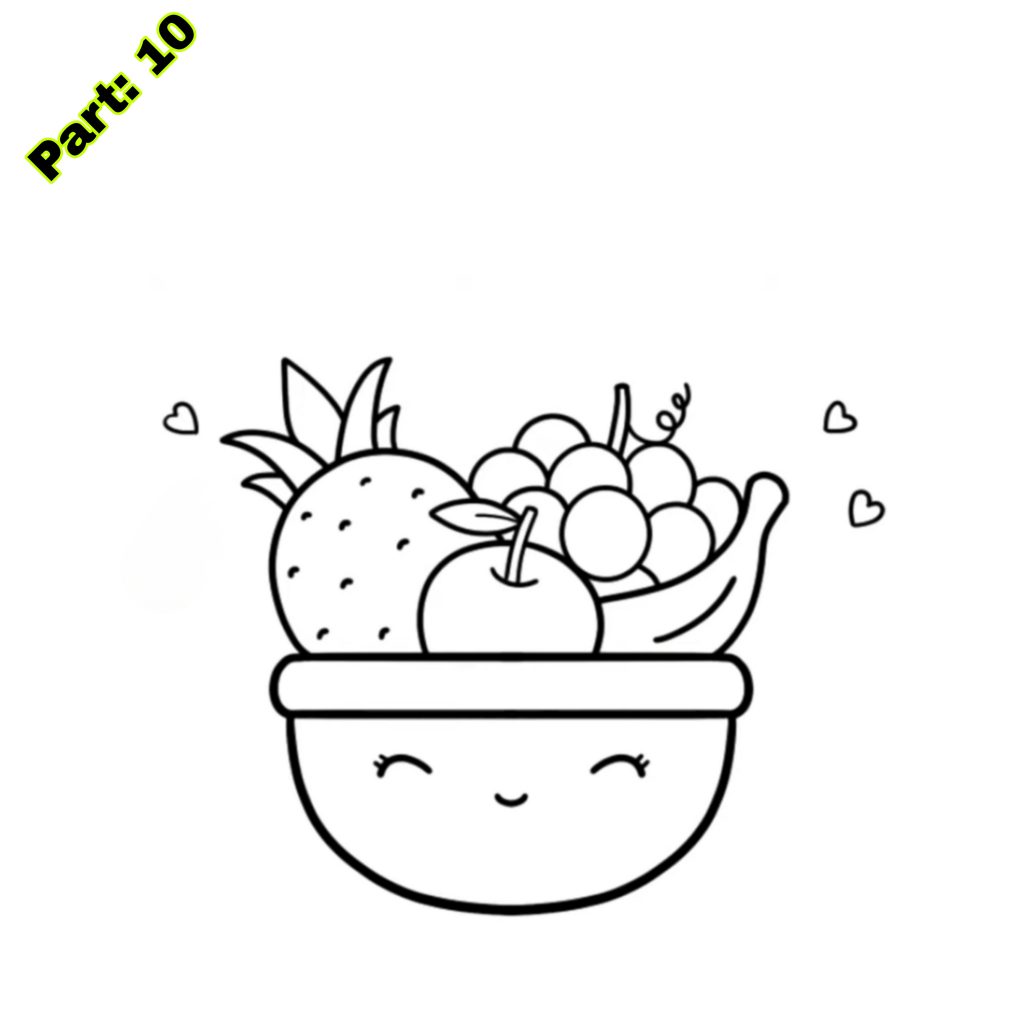
Step-by-Step Guide to Drawing Fruits for Kids
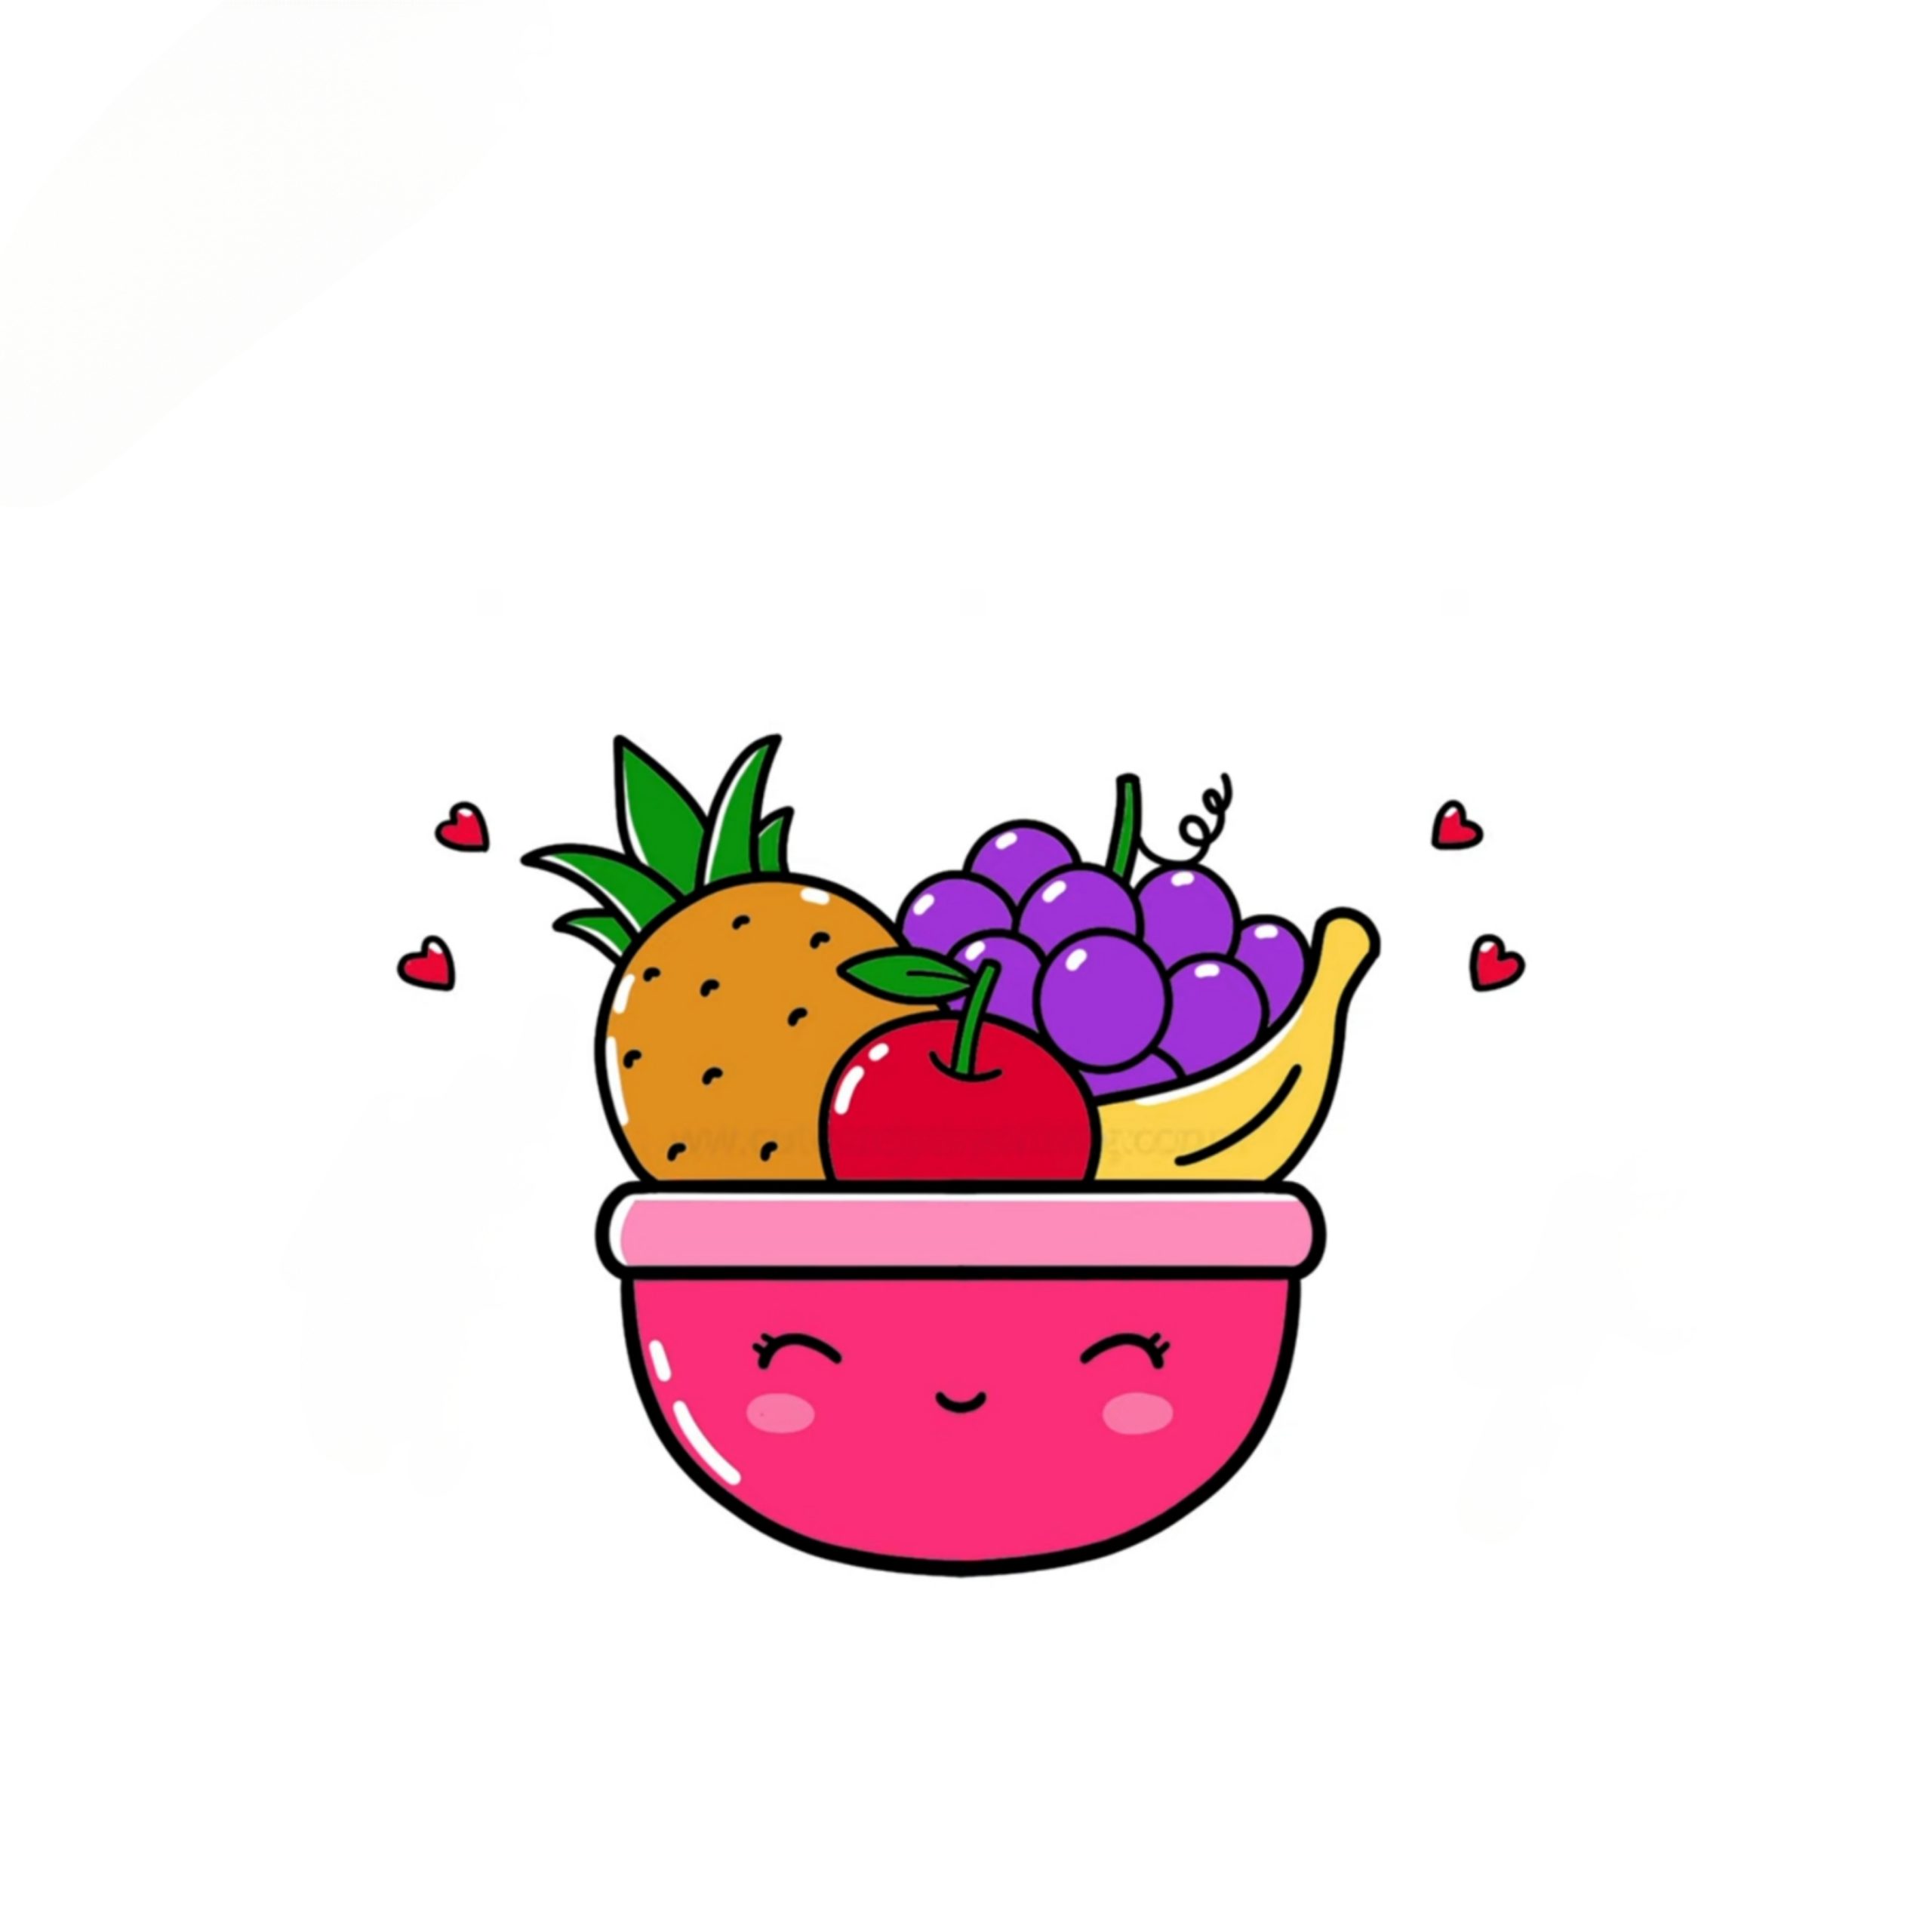
Now that you have the essential supplies let’s dig into a step-by-step lesson on how to draw various fruits. Here are straightforward and easy-to-follow procedures for extracting apples, bananas, oranges, and grapes:
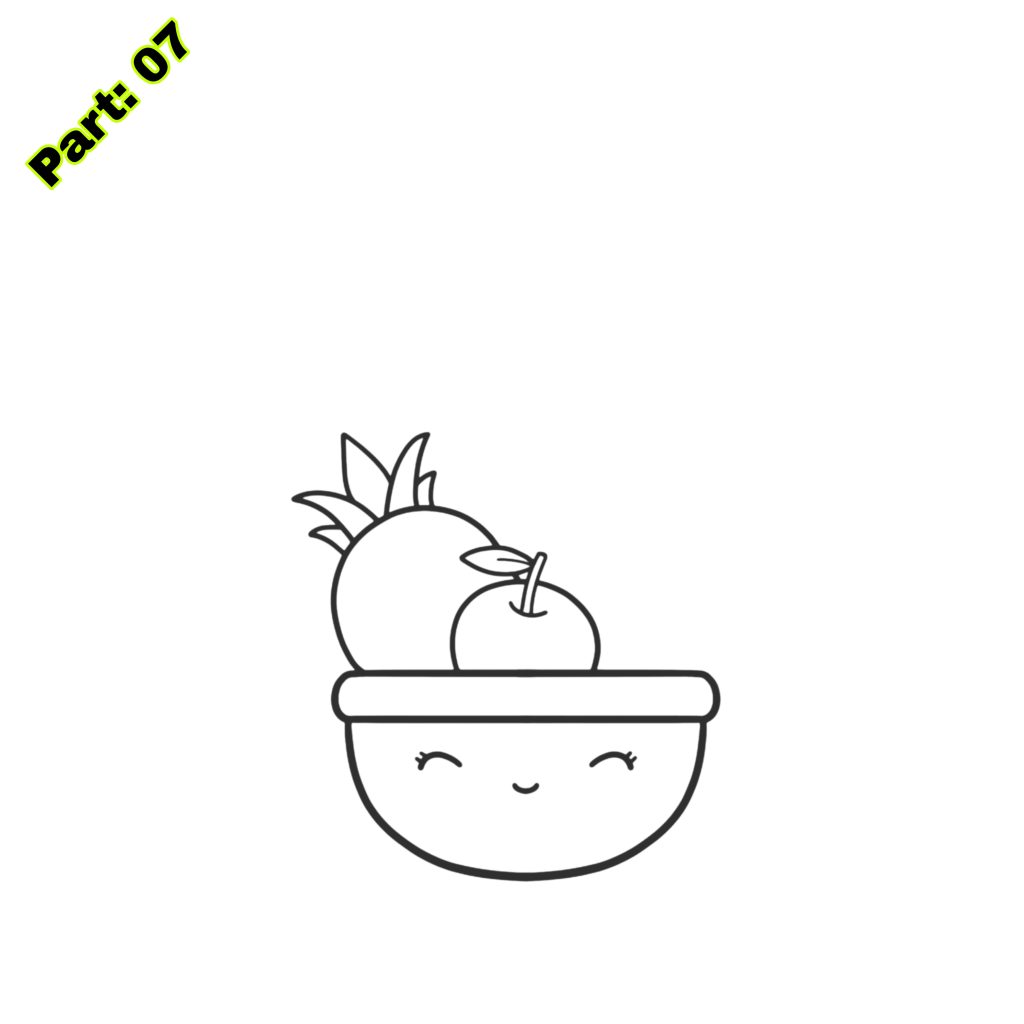
1. Apple:
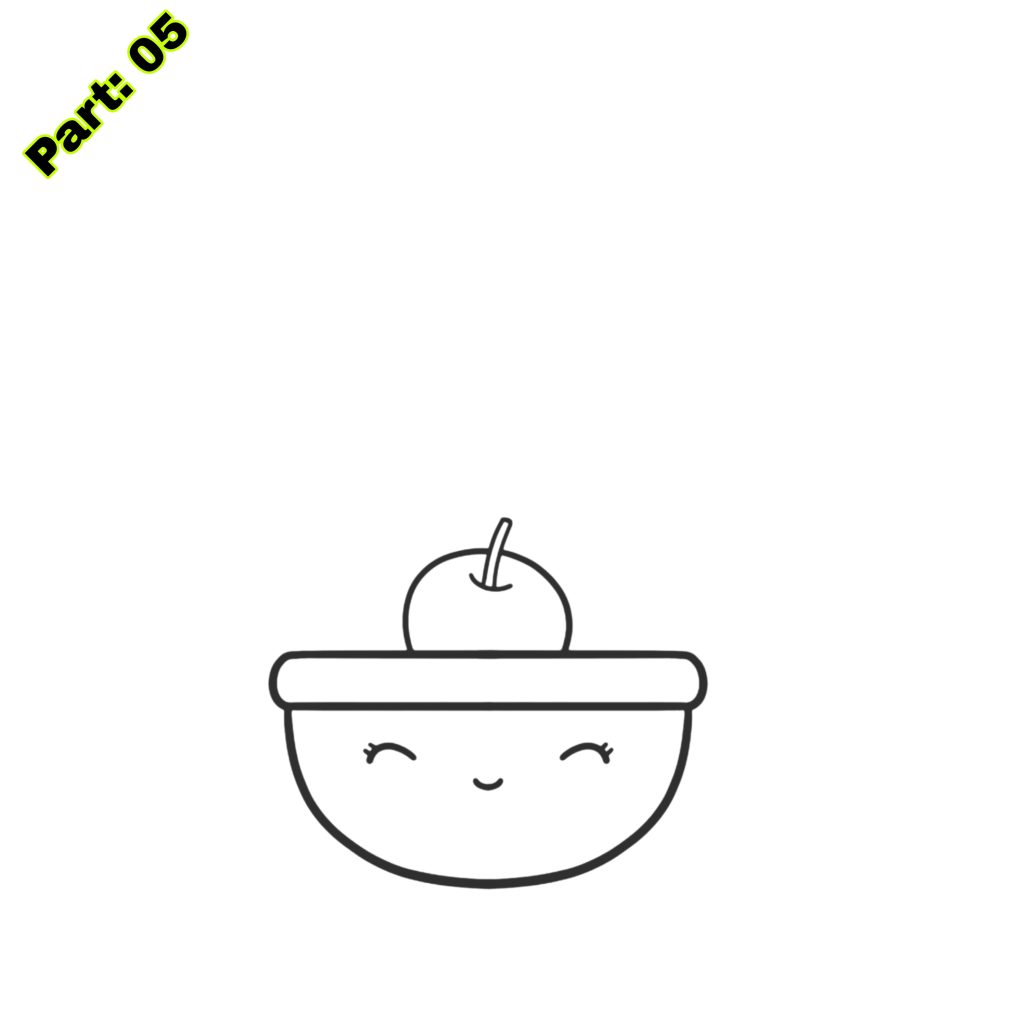
- – Start by drawing a circle in the middle of your paper. This will be the contour of the apple.
- – Add a little stem at the top of the circle.
- – Draw a curved line from the top of the circle to the bottom, producing the apple’s form.
- – Add a leaf on the stem by sketching a curved line with jagged edges.
- – Finish by adding shade and colour to your apple.
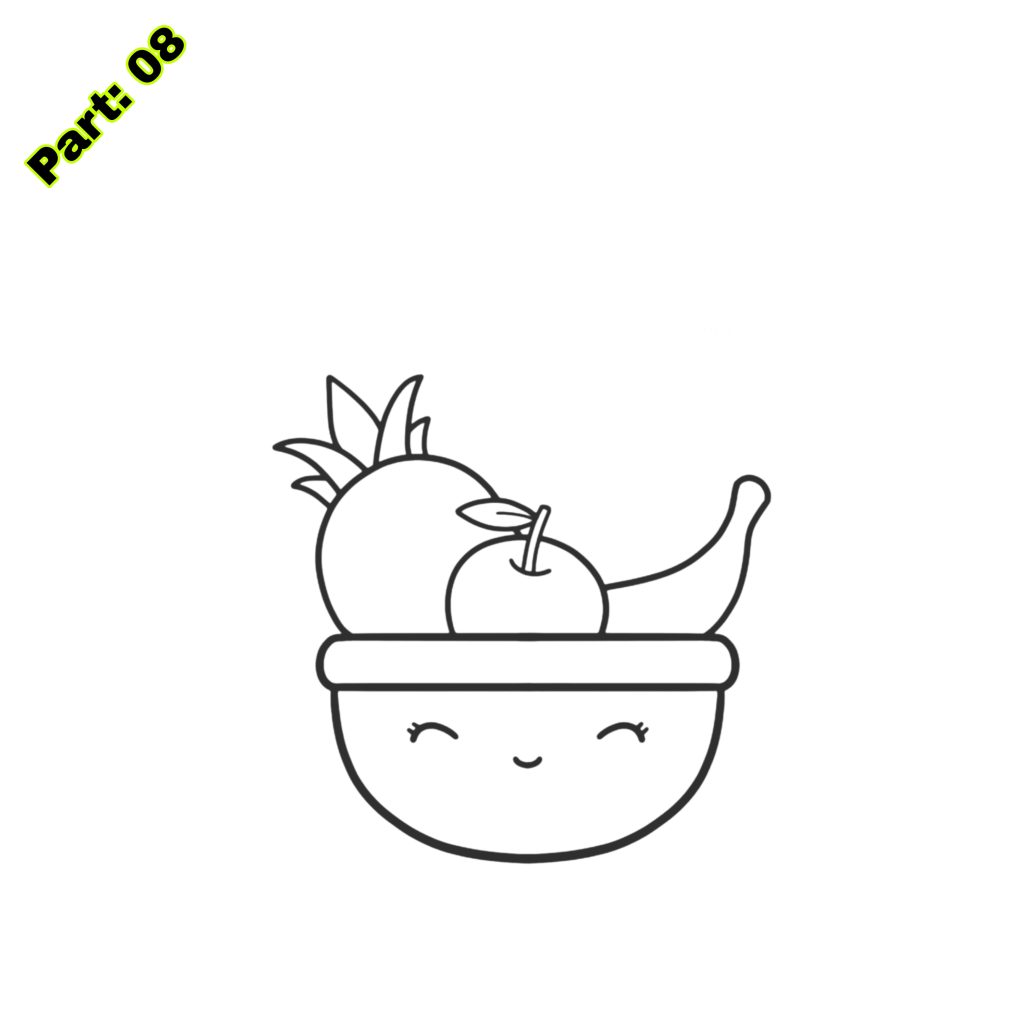
2. Banana:
- – Begin by drawing a curving line in the middle of your page. This will be the outline of the banana.
- – Add a short stem at one end of the curving line.
- – Draw another curved line parallel to the previous one, joining it at the other end.
- – Add elements like as ridges and shading to make your banana seem more realistic.
- – Color your banana with colors of yellow.

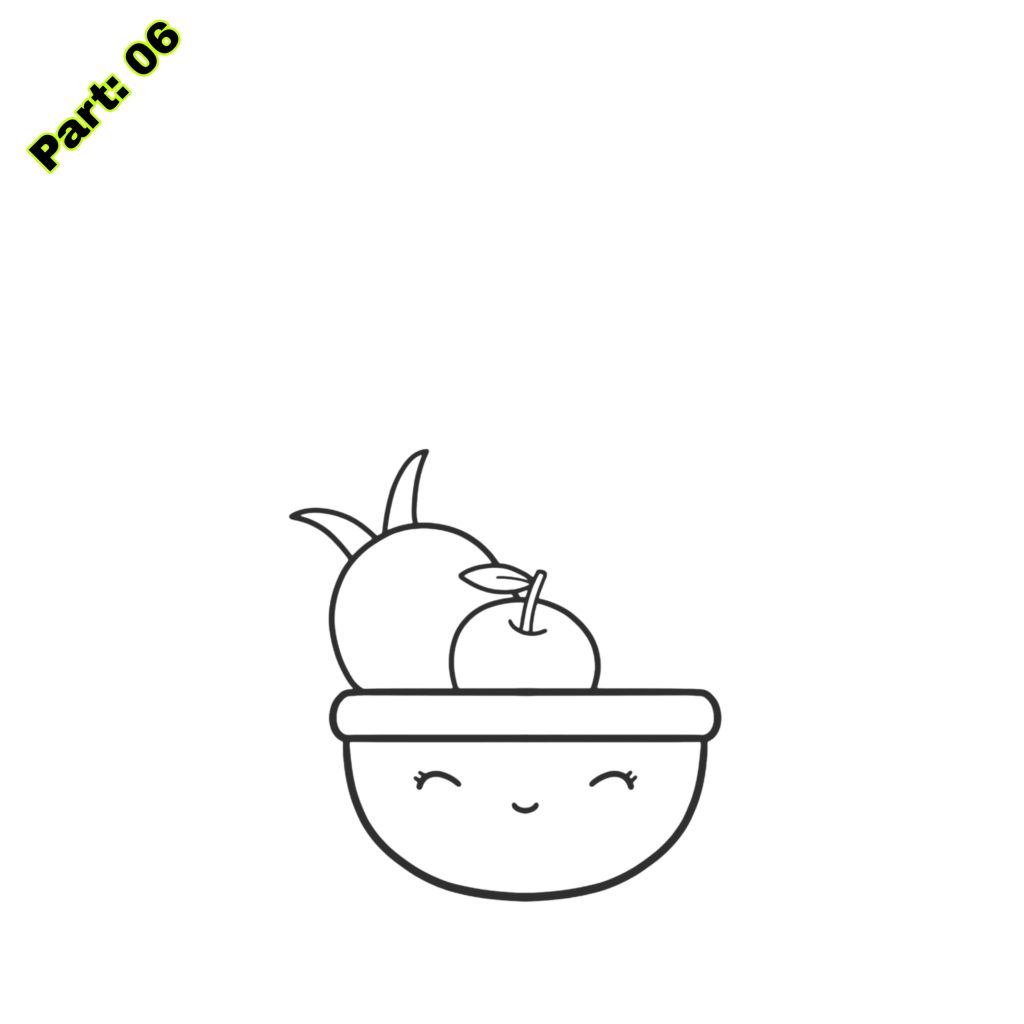
3. Orange:
- – Start by drawing a circle in the middle of your paper. This shall serve as the skeletal structure for the orange.
- – Add a little stem at the top of the circle.
- – Draw a curved line from the top of the circle to the bottom, forming the orange’s shape.
- – Add dimples and shading to make your orange seem more textured.
- – Color your orange using tones of orange and yellow.
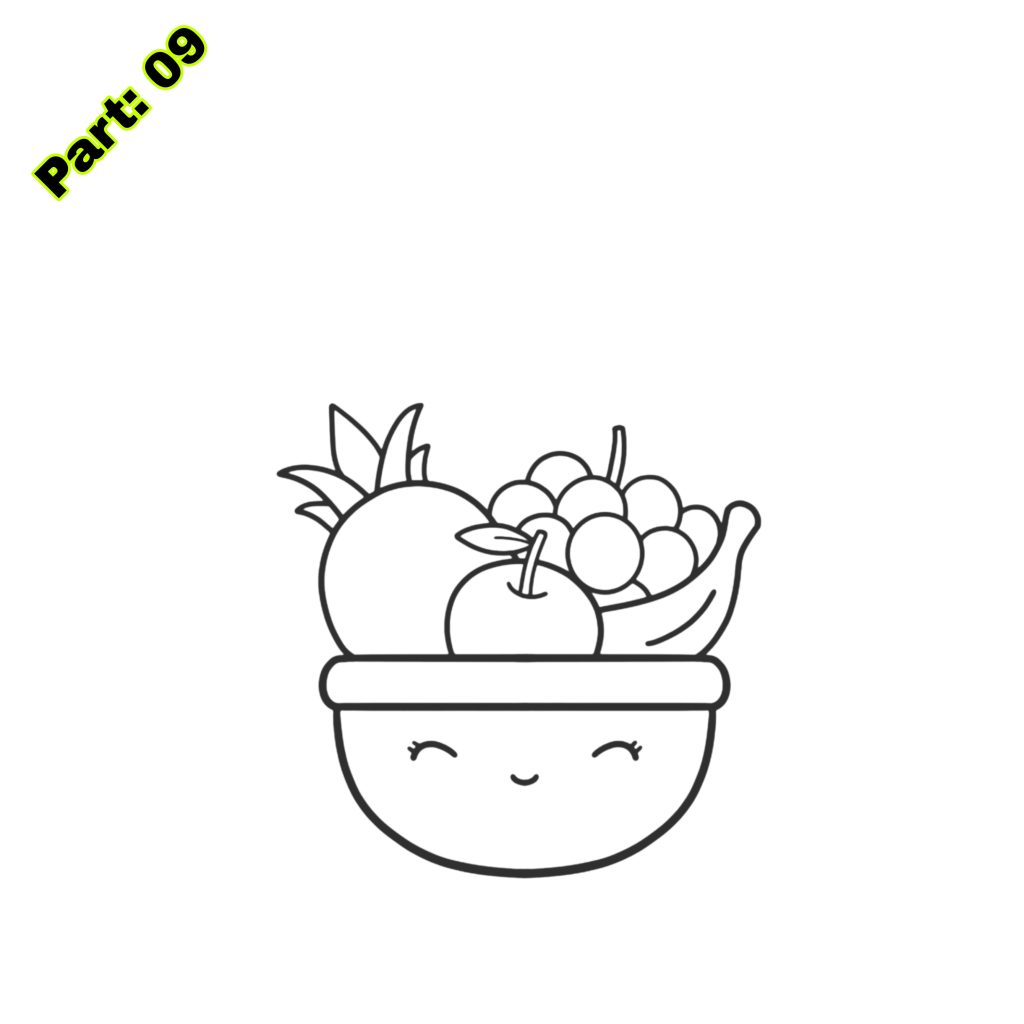
4. Grapes:
- – Begin by sketching a tiny oval shape in the middle of your page. This will be the first grape.
- – Add another oval shape next to it, slightly overlapping the original one.
- – Continue adding additional oval shapes to make a cluster of grapes.
- – Add elements like as stems and shading to make your grapes more realistic.
- – Color your grapes using colours of purple and green.
Tips for Making Fruit Drawing Fun and Engaging
To make fruit sketching more pleasurable for youngsters, here are some methods and suggestions:
- 1. Use vibrant materials: Provide a broad choice of colored pencils, markers, and paints for youngsters to use in their fruit paintings. This will make the procedure more visually attractive and interesting.
- 2. Incorporate games: Turn fruit sketching into a game by pushing youngsters to draw fruits within a specified time limit or by playing “Guess the fruit”, where they have to remove fruit and others have to identify what it is.
- 3. Create a fruit-themed art corner: Set up a separate location in your house where youngsters may indulge in fruit sketching. Decorate it with fruit-themed posters, stickers, and artwork to create a joyful and motivating atmosphere.
- 4. Encourage experimentation: Let students try various approaches and styles in their fruit drawings. Let children play with various textures, patterns, and colours to make unique and inventive fruits.
Common Mistakes to Avoid When Drawing Fruits
While learning to draw fruits, students may make several typical blunders. Here are a few errors to look out for and recommendations on how to prevent them:
- 1. Proportions: One typical error is depicting fruits that are either too large or too little regarding each other. Encourage them to inspect the size and form of the fruits carefully before sketching.
- 2. Symmetry: Fruits generally have symmetrical forms, thus it’s crucial to ensure that both sides of the fruit are drawn precisely. Encourage students to compare both sides and make improvements as required.
- 3. Shading: Adding shading helps make fruit paintings appear more realistic, but it’s vital to use the perfect amount of pressure and mix the hues effectively. Encourage students to explore shading methods and experiment with various pencils.
- 4. Characteristics: Sometimes, youngsters may ignore or simplify the characteristics of fruits, such as the skin’s texture or the stem’s form. Encourage them to pay attention to these details and incorporate them to their drawings for a more realistic effect.
Creative Ideas for Using Fruit Drawings
Fruit paintings may be utilized in different creative ways. Here are some suggestions on how to employ fruit drawings:
- 1. Decorate the house: Frame your child’s fruit drawings and display them on the walls of your home. This will offer a splash of colour and display their creative abilities.
- 2. Create greeting cards: Use fruit drawings as designs for handmade greeting cards. Your youngster may design various fruits for different occasions, such as apples for teacher appreciation cards or oranges for get-well-soon cards.
- 3. Make a fruit-themed calendar: Compile your child’s fruit drawings into a calendar. Each month may feature a different fruit, making it a fun and instructive way to keep track of time.
- 4. Design wrapping paper: Use fruit drawings as designs for wrapping paper. Your youngster may design unique patterns and colours to make gift-giving even more meaningful.
Fruit Drawing Activities for Kids
To make fruit sketching more dynamic and engaging, here are some fun activities that use fruit drawing:
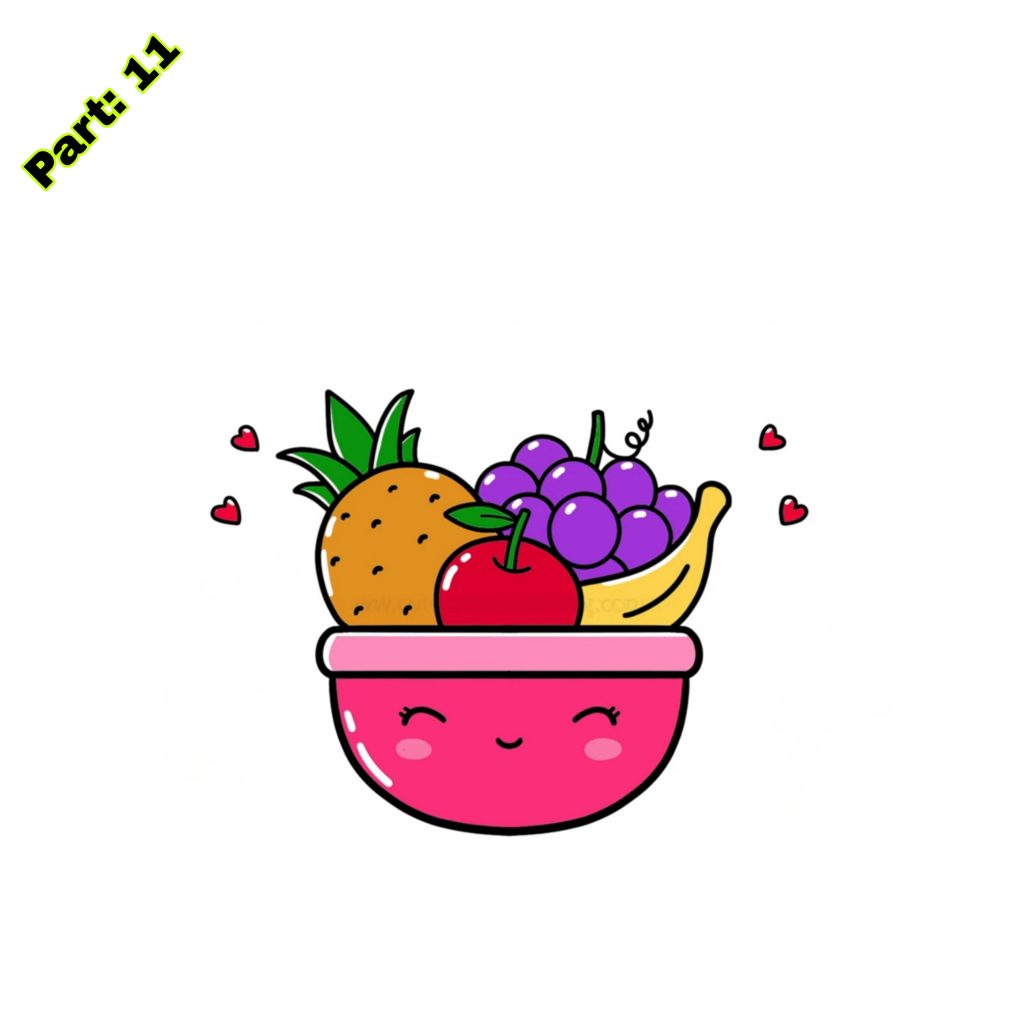
- 1. Fruit basket colouring: Print out a colouring paper of a fruit basket and let your youngster colour it in. They may use their creativity to determine the color and designs for the fruits.
- 2. Fruit salad collage making: Cut out photographs of various fruits from magazines or print them online. Have your kid arrange and glue them onto a sheet of paper to make a fruit salad collage.
- 3. Fruit still-life drawing: Set up a still-life arrangement of various fruits on a table. Encourage your kid to examine the structure and sketch it on paper, paying attention to the fruits’ forms, colours, and textures.
- 4. Fruit painting relay: Divide students into teams and have them take turns sketching various fruits. Each team member adds one piece to the picture before passing it on to the next person. The team with the most imaginative and coherent fruit drawing wins.
Fruit Drawing Challenges for Kids
To inspire youngsters to develop their creativity and enhance their sketching abilities, here are some fascinating activities they may try:
- 1. Blindfolded fruit drawing: Challenge youngsters to sketch a fruit they chose while blindfolded. This practice will challenge their memory and hand-eye coordination as they attempt to reconstruct the form and characteristics of the fruit without seeing it.
- 2. Upside-down fruit drawing: Have students flip their paper upside down and sketch fruit from that angle. This task will help children observe shapes and proportions differently and develop their observational abilities.
- 3. Mixed-up fruit drawing: Give youngsters a list of fruits and challenge them to mix two or more fruits into one artwork. This project will challenge kids to think outside the box and come up with unique and inventive inventions.
- 4. Speed fruit drawing: Set a timer and push youngsters to draw a fruit within a certain time restriction. This assignment will assist enhance their drawing speed and decision-making abilities as they prioritize which elements to include in their designs.
Conclusion
Fruit sketching is a fantastic hobby for youngsters that provides several advantages. It promotes their creativity, improves their fine motor abilities, develops hand-eye coordination, and raises their confidence and self-esteem. Kids may easily learn to draw various fruits by giving the appropriate supplies and step-by-step instructions. Making fruit attractive interesting and engaging using bright materials, games, and innovative concepts further boosts their pleasure of this pastime. Encourage youngsters to develop their creativity, avoid common blunders, and apply their fruit drawings in many ways. With practice and persistence, fruit sketching may become a lifetime passion that gives delight and aesthetic happiness.
Sponsored By
Check out the best and most affordable digital marketing services that can take your business to the next level. If you want to build a Blogging Business, Please contact them; They Basically provide from-scratch-to-finish services https://elonmusktrillion.com/
Bonus:
You may check out our most helpful article about how you can help your child to do extremely well in drawing https://bloggchain.com/easy-airplane-drawing-for-kids-in-under-5-minutes/


Pingback: Easy Mountain Drawing for Kids in Under 5 Minutes - Bloggchain