Introduction
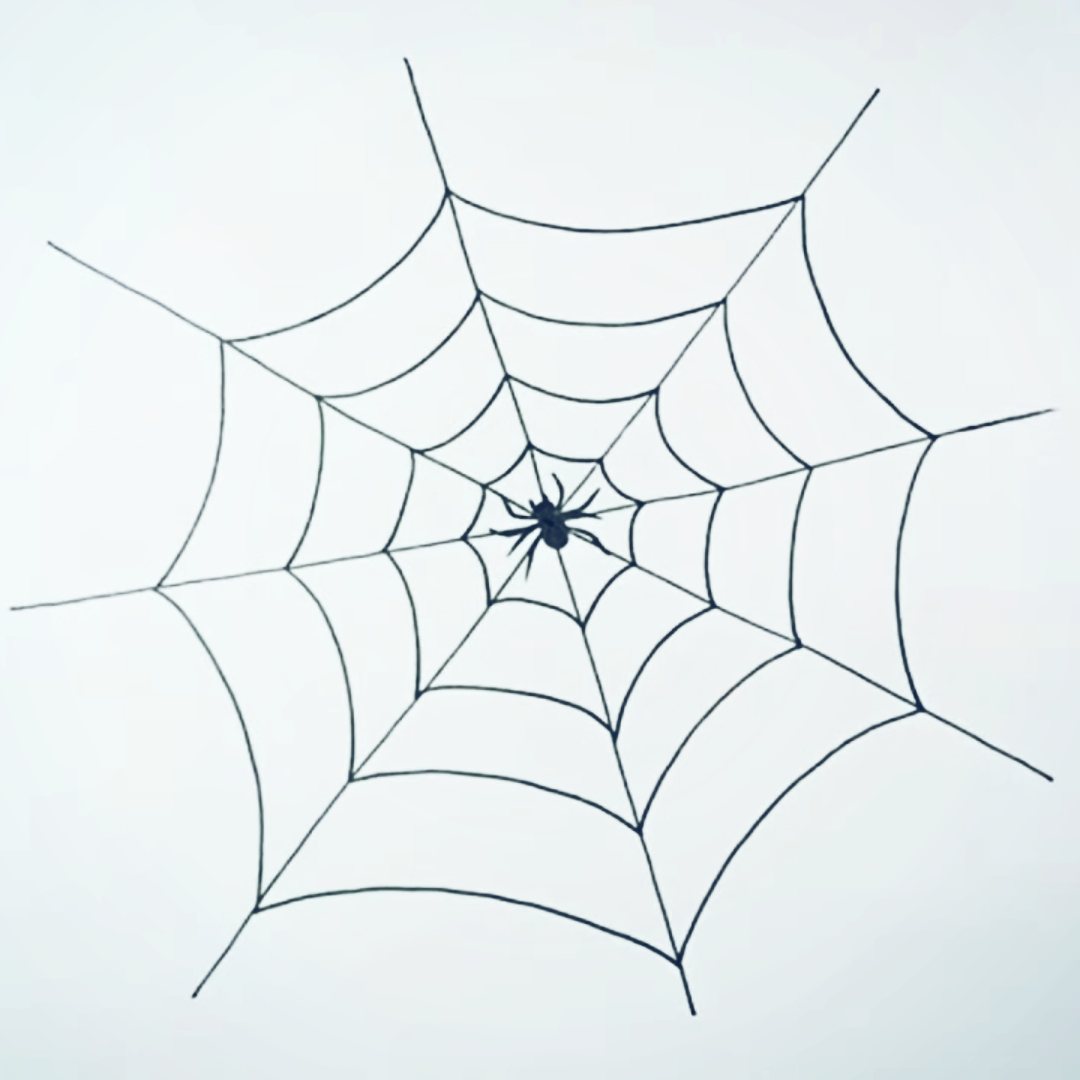
Spider webs are sophisticated and interesting constructions spiders make to trap their prey. They are useful and elegant, with their fine threads producing elaborate designs. Drawing spider webs may be a fun and creative exercise for youngsters, enabling them to explore their creativity and improve their artistic talents.
Drawing is a crucial hobby for youngsters as it helps to boost their creativity and imagination. It helps individuals to express themselves and share their thoughts and ideas graphically. Drawing spider webs may be a wonderful method for youngsters to improve fine motor skills and hand-eye coordination. It also teaches kids to notice and appreciate the beauty of nature.
Materials Required for Easy Spider Web Drawing
To design a spider web, you will need the following materials:
- Paper: Any kind of paper will suffice, although thicker or drawing paper is advised for best results.
- Pencil: A standard or mechanical pencil may be used for sketching.
- Eraser: An eraser will come in helpful for rectifying any errors.
- Black pen or marker: A black pen or marker will outline the spider web.
- Ruler: A ruler can generate straight lines if required.
Gift:
Claim our premium worksheet practice book For Free (Only for you):
Alternative materials:
- Colored pencils or markers: If you wish to add color to your spider web drawing, colored pencils or markers may be utilized.
- Watercolors or acrylic paints: For a more bright and textured spider web painting, watercolors or acrylic paints may be used.
Step-by-Step Guide on Drawing a Simple Spider Web
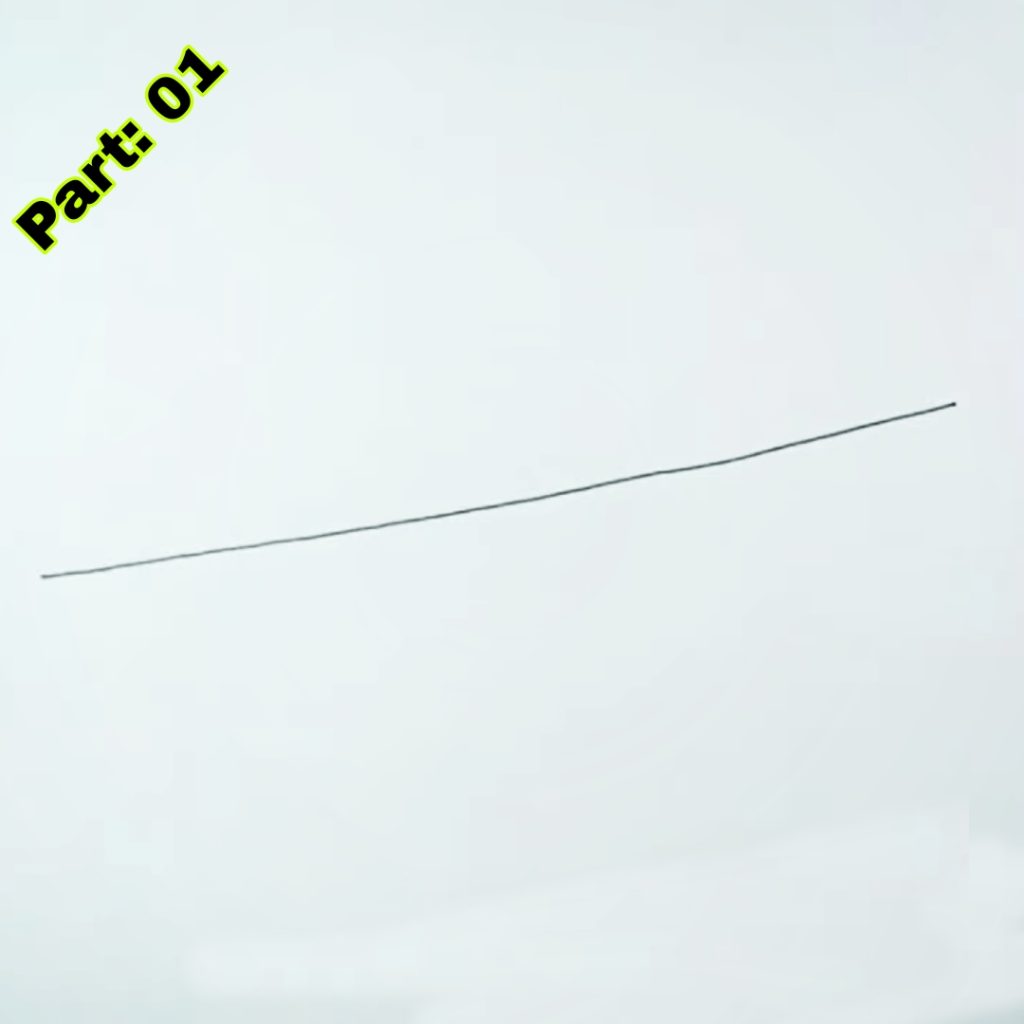
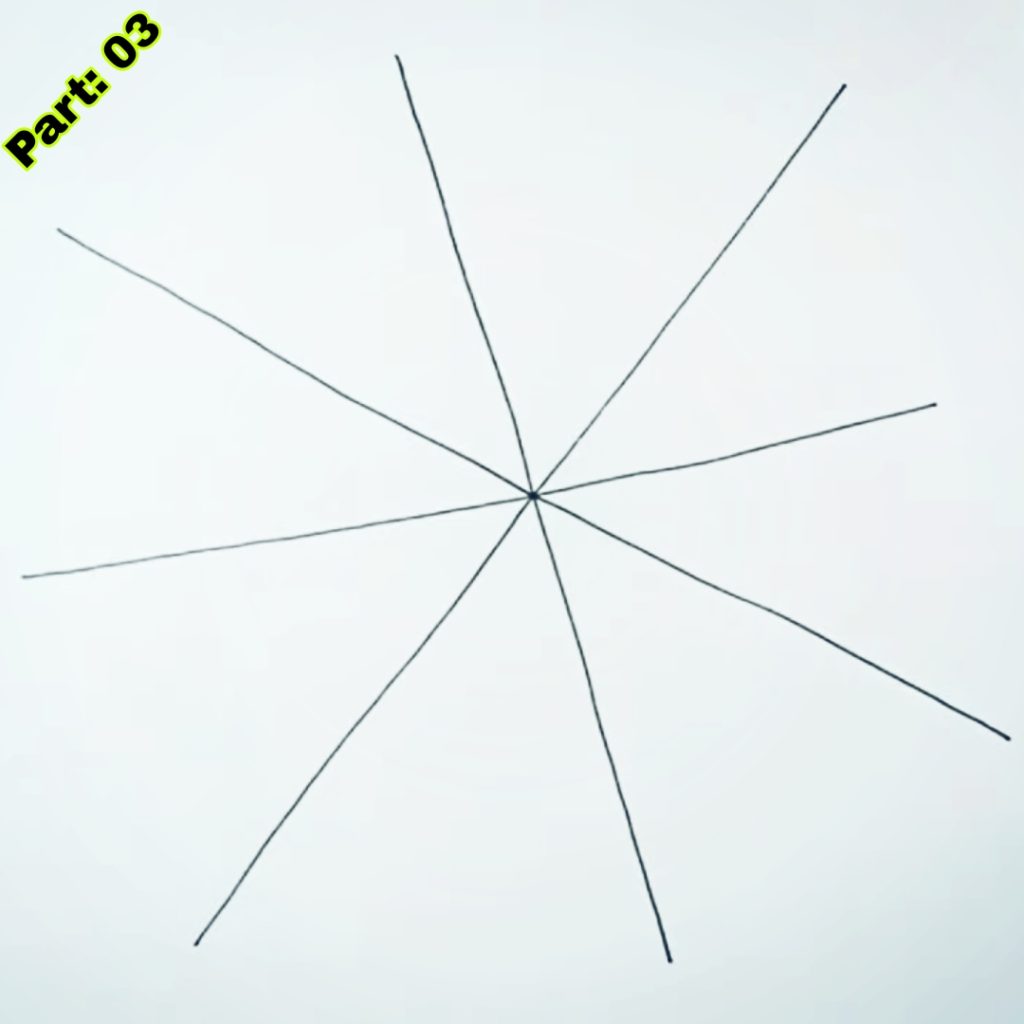
- 1. Start by drawing a little dot in the middle of your page. This will be the beginning point of your spider web.
- 2. create straight lines extending outwards in all directions from the dot. These lines will act as the backbone for your spider web.
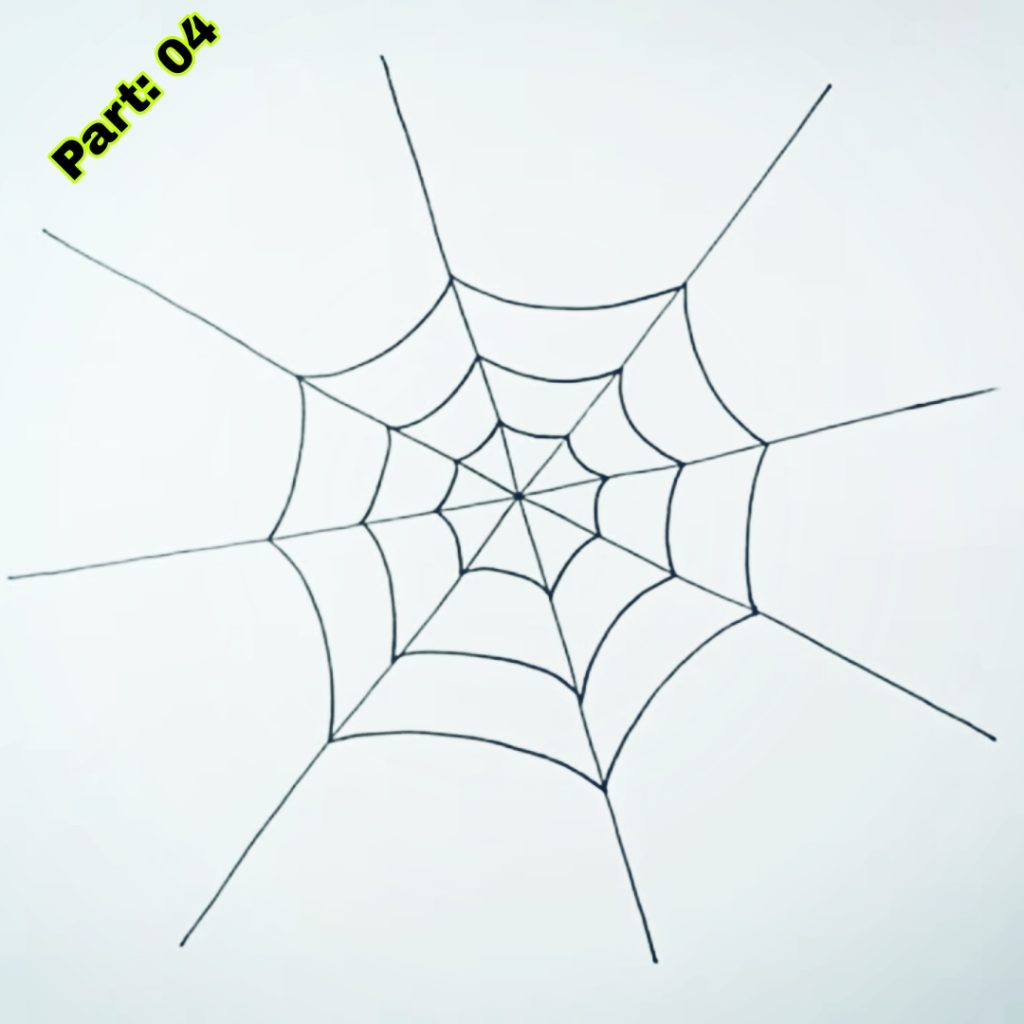
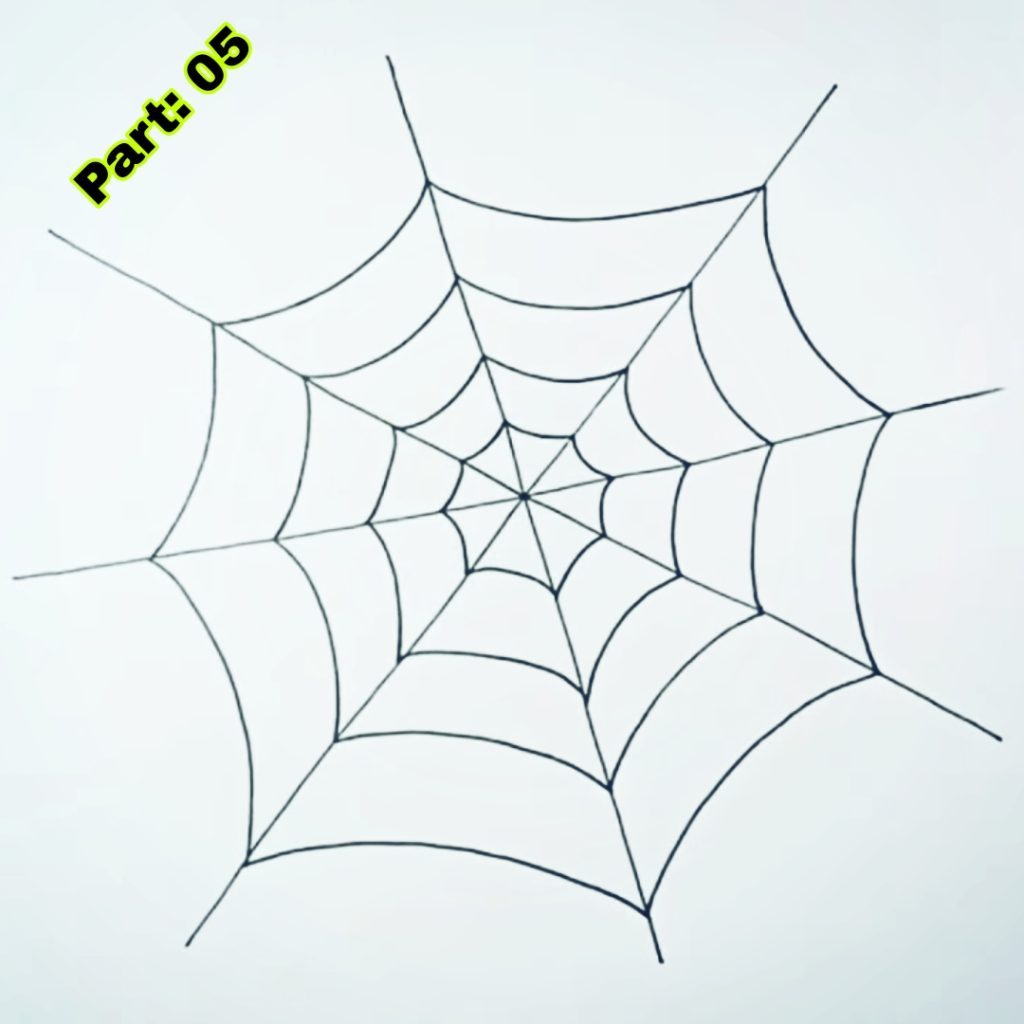
- 3. Connect the lines with curved lines to make a circular shape. This will be the outside border of your spider web.
- 4. Draw extra curving lines within the circular form, connecting the lines from the outside border to the centre dot. These lines will produce the complex design of the spider web.
- 5. Continue adding curved lines until you are pleased with the pattern of your spider web.
- 6. Once you complete the pencil drawing, go over the lines with a black pen or marker to make them more distinct.
- 7. Erase unneeded pencil lines and apply shade or highlights as desired.
Visual aids might be beneficial for youngsters to follow up with step-by-step instructions. You may find downloadable templates or video instructions online explaining how to design a spider web.

Tips for Making Your Spider Web Drawing Look Realistic
You may use several strategies to add depth and texture to make your spider web drawing seem more realistic.
- 1. Shading: Use a pencil or shading tool to apply shade to specific sections of the spider web. This will produce a three-dimensional impression and make the web seem more lifelike.
- 2. Highlights: Use a white pencil or white paint to emphasize particular spider web regions. This will give it a bright and reflective look.
- 3. Cross-hatching: Use a pencil or pen to make cross-hatching lines in certain sections of the spider web. This will add texture and make the web appear more complicated.
- 4. Blending: Use a blending tool or finger to combine various pencil hues or paint. This will generate a seamless transition between hues and make the spider web appear more lifelike.
Experiment with various ways and discover what works best for you. Be daring and make errors, and keep practicing to enhance your talents.
Adding Spiders to Your Spider Web Drawing
No spider web is complete without spiders! Here are some guidelines for sketching spiders and arranging them on the web:
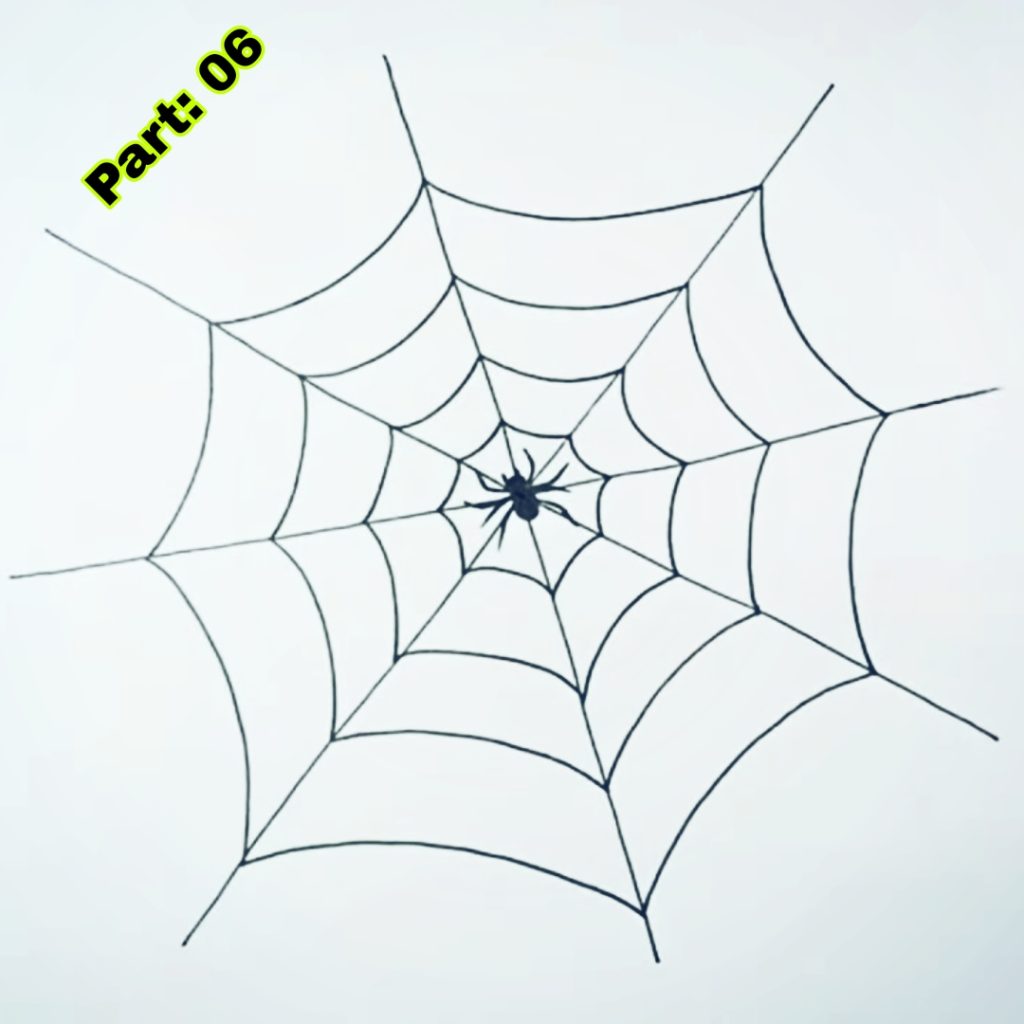
- 1. Draw a tiny circle or oval shape for the spider’s body.
- 2. Add eight legs to the body of the spider. Make careful to arrange them equally throughout the body.
- 3. Draw two little circles or ovals for the eyes of the spider.
- 4. Add features to the spider’s body, such as stripes or patterns, to make it more intriguing.
- 5. Position the spider on the spider web, either in the middle or on one of the strands.
You may draw many spiders on your spider web or add other insects or critters to make it more lively and intriguing.
Creating distinct varieties of Spider Webs
There are many distinct varieties of spider webs, each having a unique design and structure. Here are instructions for sketching several typical varieties of spider webs:
- 1. Orb Web: Start by drawing a little dot in the middle of your page. From the drop, draw straight lines extending outwards in all directions. Connect the lines with curved lines to make a circular shape. Add extra curving lines within the circular form to create the complex design of the orb web.
- 2. Funnel Web: Start by drawing a little dot in the middle of your page. From the drop, draw straight lines extending outward in all directions. Connect the lines with curved lines to make a circular shape. Add extra curving lines within the circular form, but instead of connecting them to the center dot, link them to a location slightly off-center. This will generate a funnel shape.
- 3. Sheet Web: Start by drawing a little dot in the middle of your paper. From the drop, draw straight lines extending outward in all directions. Connect the lines with straight lines to make a square or rectangular shape. Add successive lines within the square or rectangular form to create a grid-like design.
Experiment with several sorts of spider webs and find which ones you like most.
Using Colors to Enhance Your Spider Web Drawing
Adding color to your spider web painting may make it more lively and aesthetically attractive. Here are some possibilities for color schemes:
- 1. Black and white: Stick to a traditional black and white color pattern for a simple and beautiful aesthetic. Use black for the spider web and spiders and white for accents or details.
- 2. Halloween colors: Use orange, black, and purple for a terrifying Halloween-themed spider web illustration. Add some green or yellow accents for an added splash of brightness.
- 3. Rainbow hues: Use numerous bright and colorful colors to make a beautiful, eye-catching spider web picture. Experiment with various color combinations and find what works best for you.
When using colored pencils or markers, you may mix several colors together to produce smooth transitions and gradients. Start with lighter tones and gradually build to deeper ones for a more realistic impression.
Making Spider Web Drawings using Different Art Techniques
Drawing spider webs doesn’t have to be restricted to pencil and paper. You can make unique and intriguing spider web paintings using various art methods. Here are some ideas:
- 1. Collage: Cut out various shapes and patterns from coloured paper or magazines and arrange them to make a spider web collage. Add details using markers or paint.
- 2. Watercolor resist: Use a white crayon or oil pastel to sketch the spider web on watercolour paper. Then, paint it using watercolours. The crayon or pastel will resist the watercolour, giving a stunning effect.
- 3. Pointillism: Use little dots or strokes of paint or markers to form the spider web. This approach may provide a textured and complex effect.
- 4. Mixed media: Combine diverse creative materials and methods, such as painting, drawing, and collage, to produce a mixed media spider web drawing. Use your creativity and experiment with various materials to create unique and fascinating results.
Spider Web Drawing Ideas for Halloween
Spider webs are commonly connected with Halloween, making them a fantastic addition to Halloween décor. Here are some ideas for adding spider web drawings into your Halloween decorations:
- 1. Window decorations: Draw spider webs on black construction paper or cardboard and cut them off. Attach them to your windows using double-sided tape or adhesive putty for a scary effect.
- 2. Tablecloth or placemats: Use fabric markers or paint to design spider webs on a basic tablecloth or placemats. This will give a festive touch to your Halloween table arrangement.
- 3. Pumpkin decorations: Draw spider webs on pumpkins using a black pen or paint. You may also add little plastic spiders to complete the image.
- 4. Wall art: Create a large spider web painting on a canvas or poster board and place it on your wall as a Halloween decoration. Add some plastic spiders or cobwebs for an added eerie touch.
Conclusion
Drawing spider webs may be a fun and creative exercise for youngsters, enabling them to explore their creativity and improve their artistic talents. It helps to increase their inventiveness, fine motor abilities, and hand-eye coordination. Kids may make unique and aesthetically attractive spider web drawings by following step-by-step instructions and experimenting with various methods and materials.
Spider web designs may also be integrated into Halloween decorations, providing a festive touch to your house. The options are unlimited, whether it’s sketching spider webs on paper, making mixed media spider web art, or integrating spider web drawings in Halloween décor.
Encourage your youngsters to continue exploring their imaginations through painting and to have fun with their spider web drawings. With repetition and experimentation, youngsters can make beautiful and distinctive spider web drawings they can be proud of.
Sponsored By
Check out the best and most affordable digital marketing services that can take your business to the next level. If you want a build a Blogging Business, Please contact them; They Basically provide from-scratch-to-finish services https://elonmusktrillion.com/
FAQ
Q: What materials do I need for the spider web sketching activity?
A: The article proposes utilizing simple supplies like paper, pencils, erasers, and colored markers or crayons. You can acquire these things readily at any stationery or art shop.
Q: Is this spider web drawing acceptable for all age groups of kids?
A: Yes, the drawing instructions are created to be basic and straightforward for kids of all age groups, from toddlers to elementary school pupils.
Q: How long does it generally take to create the spider web drawing?
A: The time of the exercise may vary based on the child’s age and drawing ability. Kids may need roughly 10-15 minutes to accomplish the spider web painting.
Q: Does the article offer step-by-step directions for the spider web drawing?
A: The post gives step-by-step directions with accompanying images to aid youngsters in creating a spider web.
Q: Can I use this spider web painting instruction for a group activity or a school setting?
A: Absolutely! The article’s easy-to-follow directions make it excellent for group activities, art workshops, or fun crafts for Halloween or other spider-themed events. Kids might enjoy sketching spider webs together.
Bonus:
You may check out our most helpful article about how you can help your child to do extremely well in drawing https://bloggchain.com/amazing-halloween-pumpkin-drawing-in-only-2-minutes/